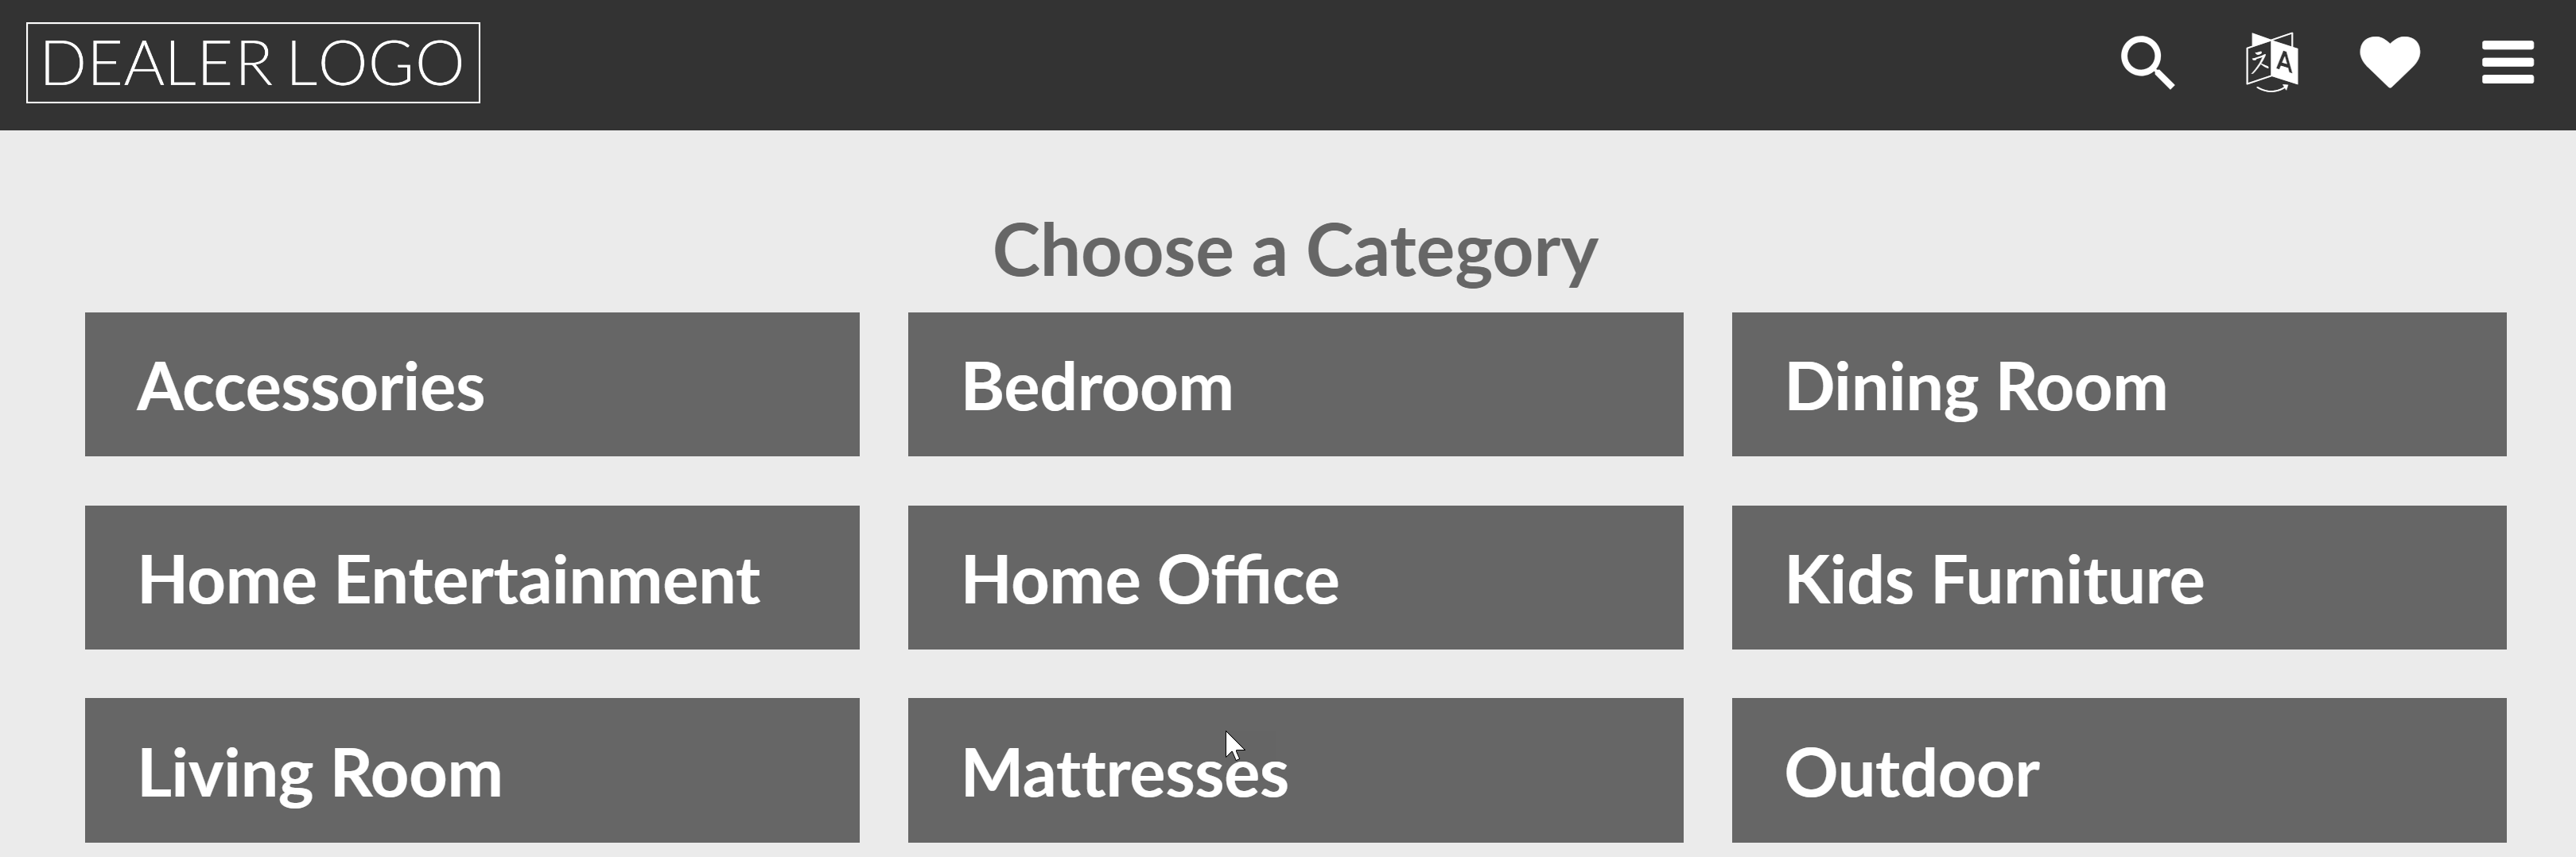
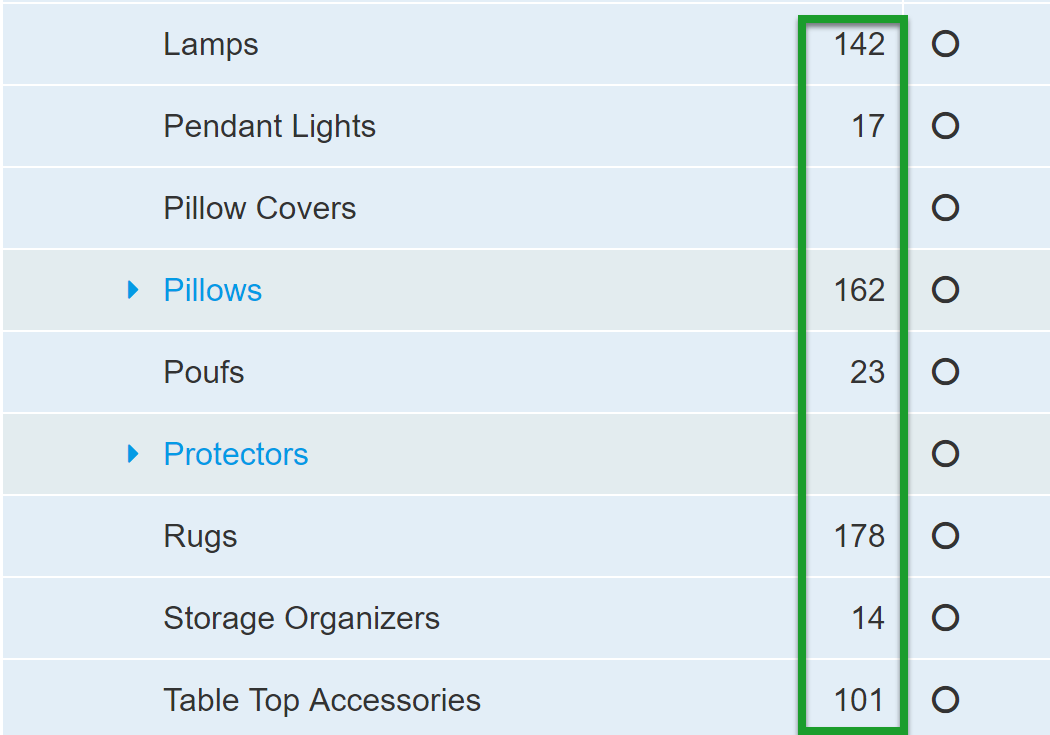
Use the Categories screen to select which categories are displayed to users on your devices.
To access the Categories screen:
- Log into my.catalogkiosk.com.
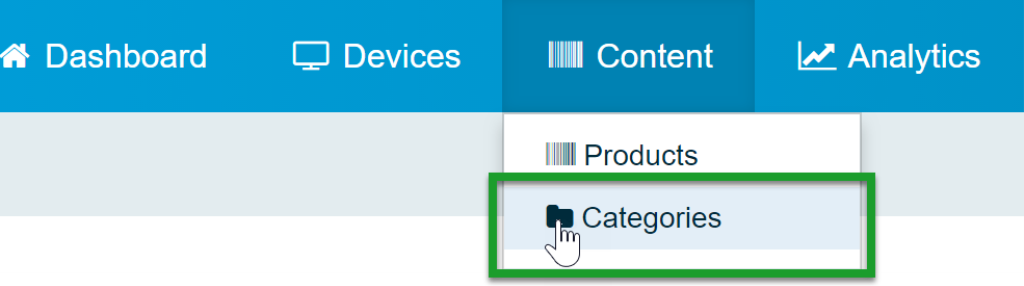
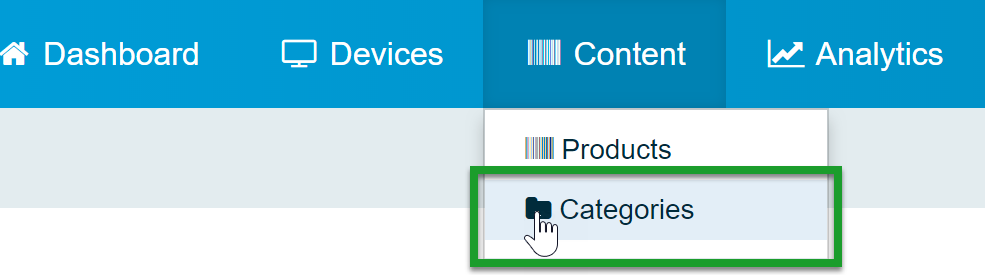
- Click Content in the top navigation bar.
- Click Categories.
Add a Category
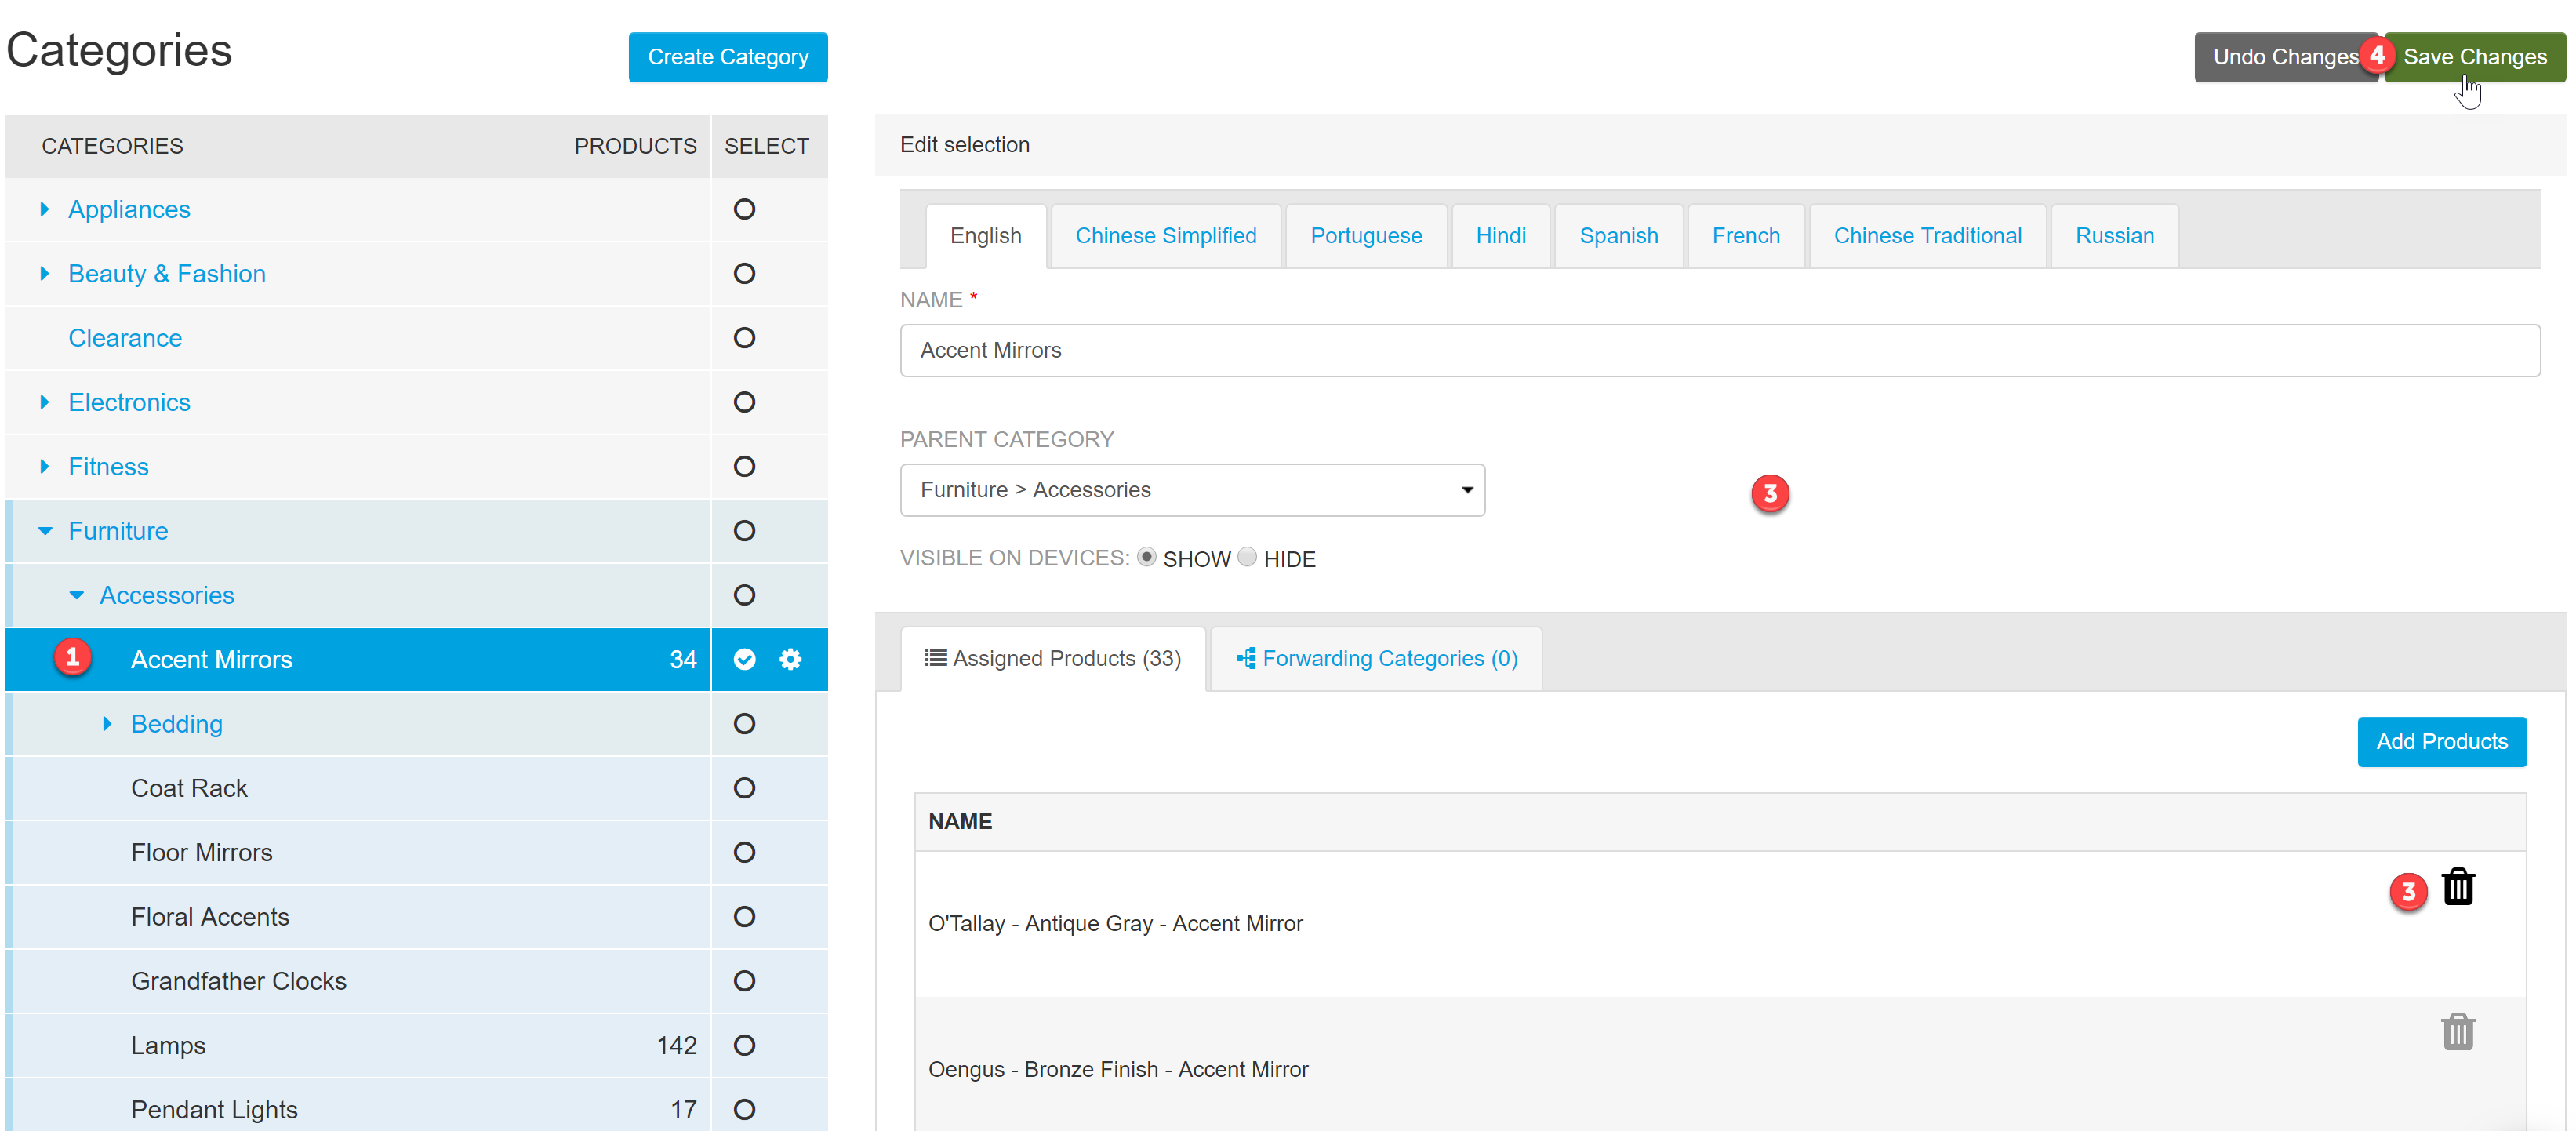
To add a category, click Create Category. 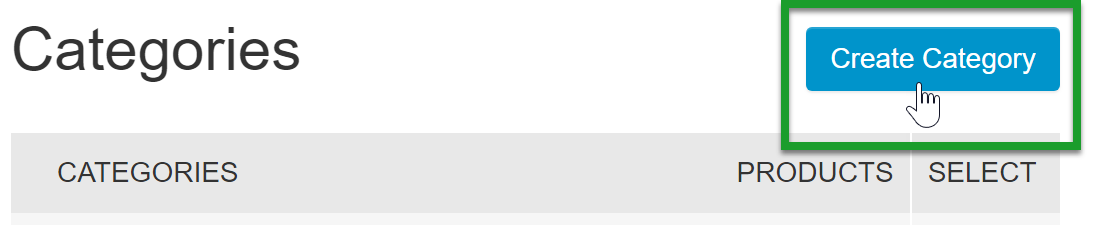
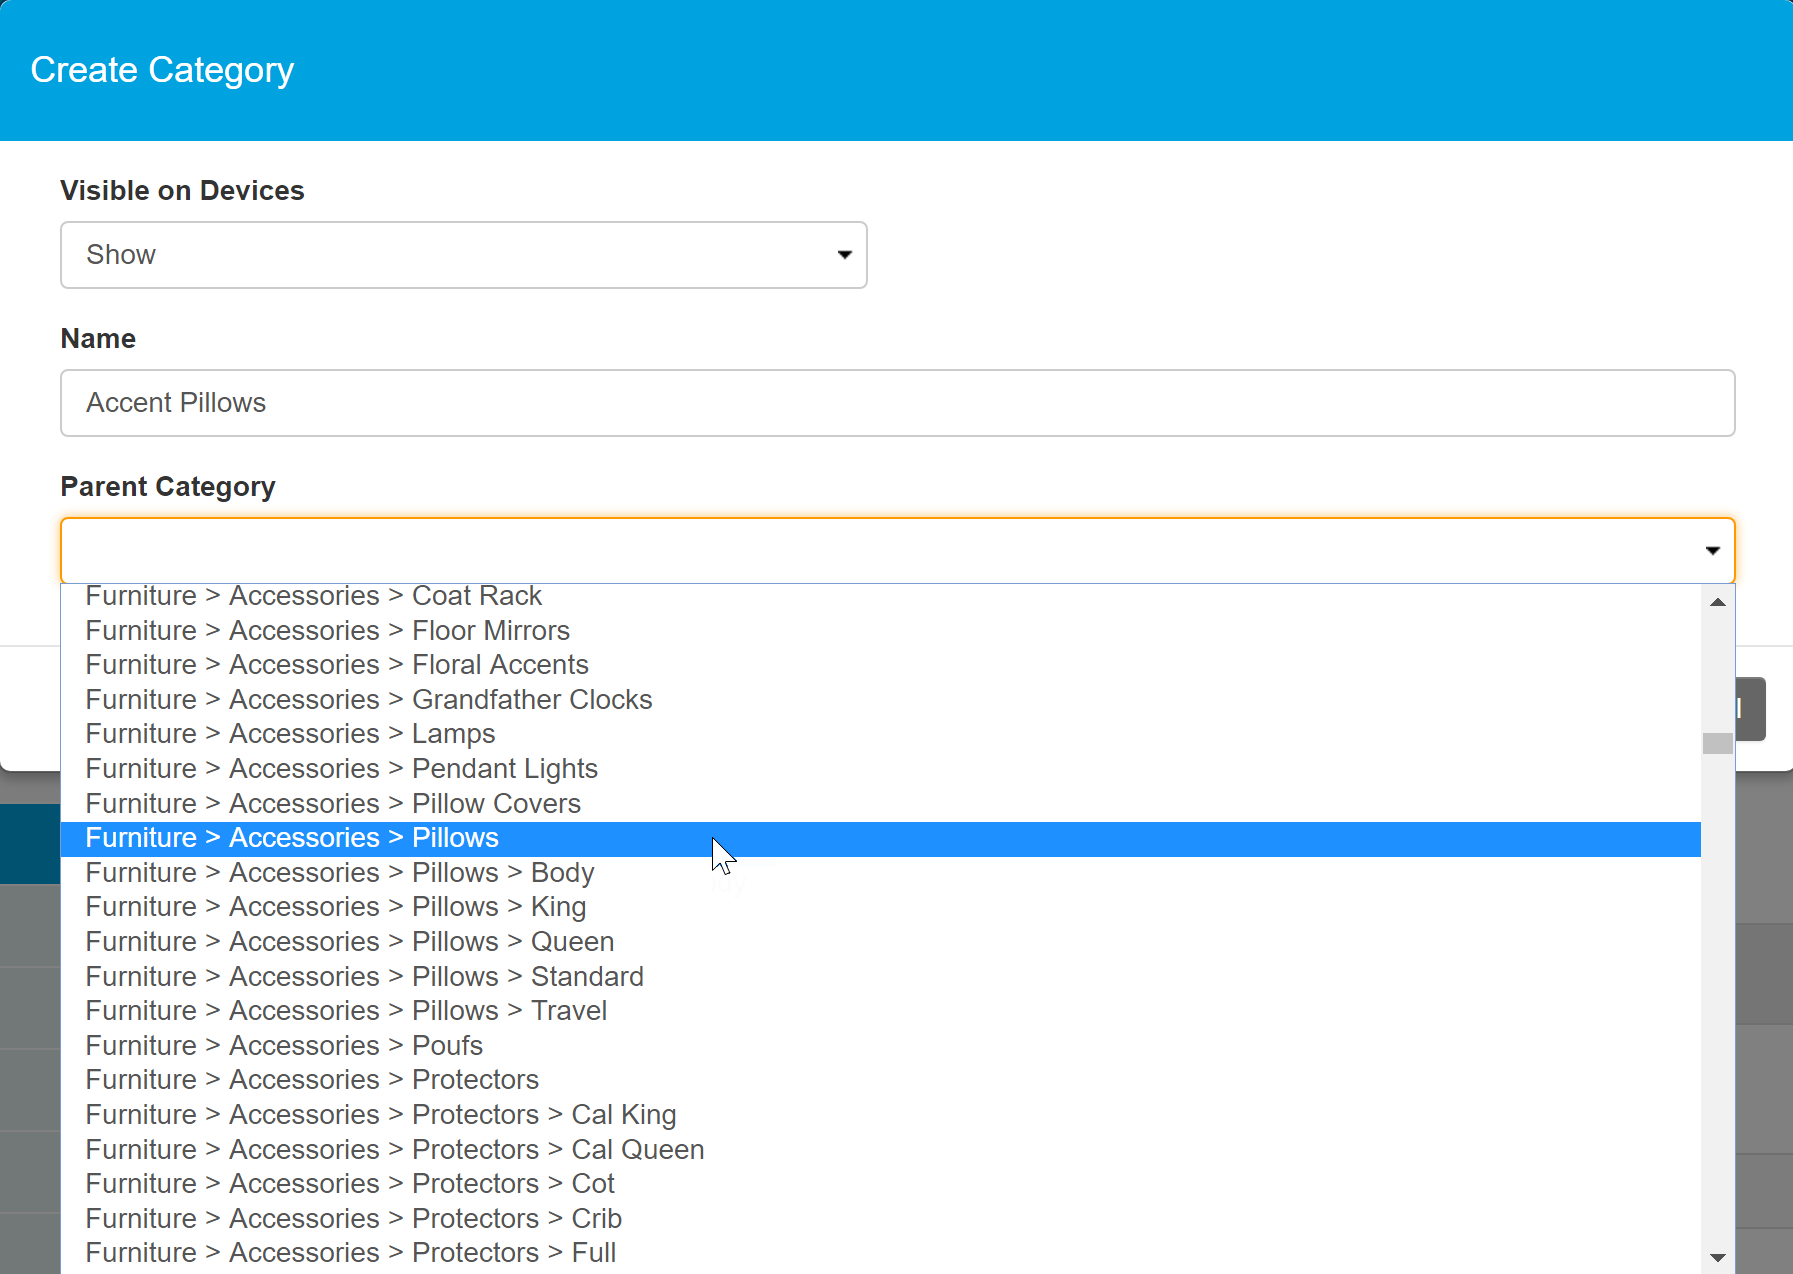
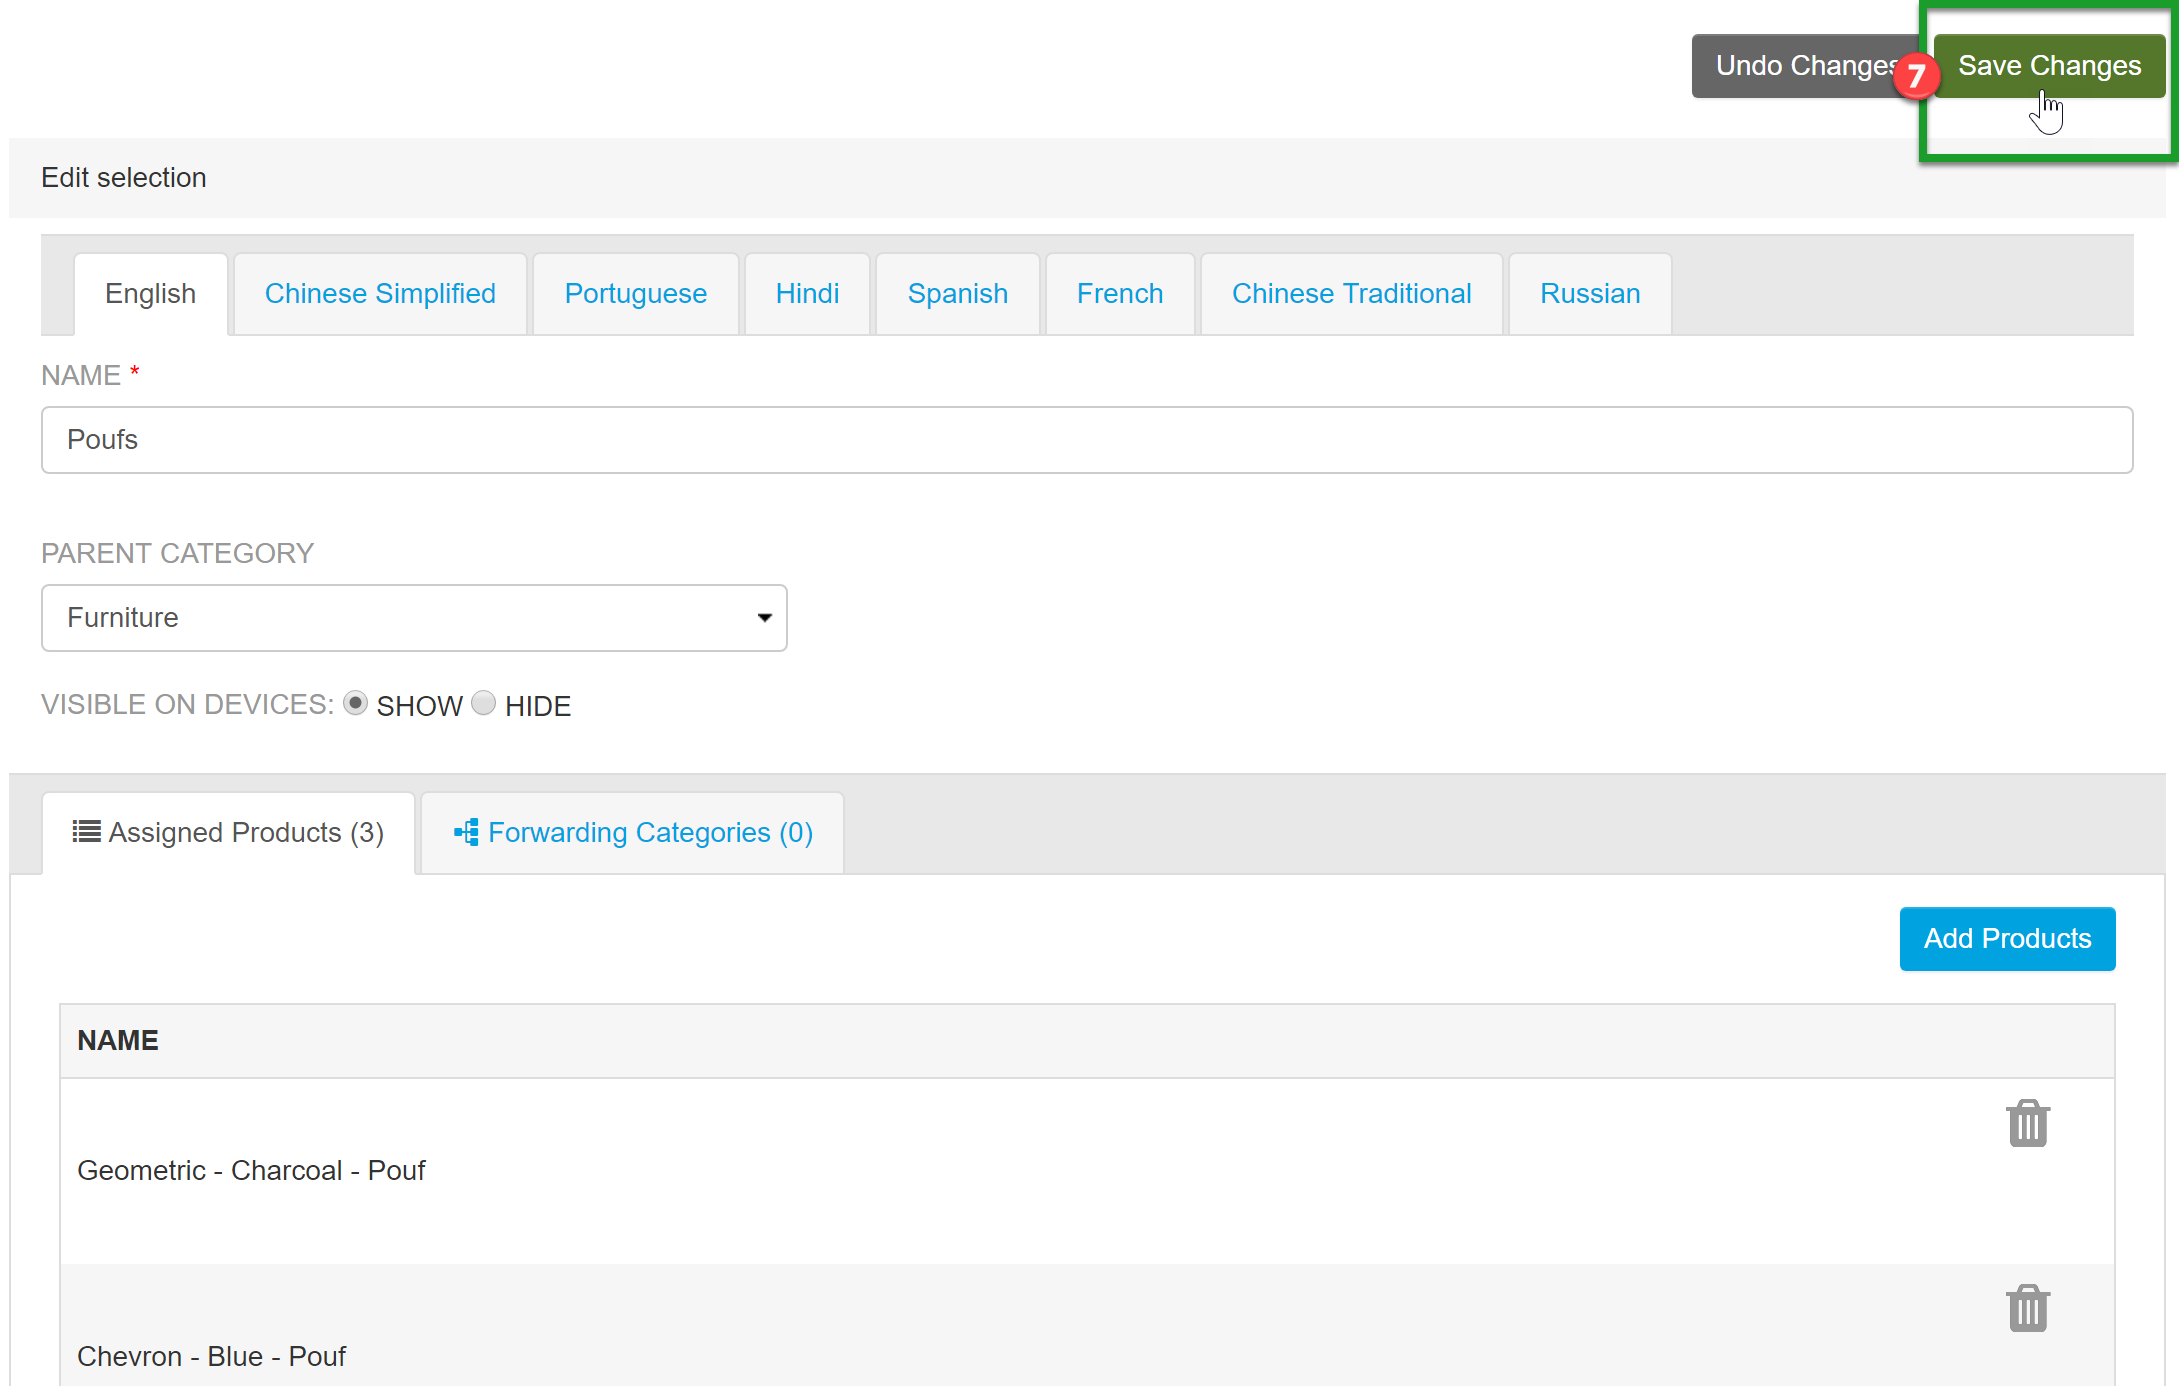
- Visible on Devices - Select Show to display your new category on all devices.
- Name - Add a name for your new category. This name is customer-facing in your Catalog App, and will display as you have typed it here.
- Parent Category - If adding a subcategory, select the parent category under which to nest your new category.
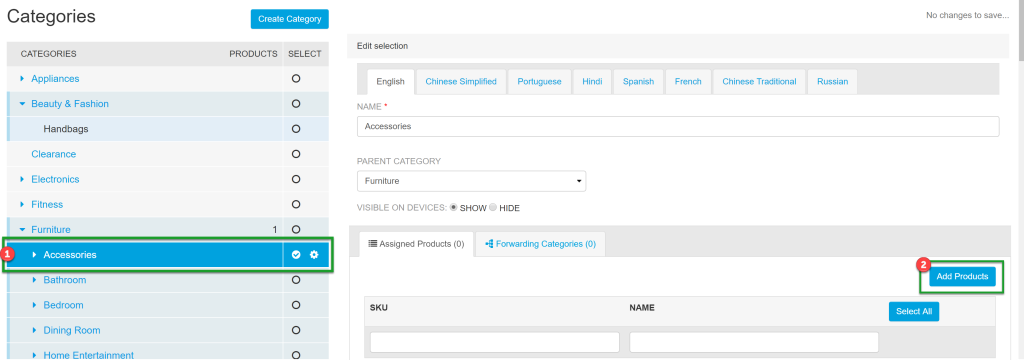
Assign Products to a Category
To assign products to a category:
- Select a category on the left.
- Click Add Products on the right.
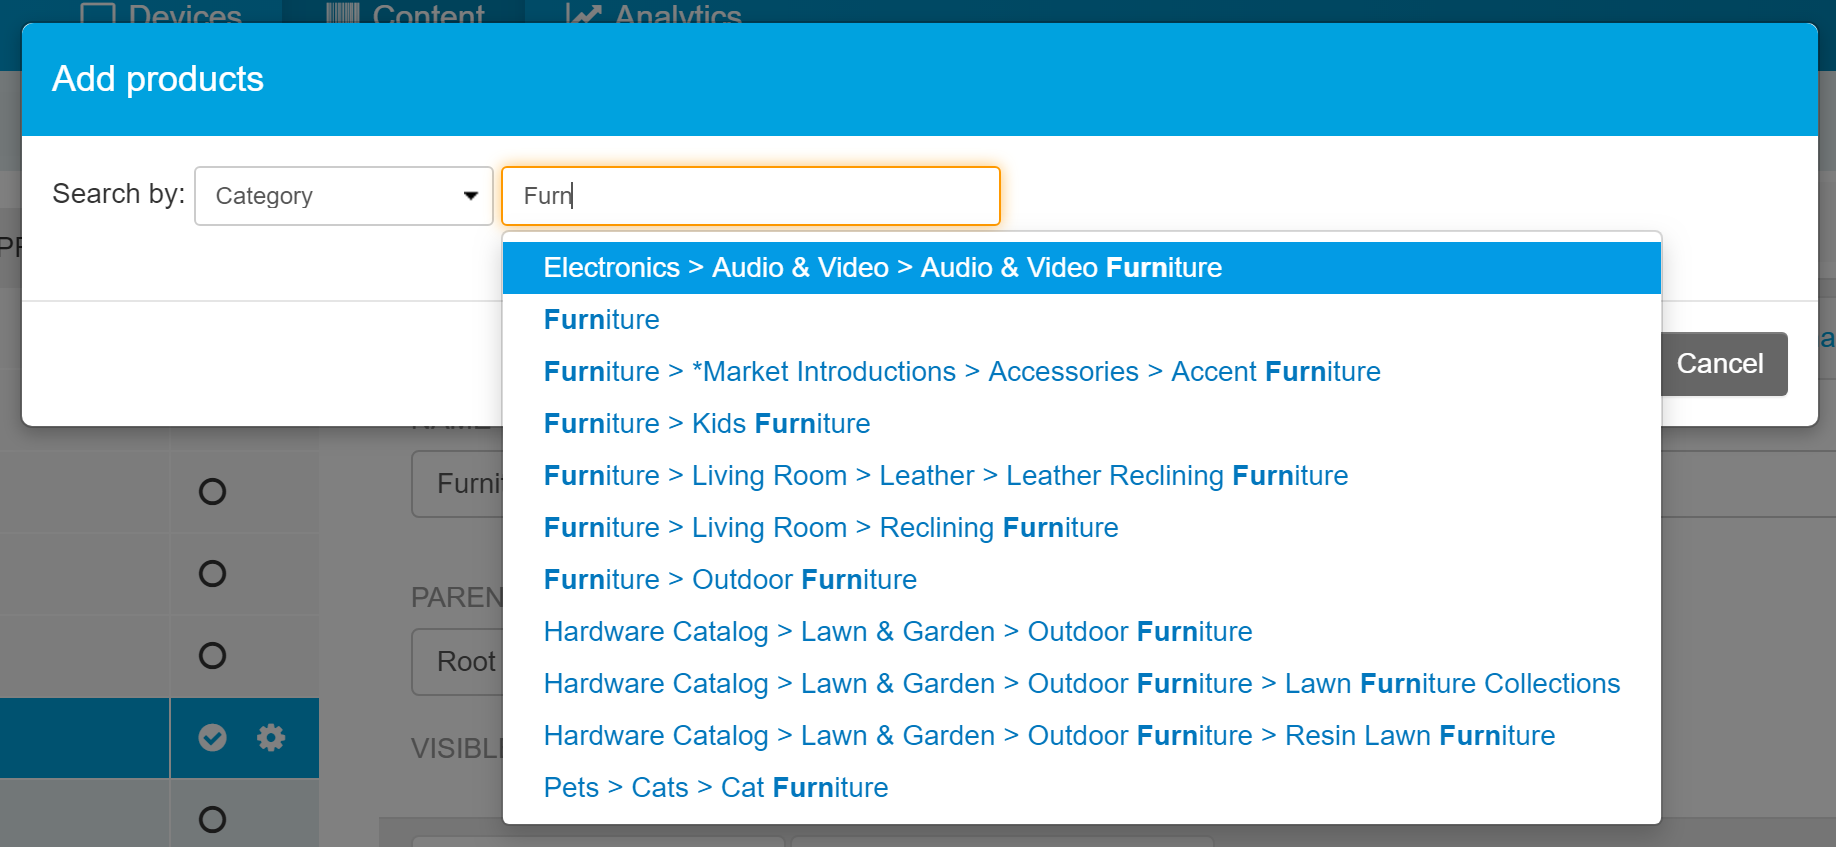
- Type to search for categories that hold products you'd like to add to a new or different category.
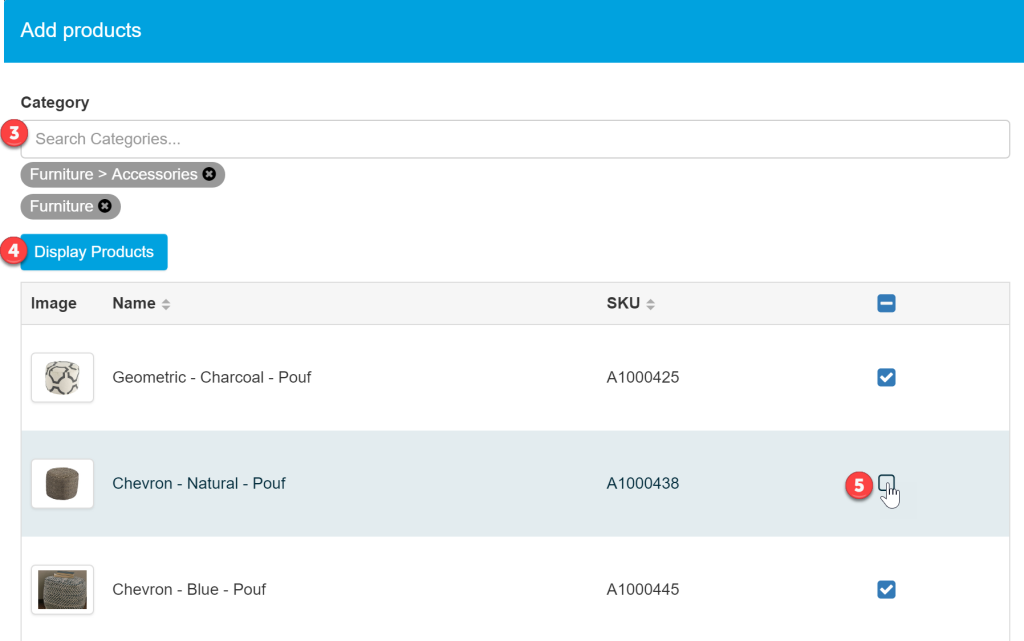
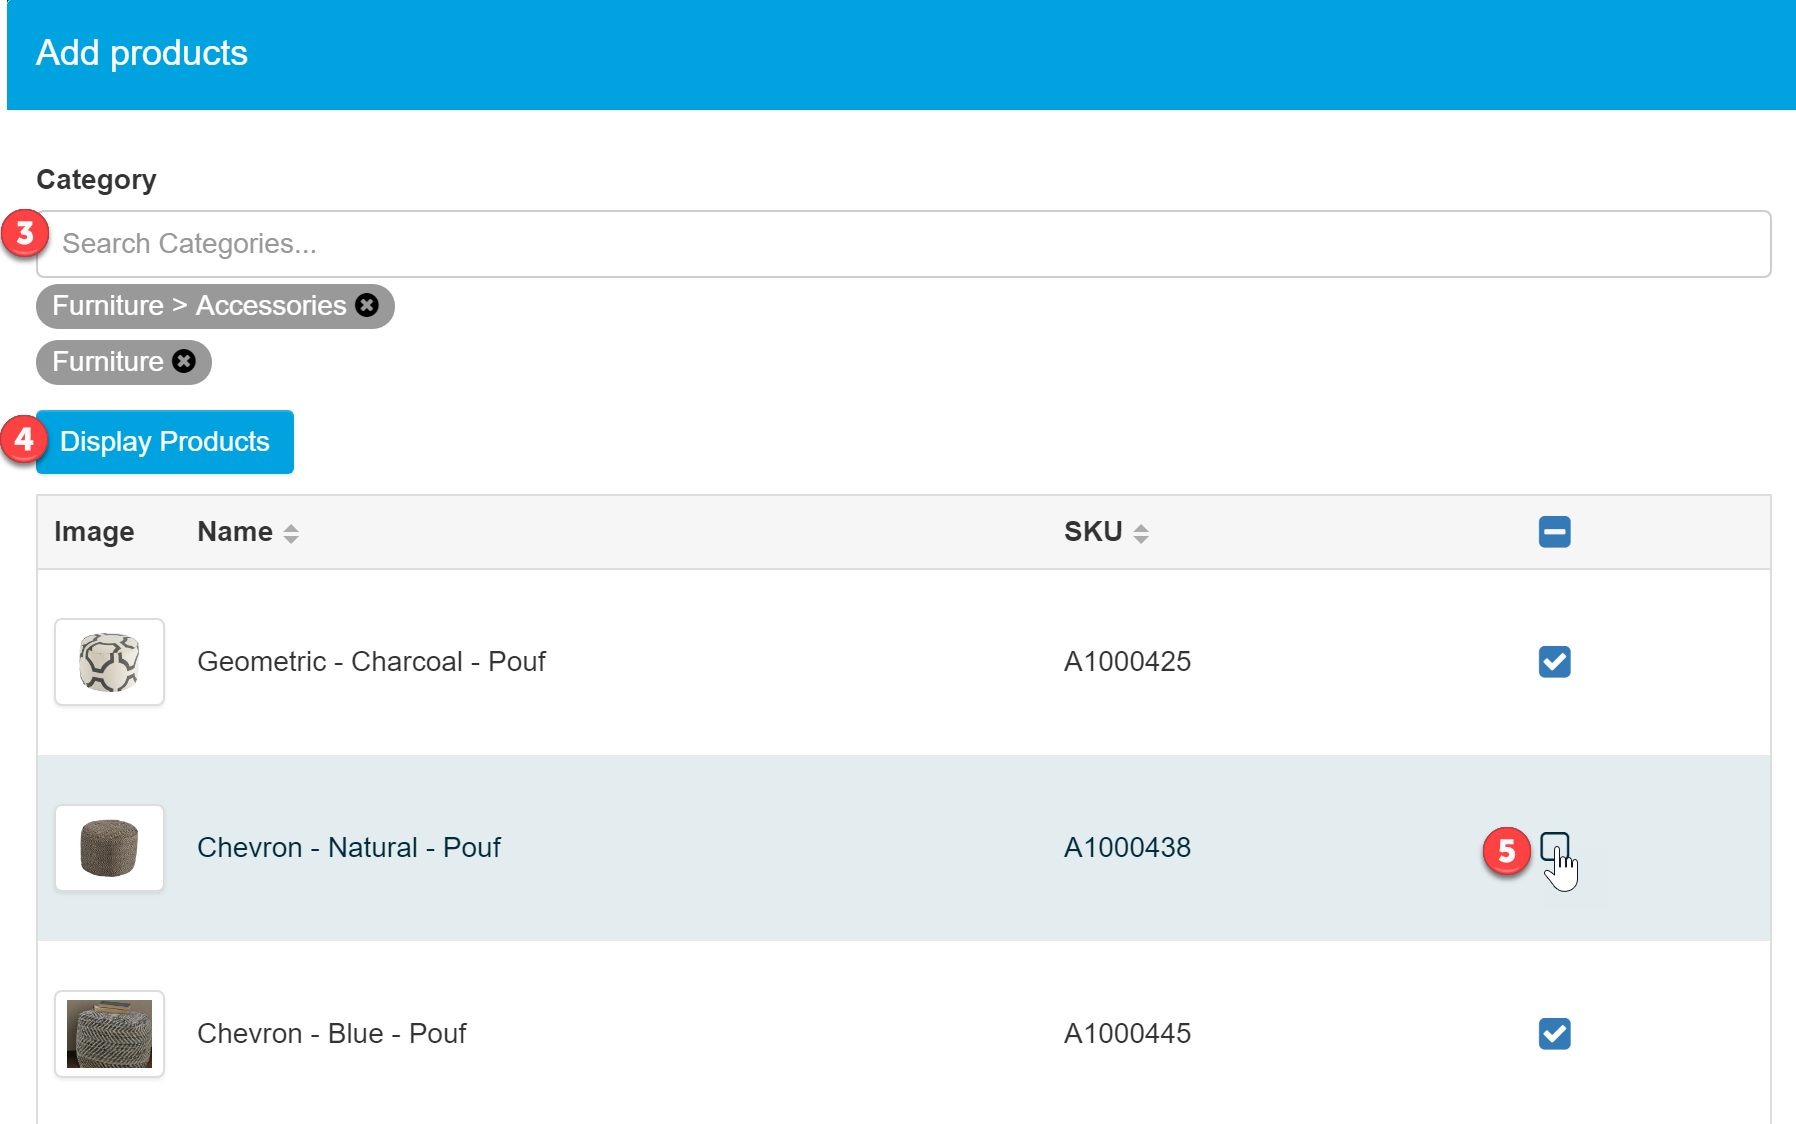
- Click Display Products.
- Select products to add to your category.
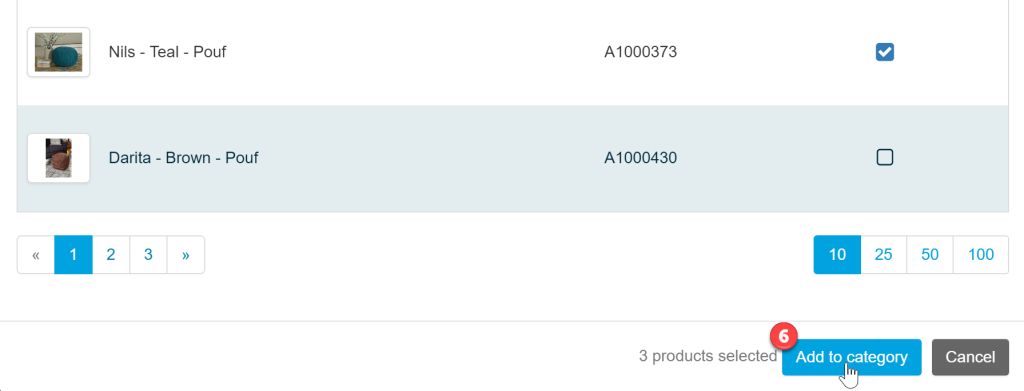
- Click Add to Category.
- Click Save Changes.


The Catalog App includes all products, even those not assigned to a category. Customers can find unassigned products via the search function.
Edit an Existing Category
To edit a category:
- Select the category on the left.
- Edit category information on the right, such as the subcategory name, parent category, visibility, and products.
- To remove a product, click the Trash icon to the right of a product. This icon will display in black when selected for removal.
- Click Save Changes.

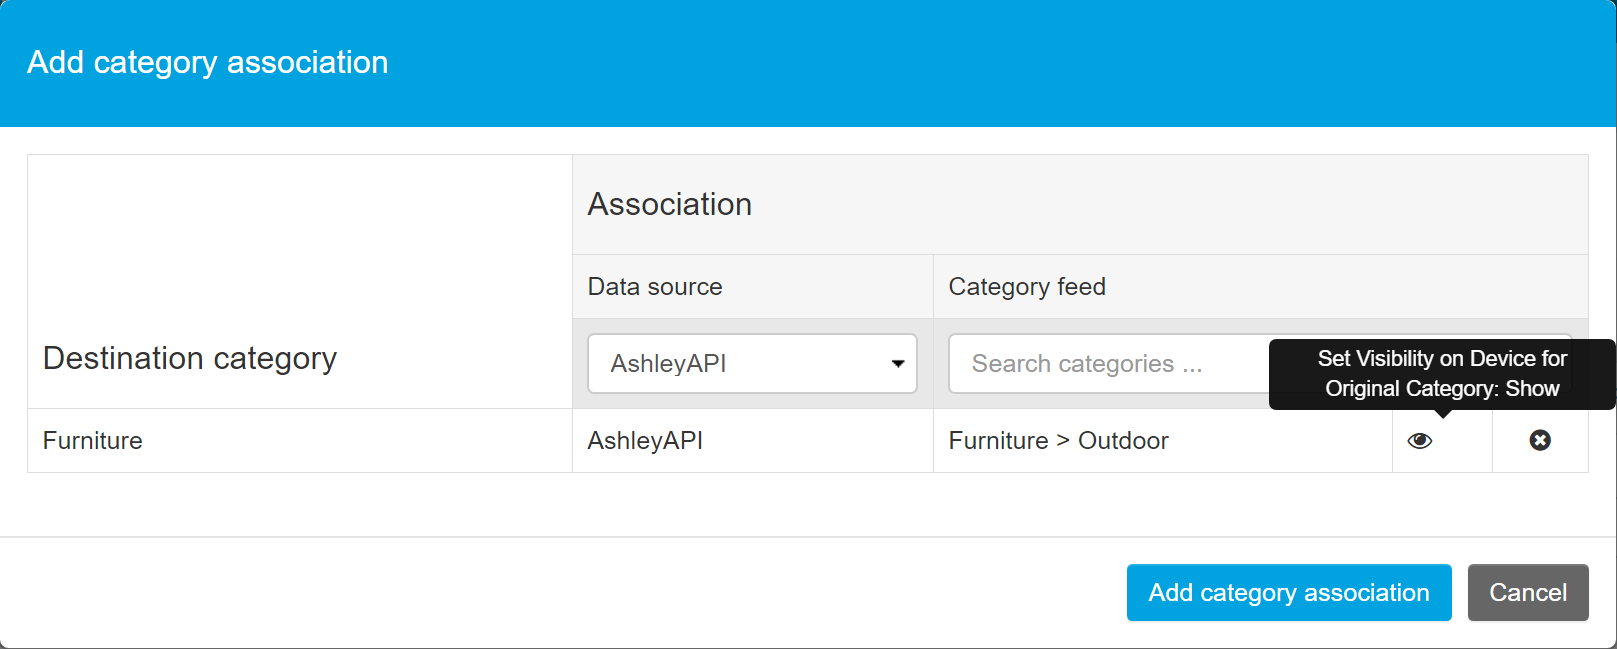
Forward Categories
Forwarding categories allows you to display products from one category within another.
To set a forwarding category:
- Select the category on the left.
- Select the Forwarding Categories tab on the right.

- Select the data source and category to forward products from.

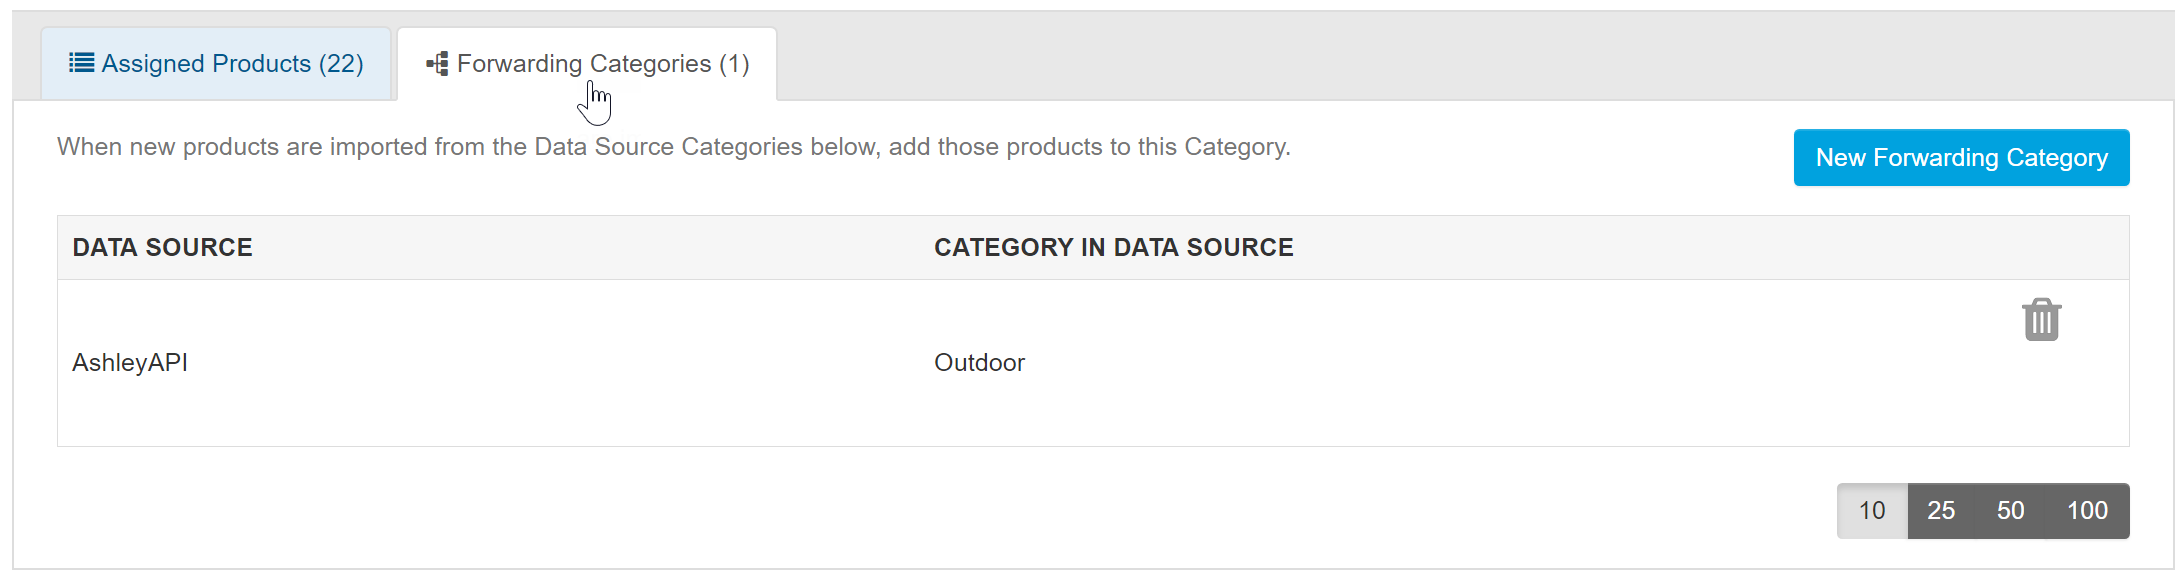
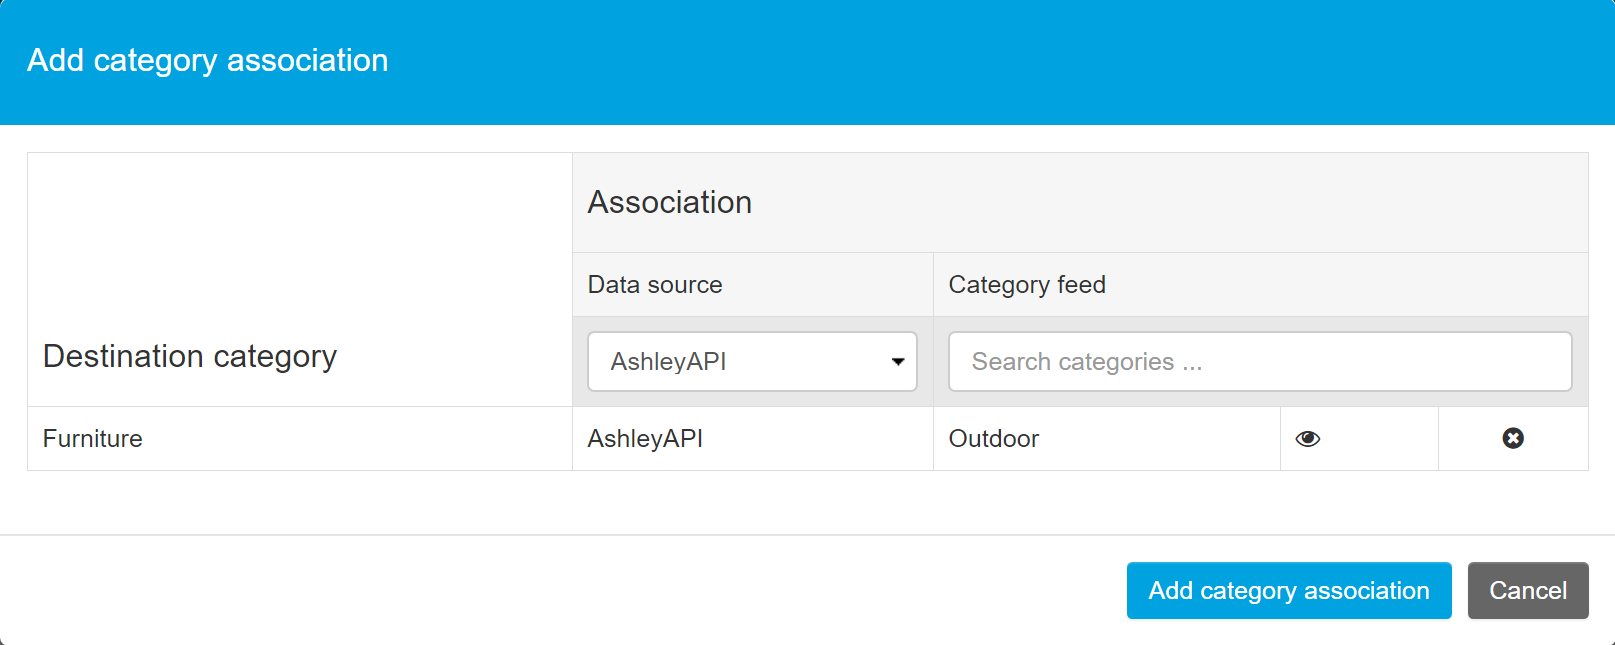
When new products are imported from this Data Source, they will appear in the forwarded category in addition to their default category. To remove forwarded products from appearing in their default category, click the eye icon to remove visibility in their original category.
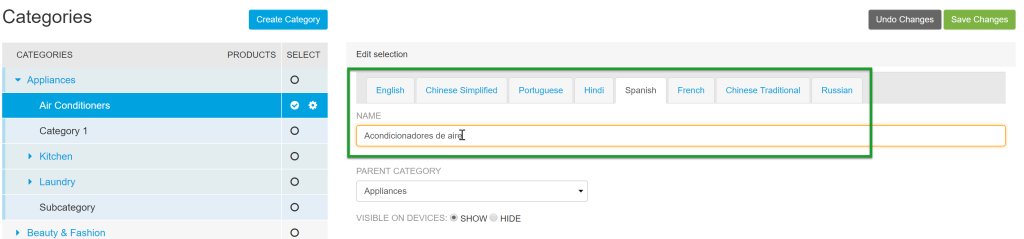
Add Language Translations for Category Names
To manually enter language translations for your category names:
- Select the category on the left.
- Click on a language tab.
- Enter the translation for the category name in the Name text field.
Delete a Category
To delete a category:
- Select a category and click the gear icon.
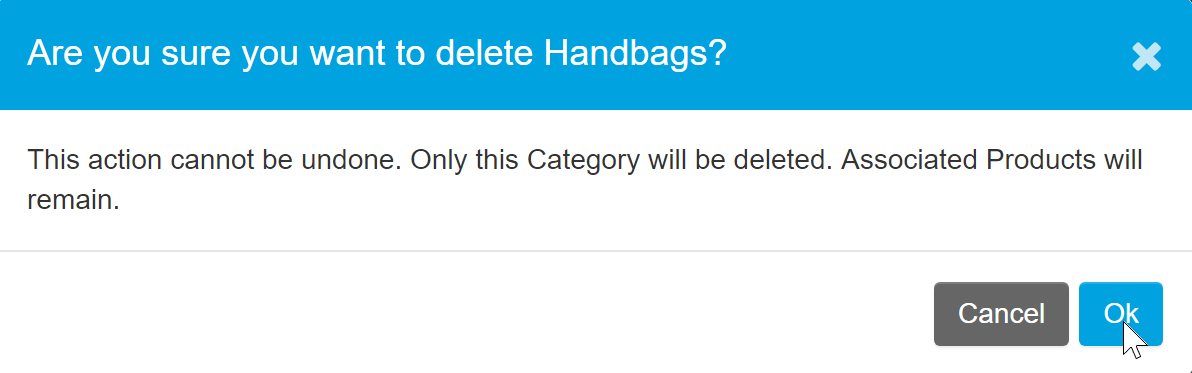
- Click Delete Category.

- A confirmation message will appear. Click Ok to delete this category. Deleting a category does not delete the products associated with that category.
 To ensure that all products are imported from your data feeds correctly, top-level categories containing products should not be deleted.