Use the Products screen to configure how products display to your users on your devices.
To access the Products screen, log into my.catalogkiosk.com and click Content > Products using the navigation bar located at the top of the screen.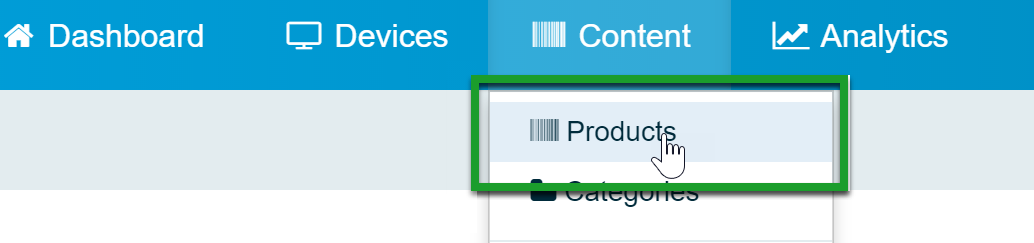
The Products screen displays a list of every product available within your Catalog App. From this screen you can search for products by SKU, Name, Category, Brand, or Price.
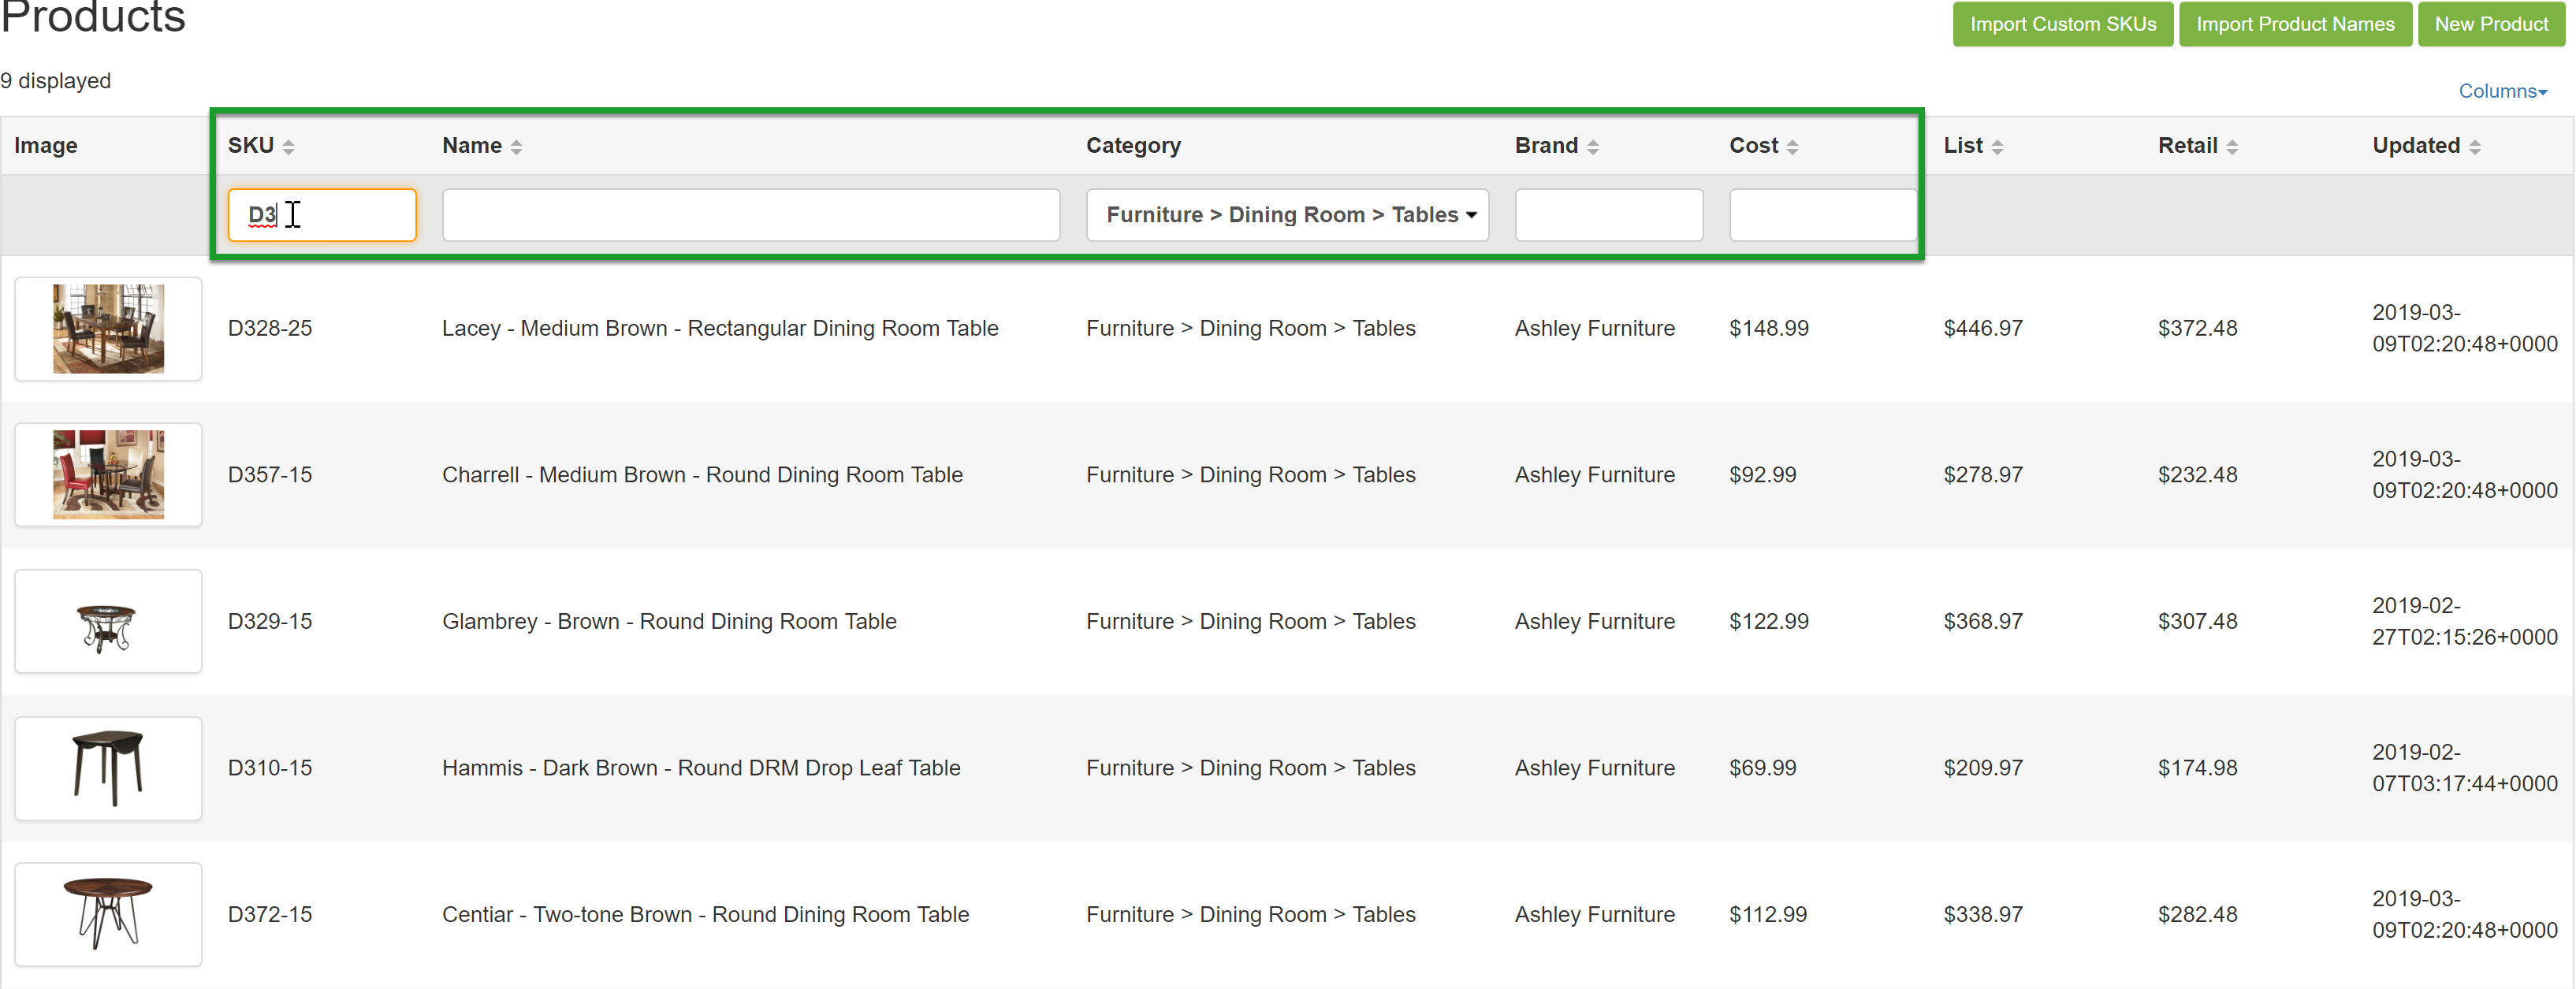
Click on the desired item to access the product detail page.
Products Detail Page
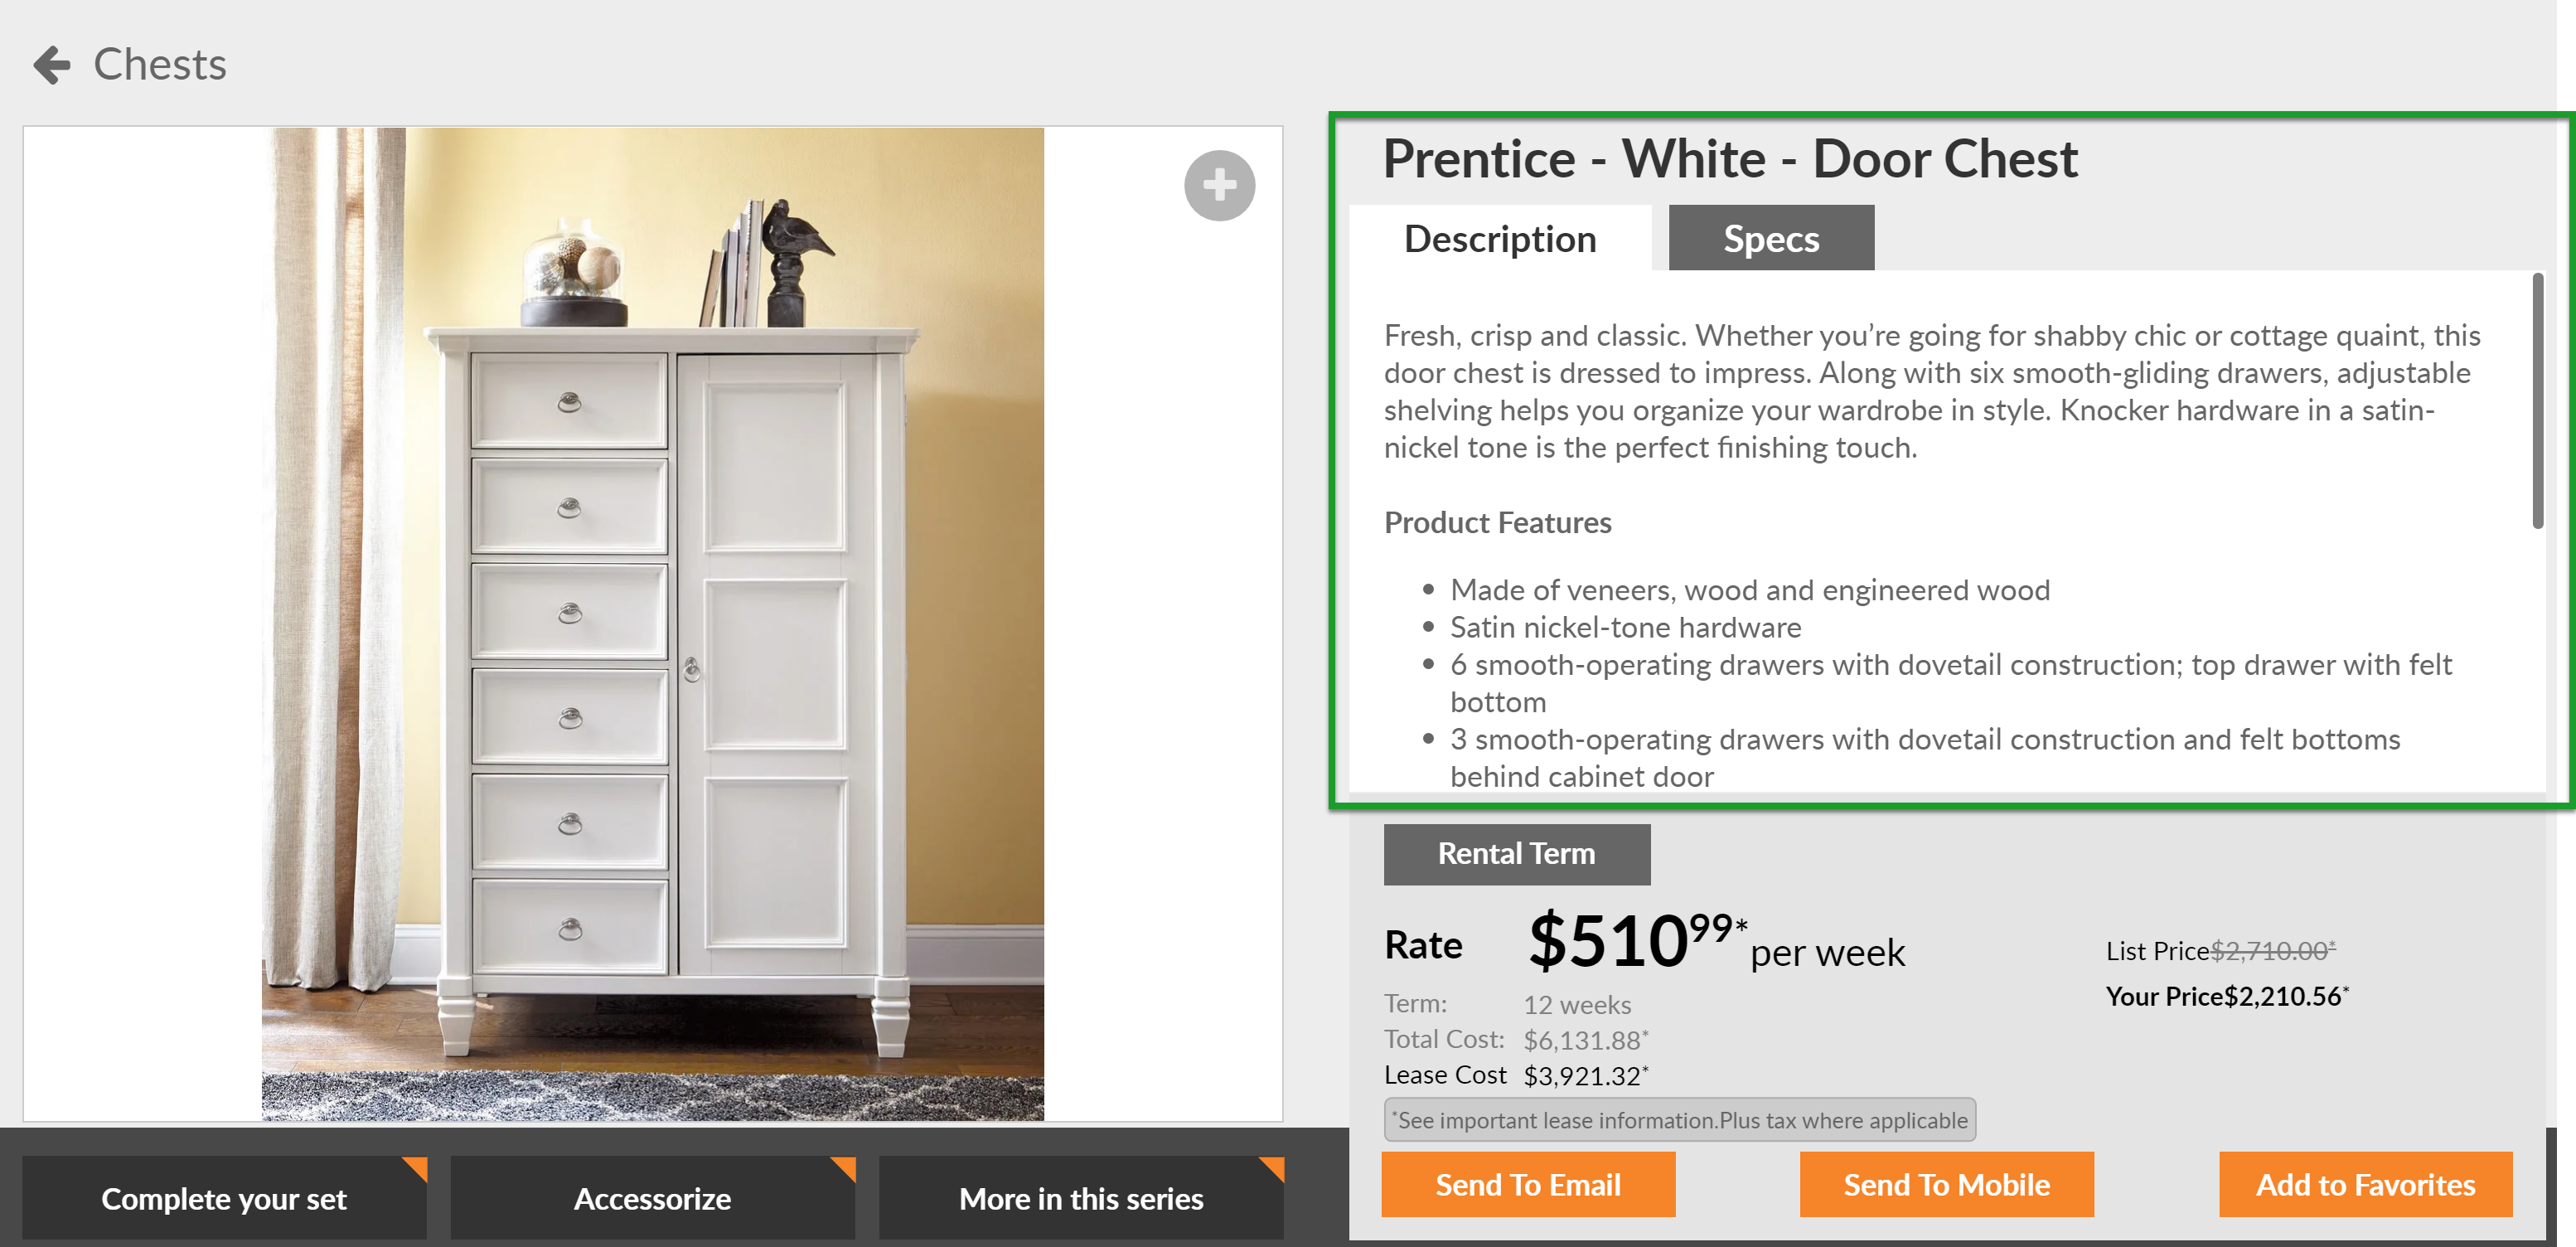
The product detail page offers you the ability to override many of the product specifications that display on the Catalog App.
Details
By default, Details are selected in the left navigation menu. 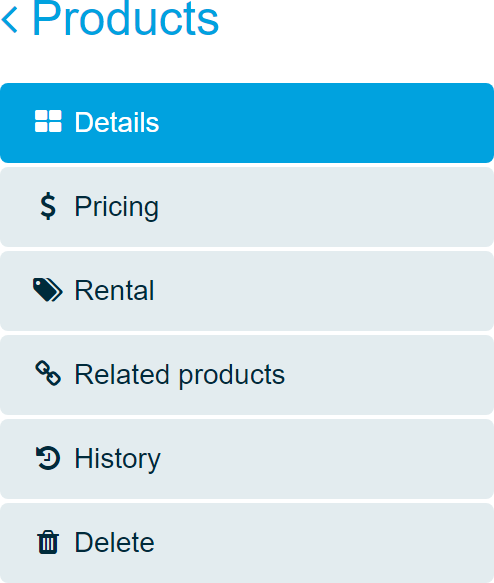
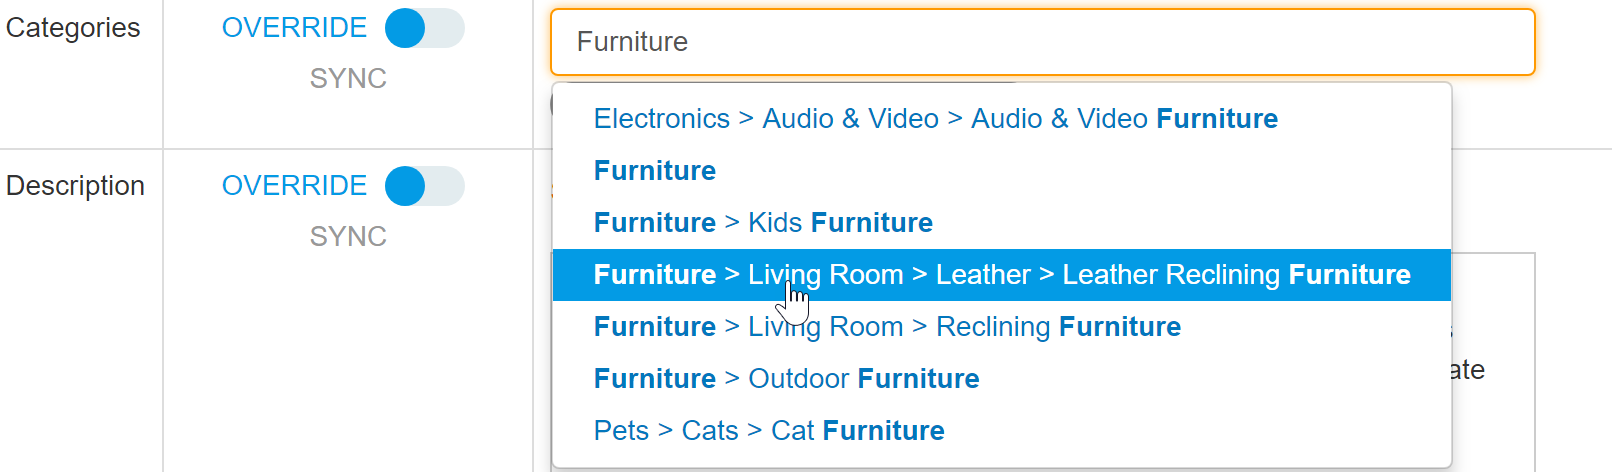
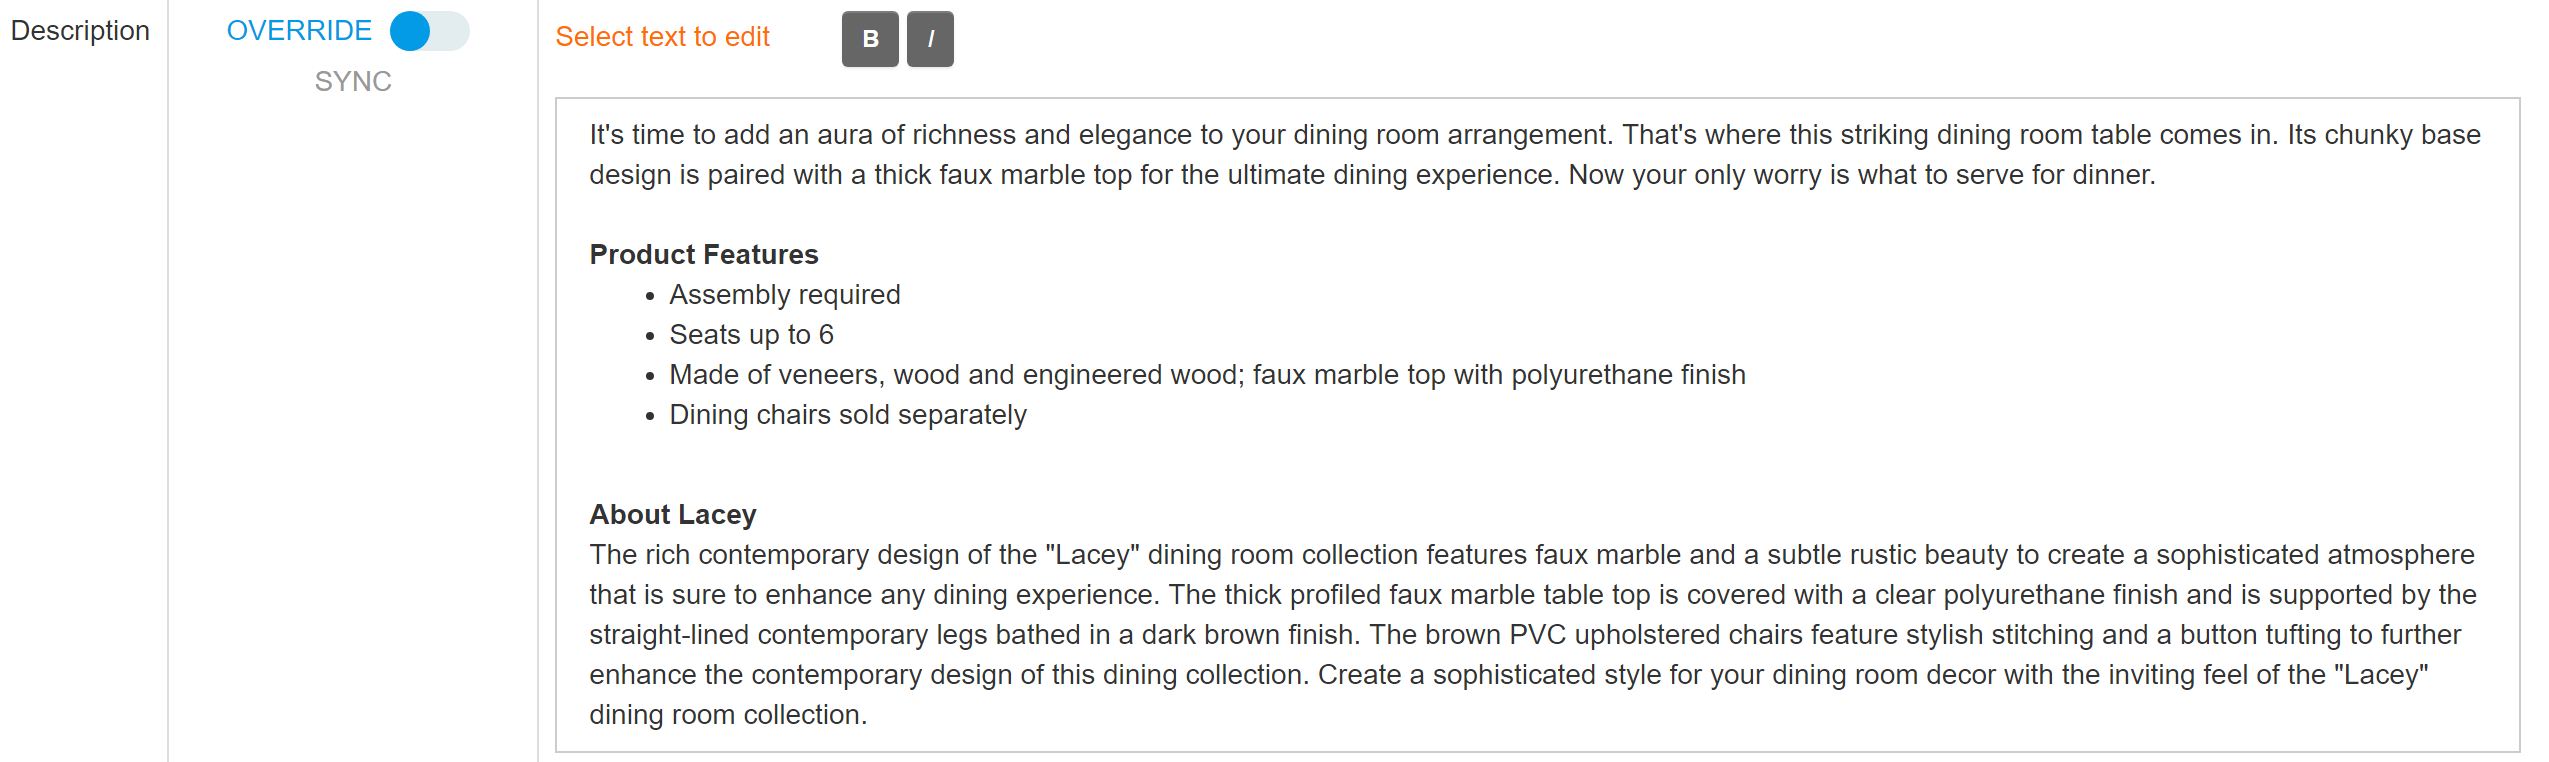
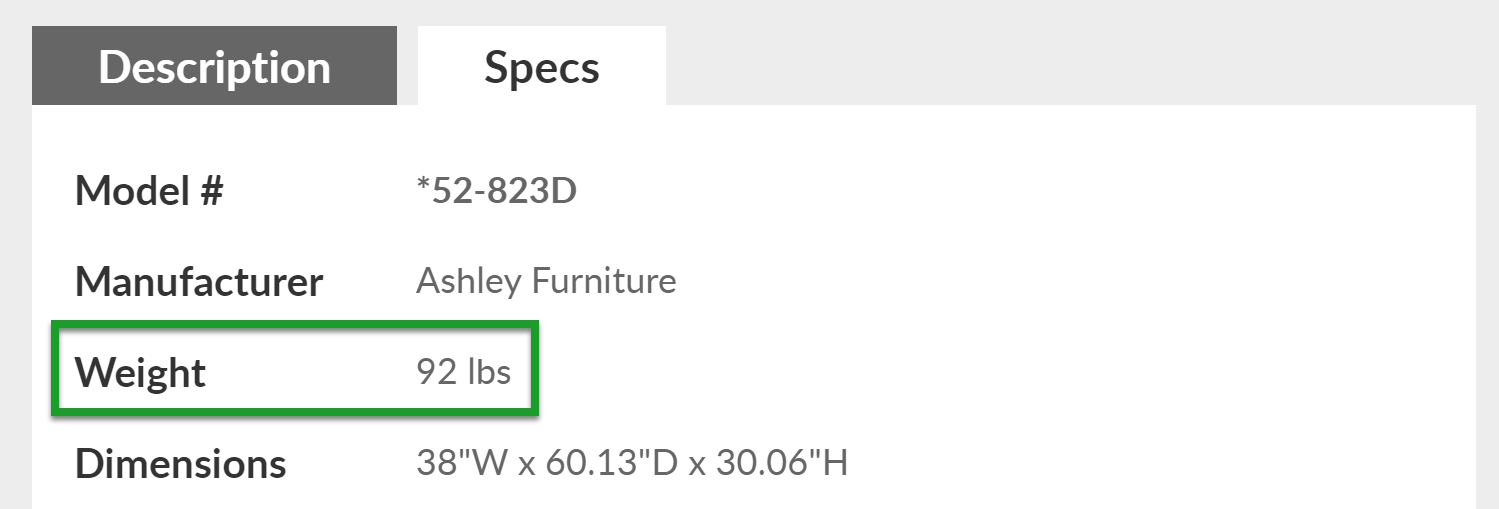
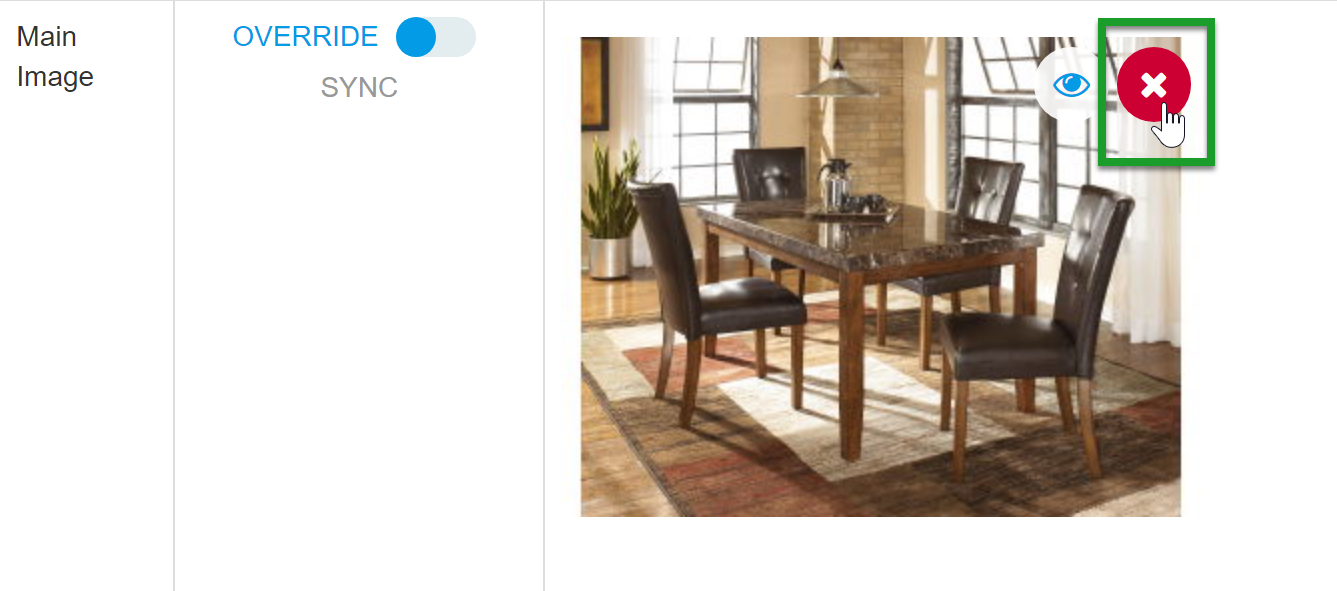
Any detail on this screen with an Override toggle is editable. Simply toggle on Override to change a product detail. Product details available to override include:
 Name
Name
- Categories
- Description
- Color
Exercise caution when changing the color and material of a product. Removing these listings will prevent this product from appearing when customers search for the original color and material listed here.
- Material
- Style
- Size
- Depth
- Length
- Height
- Weight
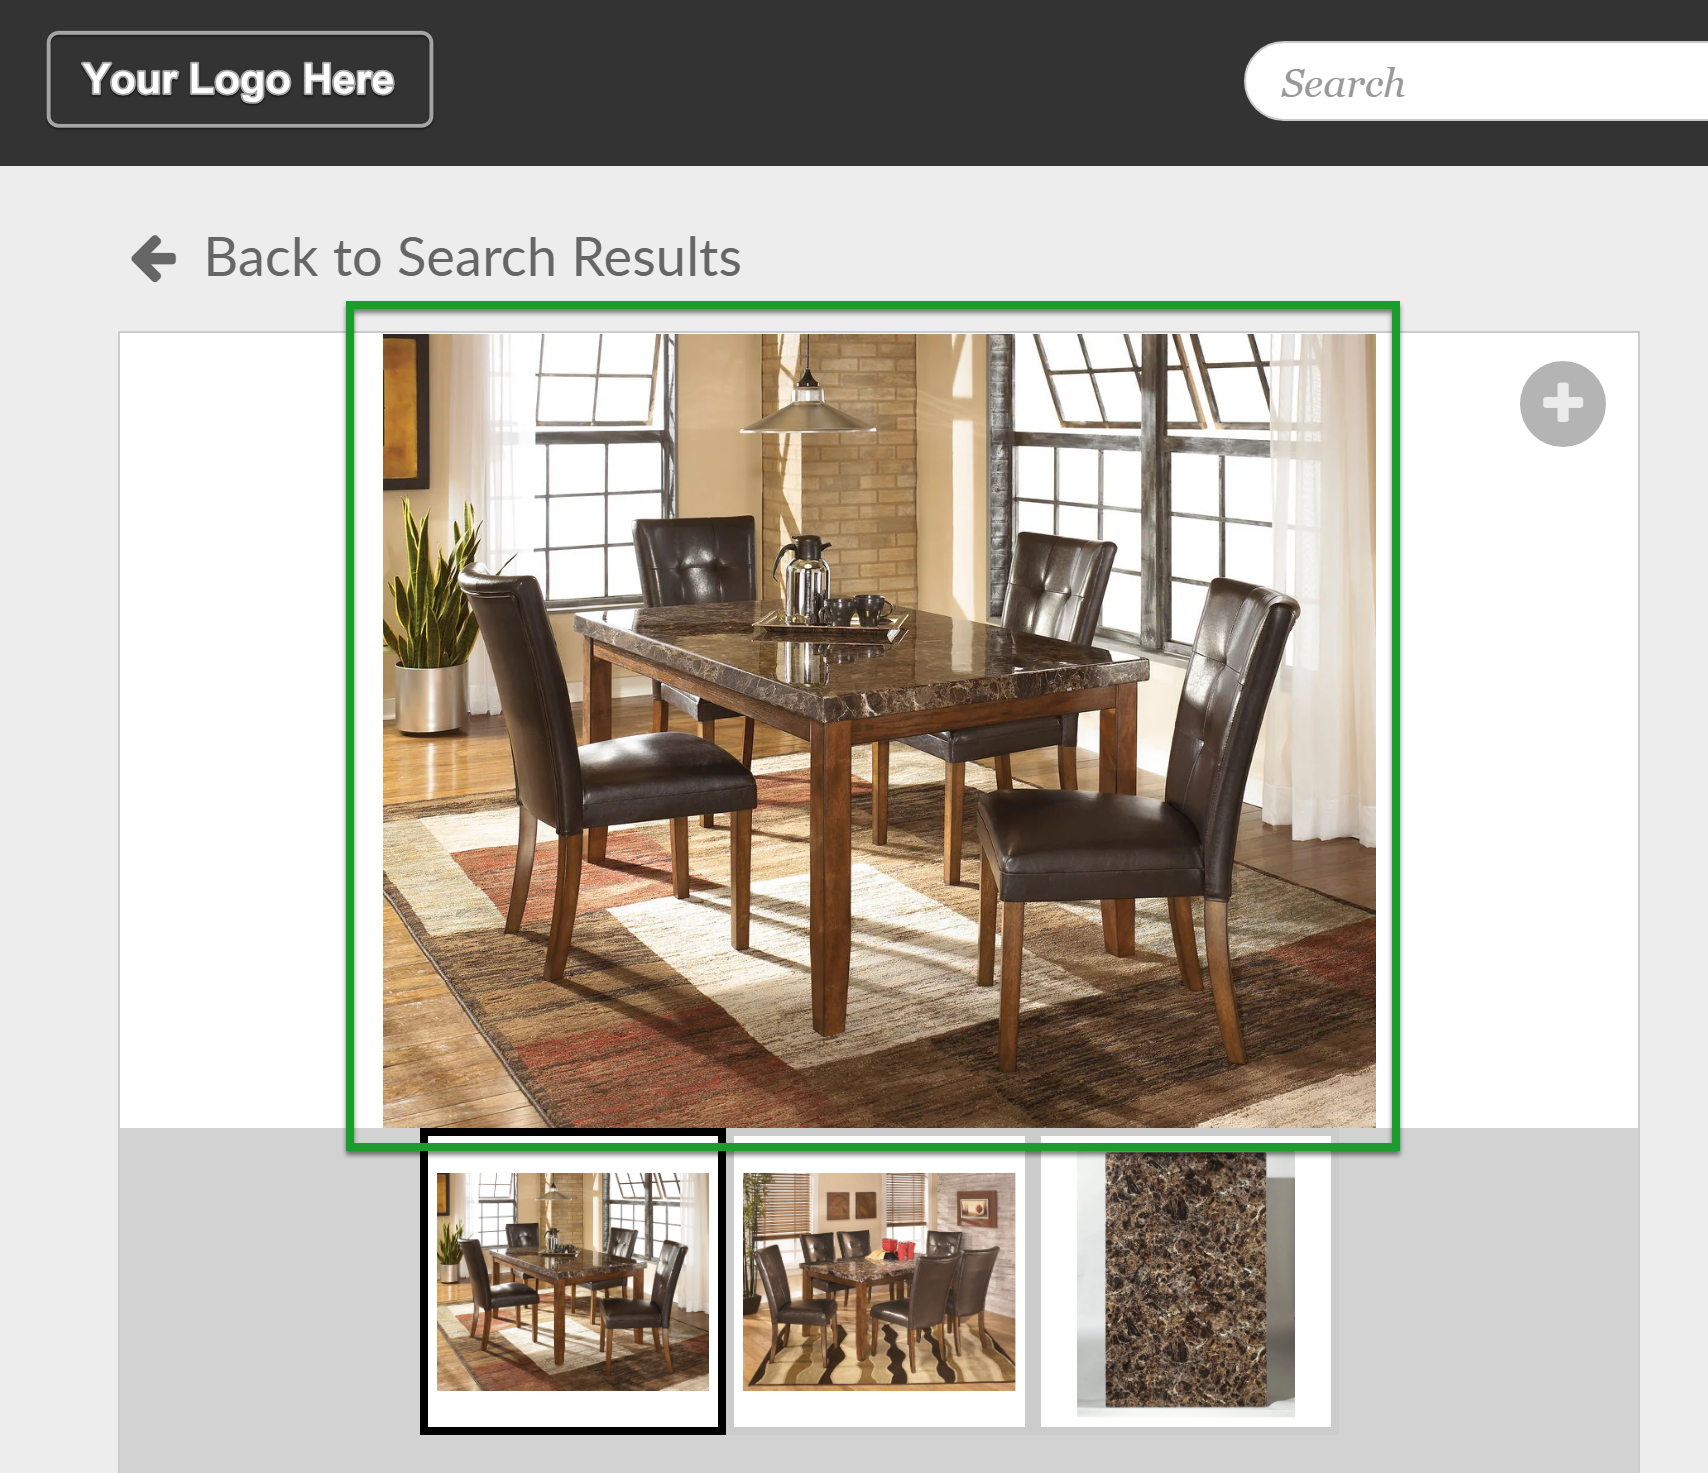
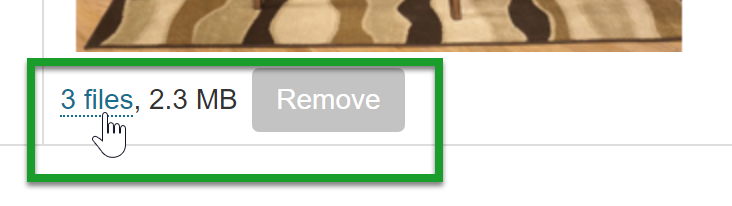
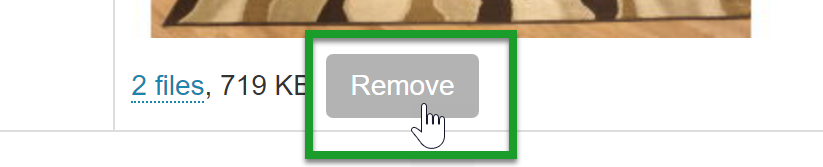
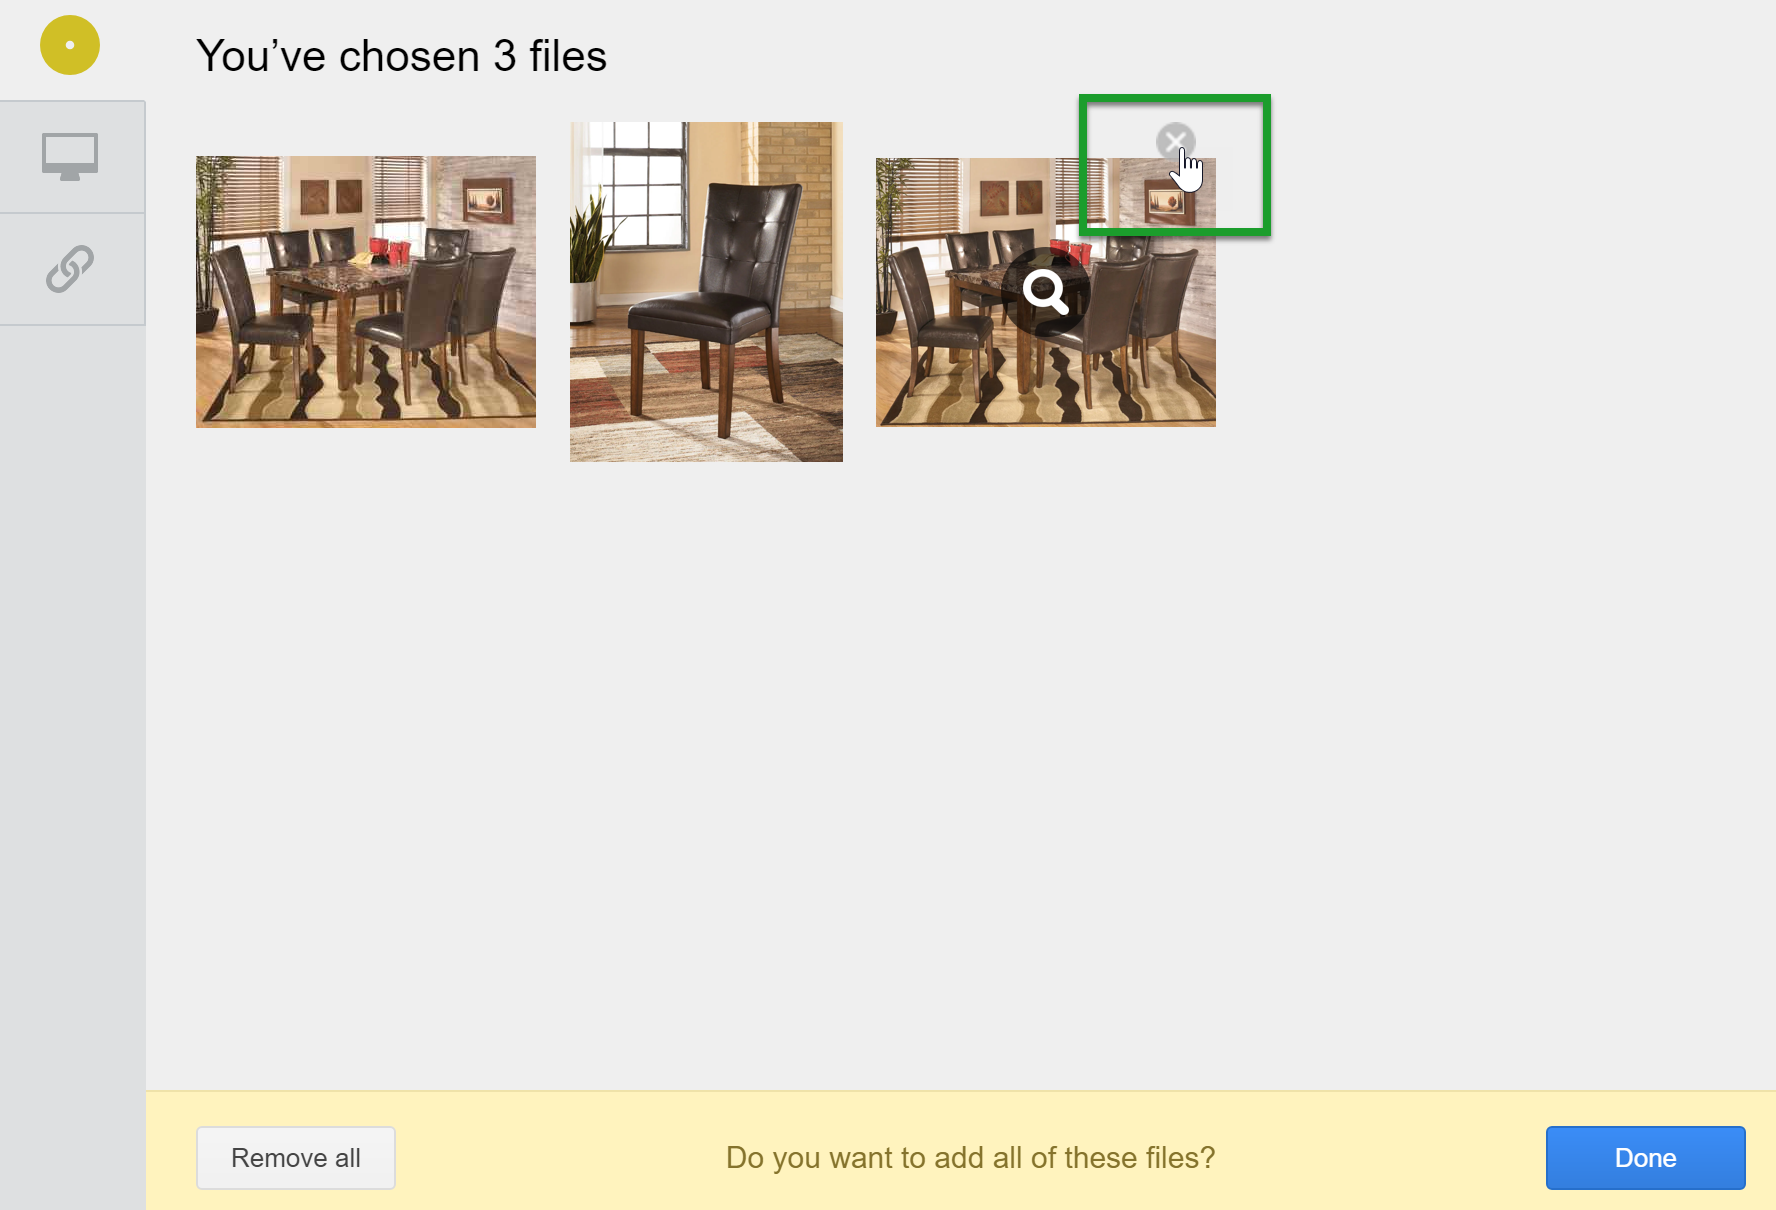
- Main Image
- Additional Images


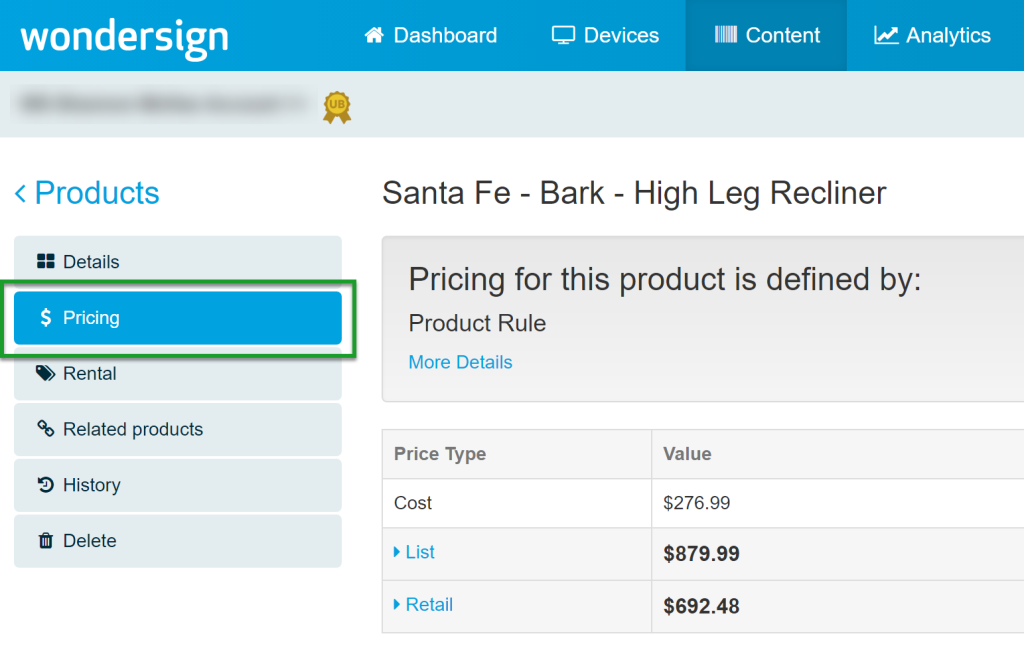
Pricing
- On the product detail page, click Pricing in the left navigation menu.
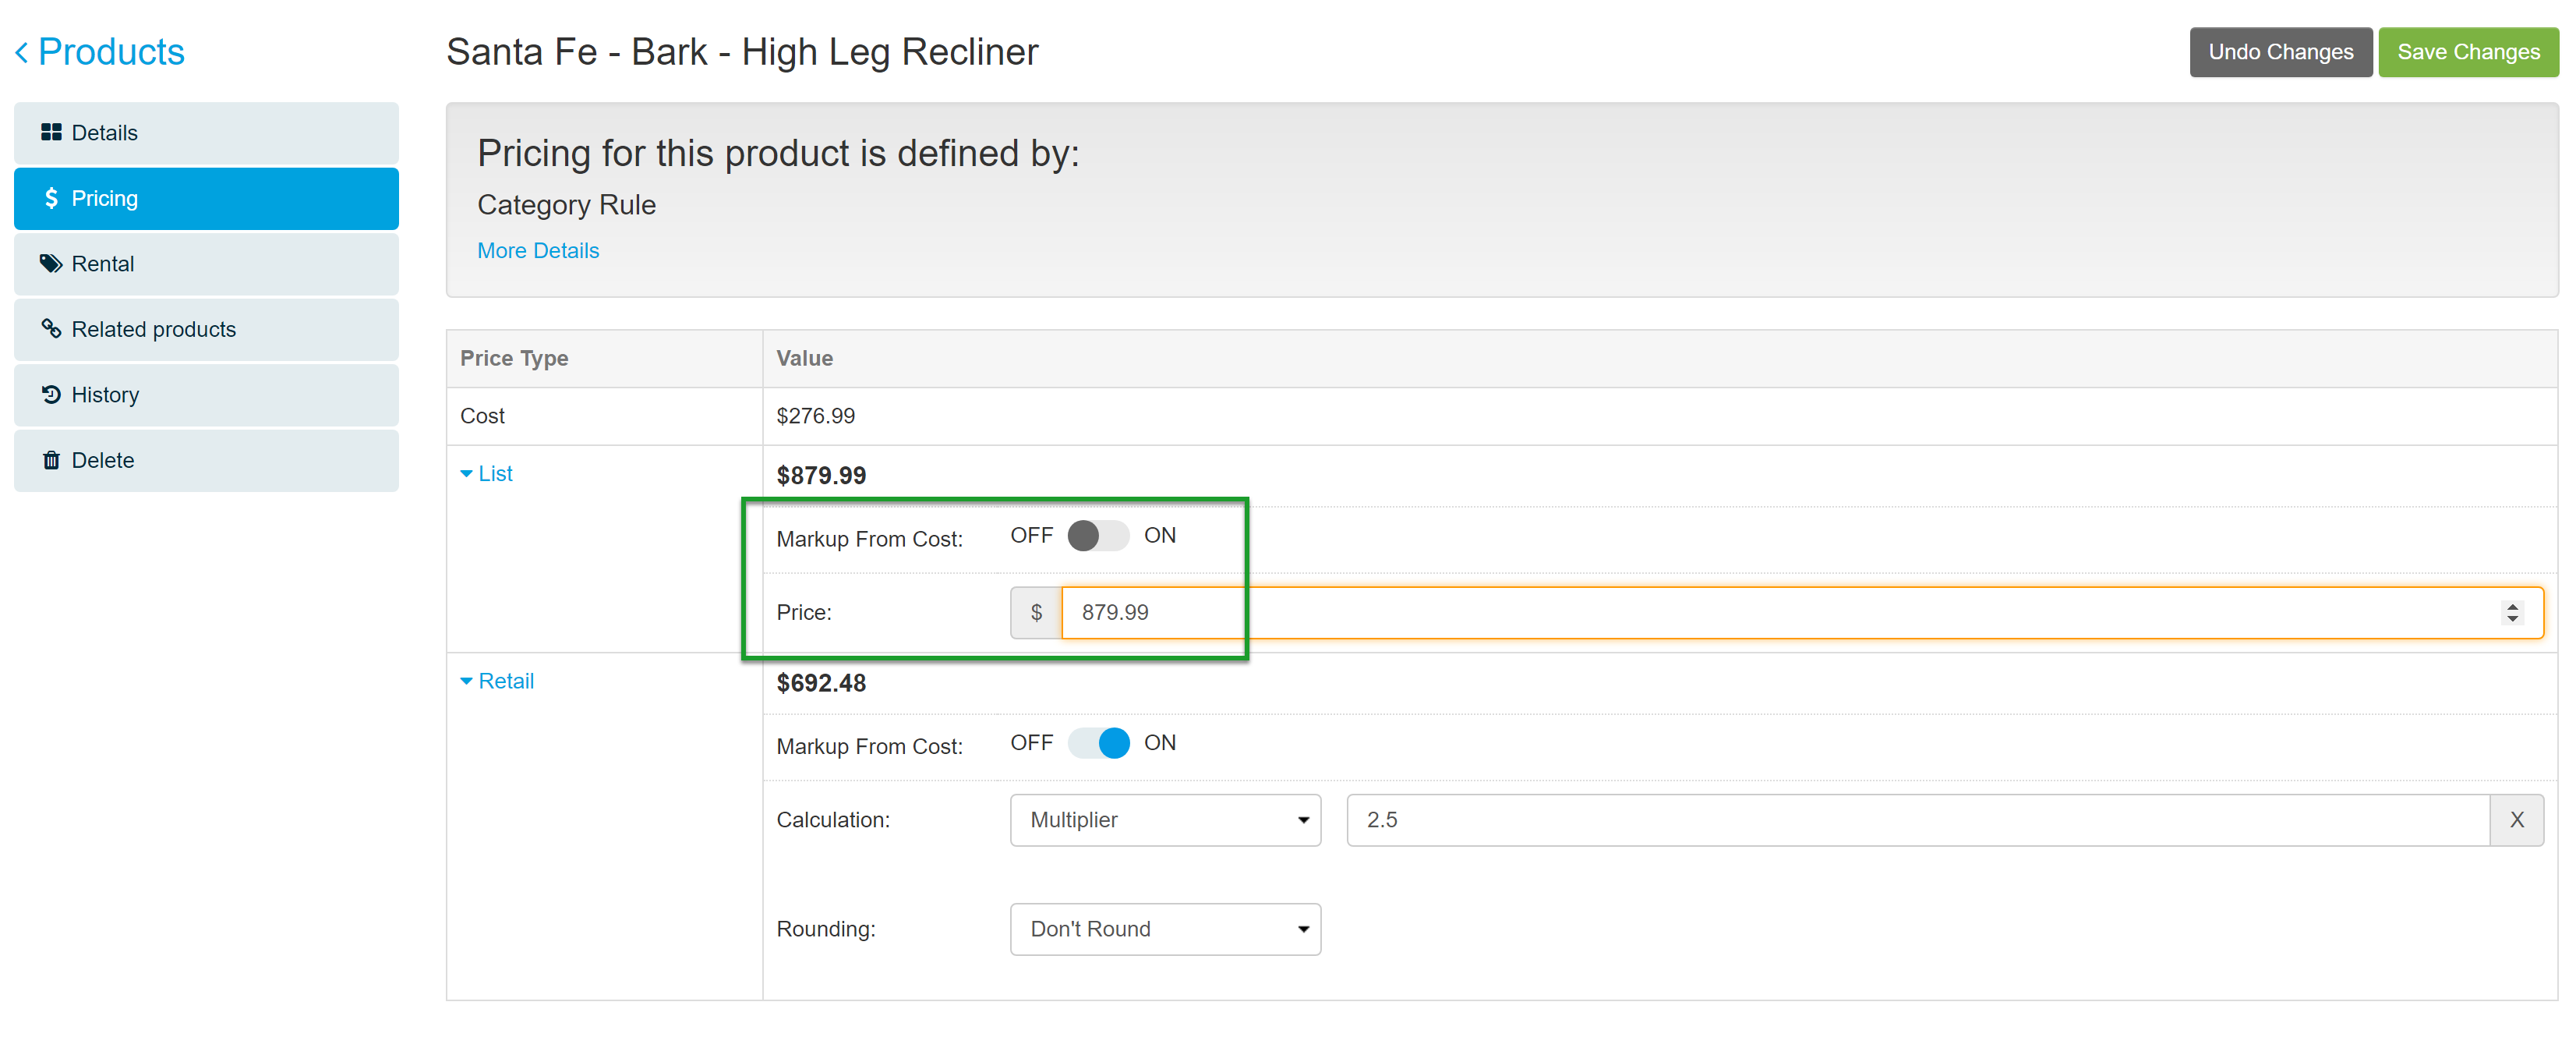
- To set a general rule, toggle on Markup from Cost.
- Select Cost Based or Fixed Price.
- Select multiplier, gross margin, or markup.
- To set a specific price for this product, toggle off Markup from Cost, and type in your preferred price.
- Click Save Changes.

Setting a custom price will supersede all other pricing rules affecting this product.
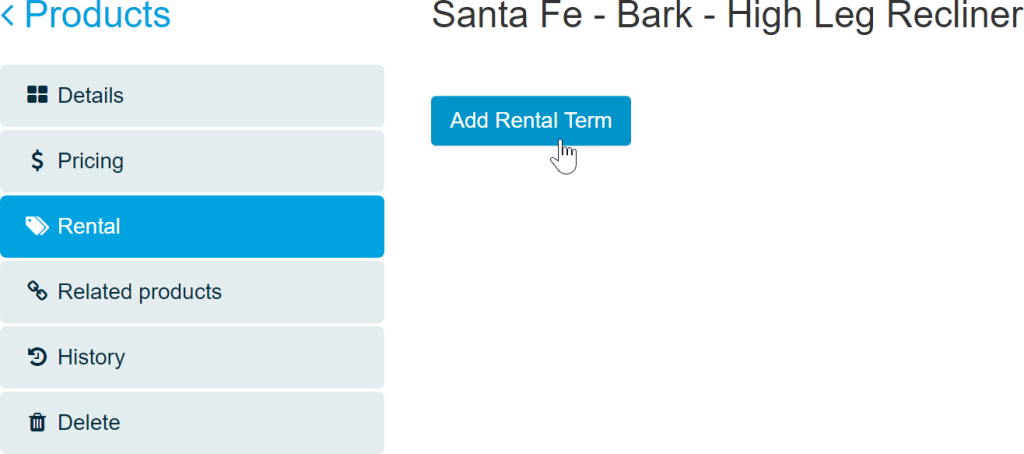
Rental
To enter rental terms for this particular product:
- Click Rental in the left navigation menu.
- If no rental terms are present, click Add Rental Term.
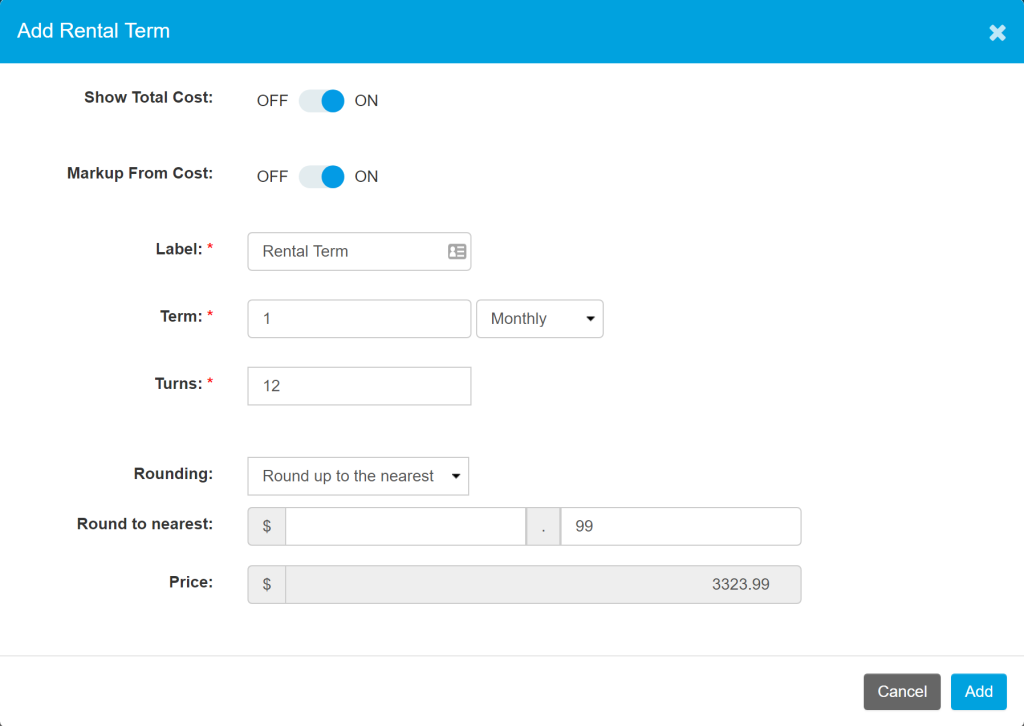
- Enter in your rental term specifics for this product:
- Markup From Cost - Toggle on this option to markup the product from cost.
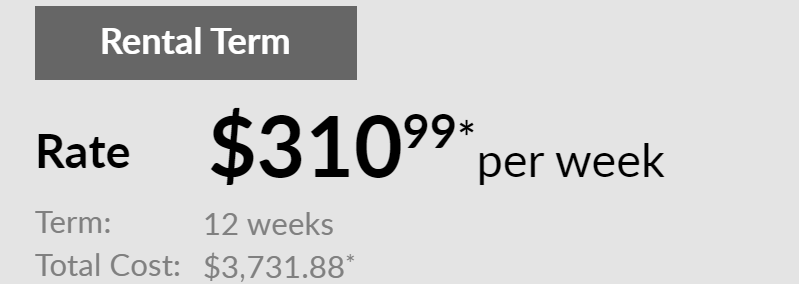
- Toggle on Show Total Cost to display the total cost to the customer at the end of the rental term.
- Label - Enter a label for your rental pricing. This label appears in the Catalog App above the calculated rate.
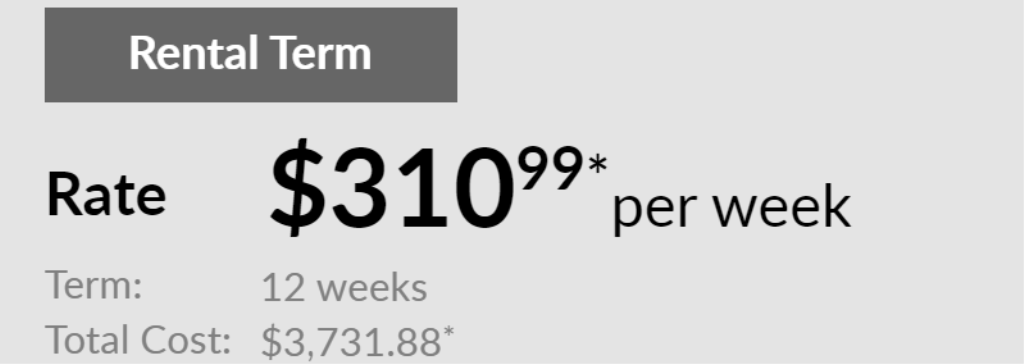
- Terms - Set your pricing terms. Enter a number and select from Weekly, Bi-Weekly, Semi-Monthly, or Monthly.
- Turns - Set your turns for the number of times you'd like to mark up the product from cost. For example, if an item costs you $100 to purchase from the manufacturer, a turn of 2.5 will display the price of the item to the customer as $250.
If do not currently have rental pricing activated in your system and would like to set rental prices on the Catalog Kiosk, please contact the Wondersign support team via email at support@wondersign.com, or via phone at 855-408-9966 (Opt 2) Monday through Friday from 9 a.m. to 6 p.m. EST.Rounding - Use the rounding tool to round the price up or down to a specific number for each rental payment.
- Price - To set a specific price for this product, uncheck Markup from Cost and enter in a price manually.


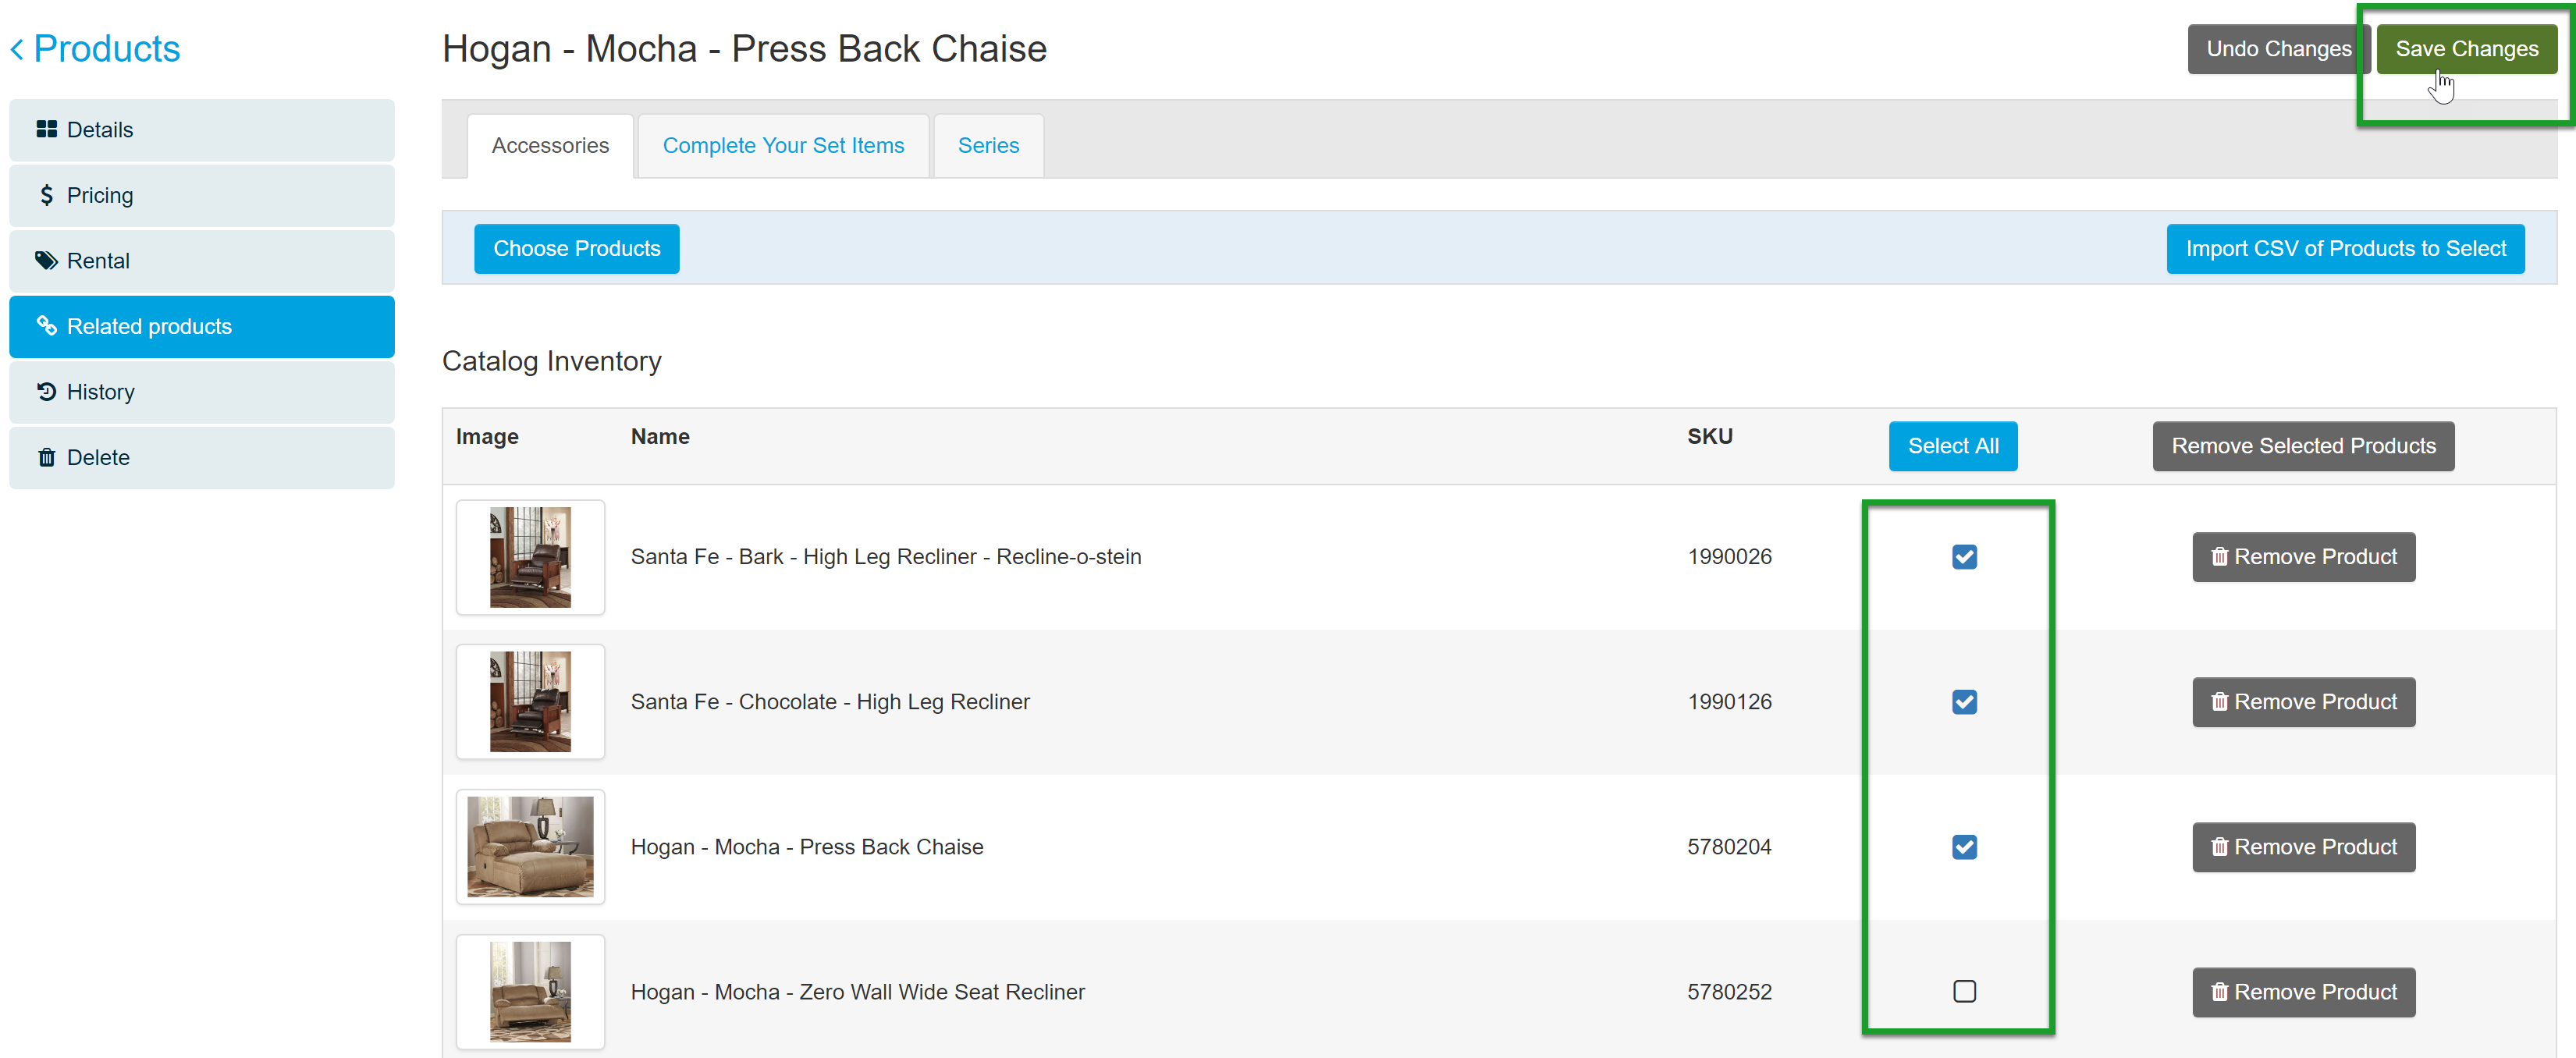
Related Products
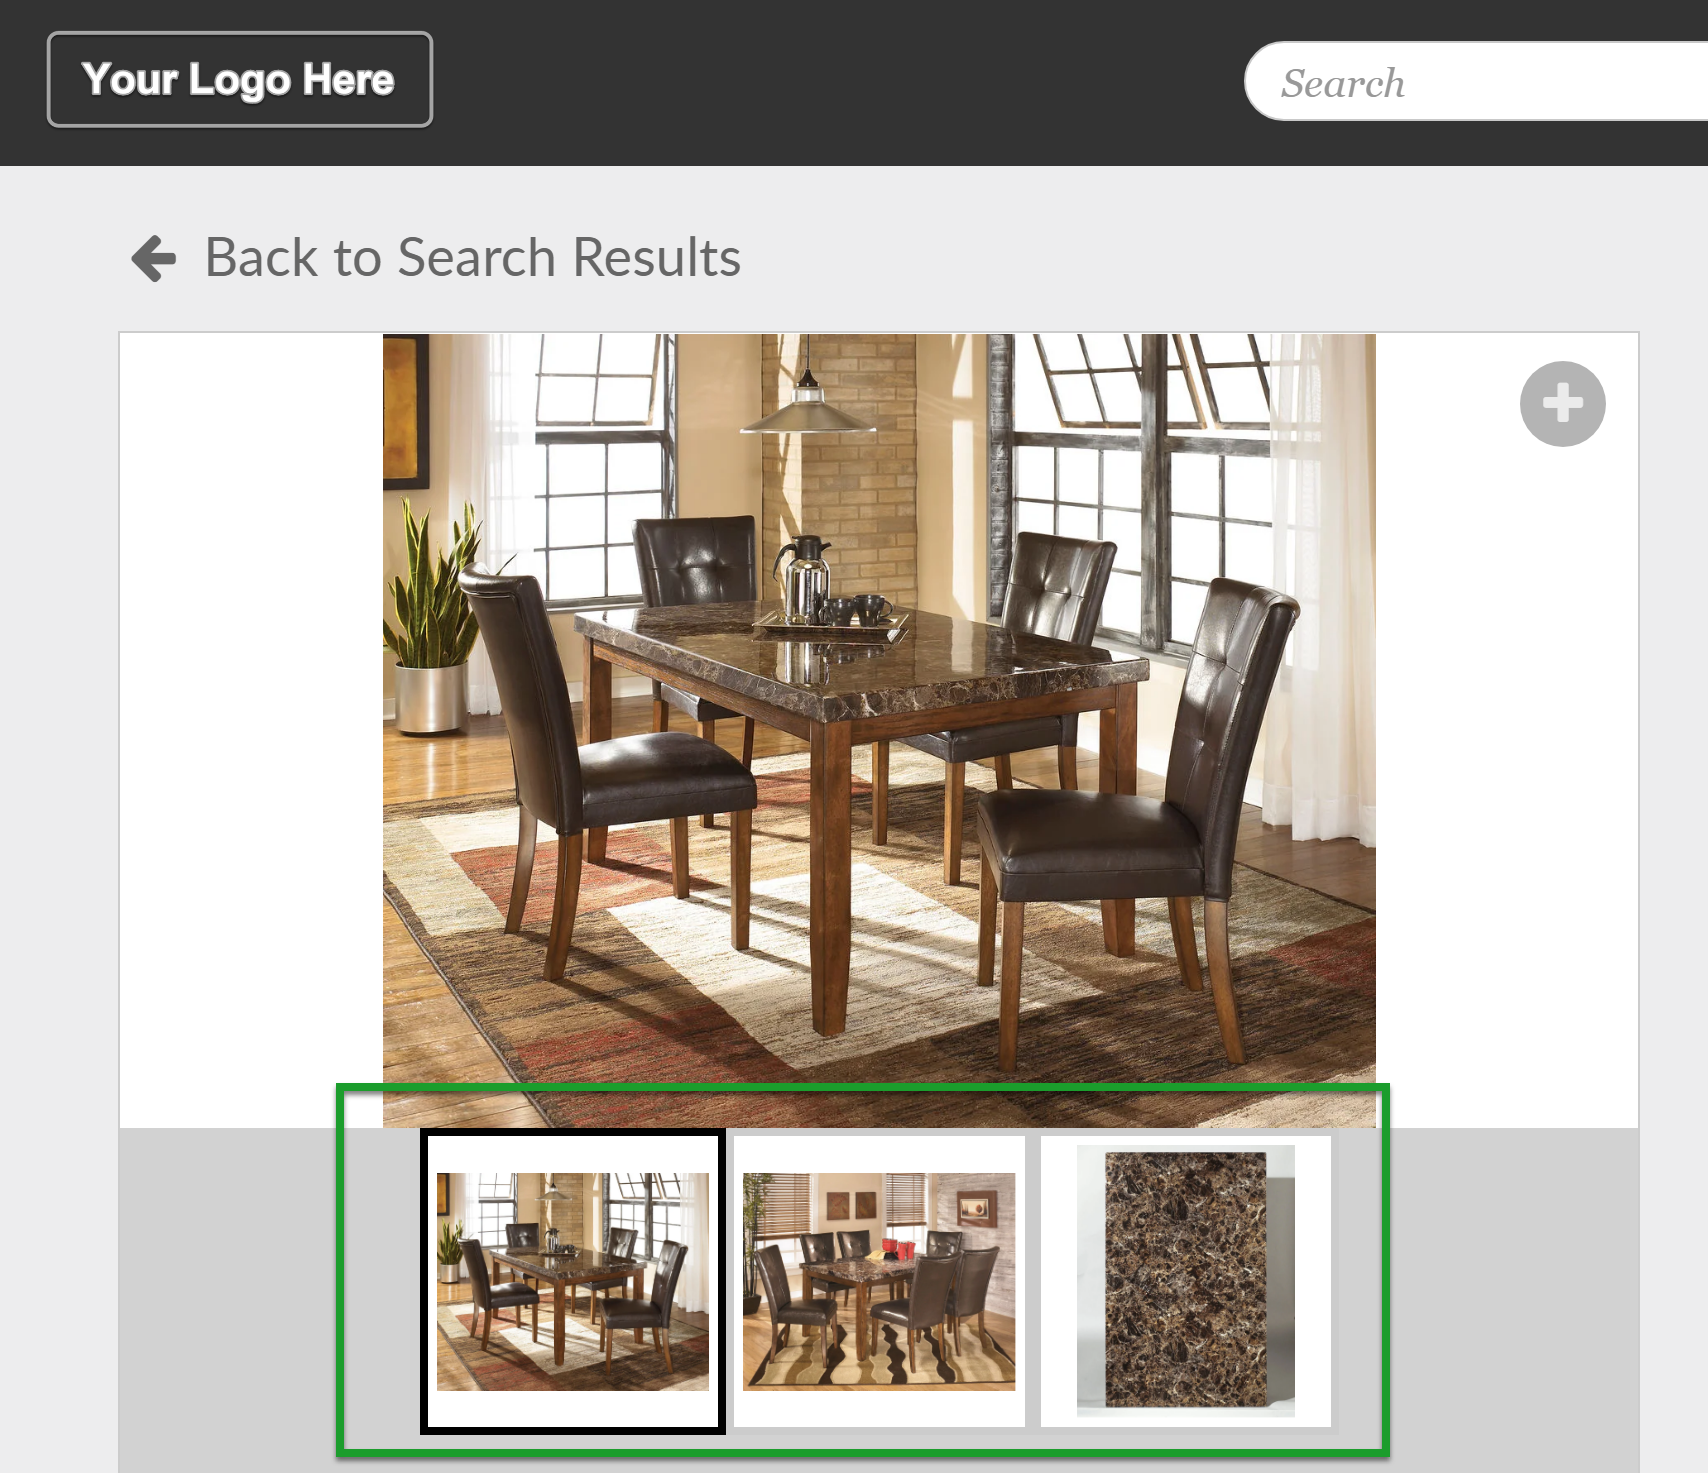
Related products are available in the Catalog App under the main image for each product. 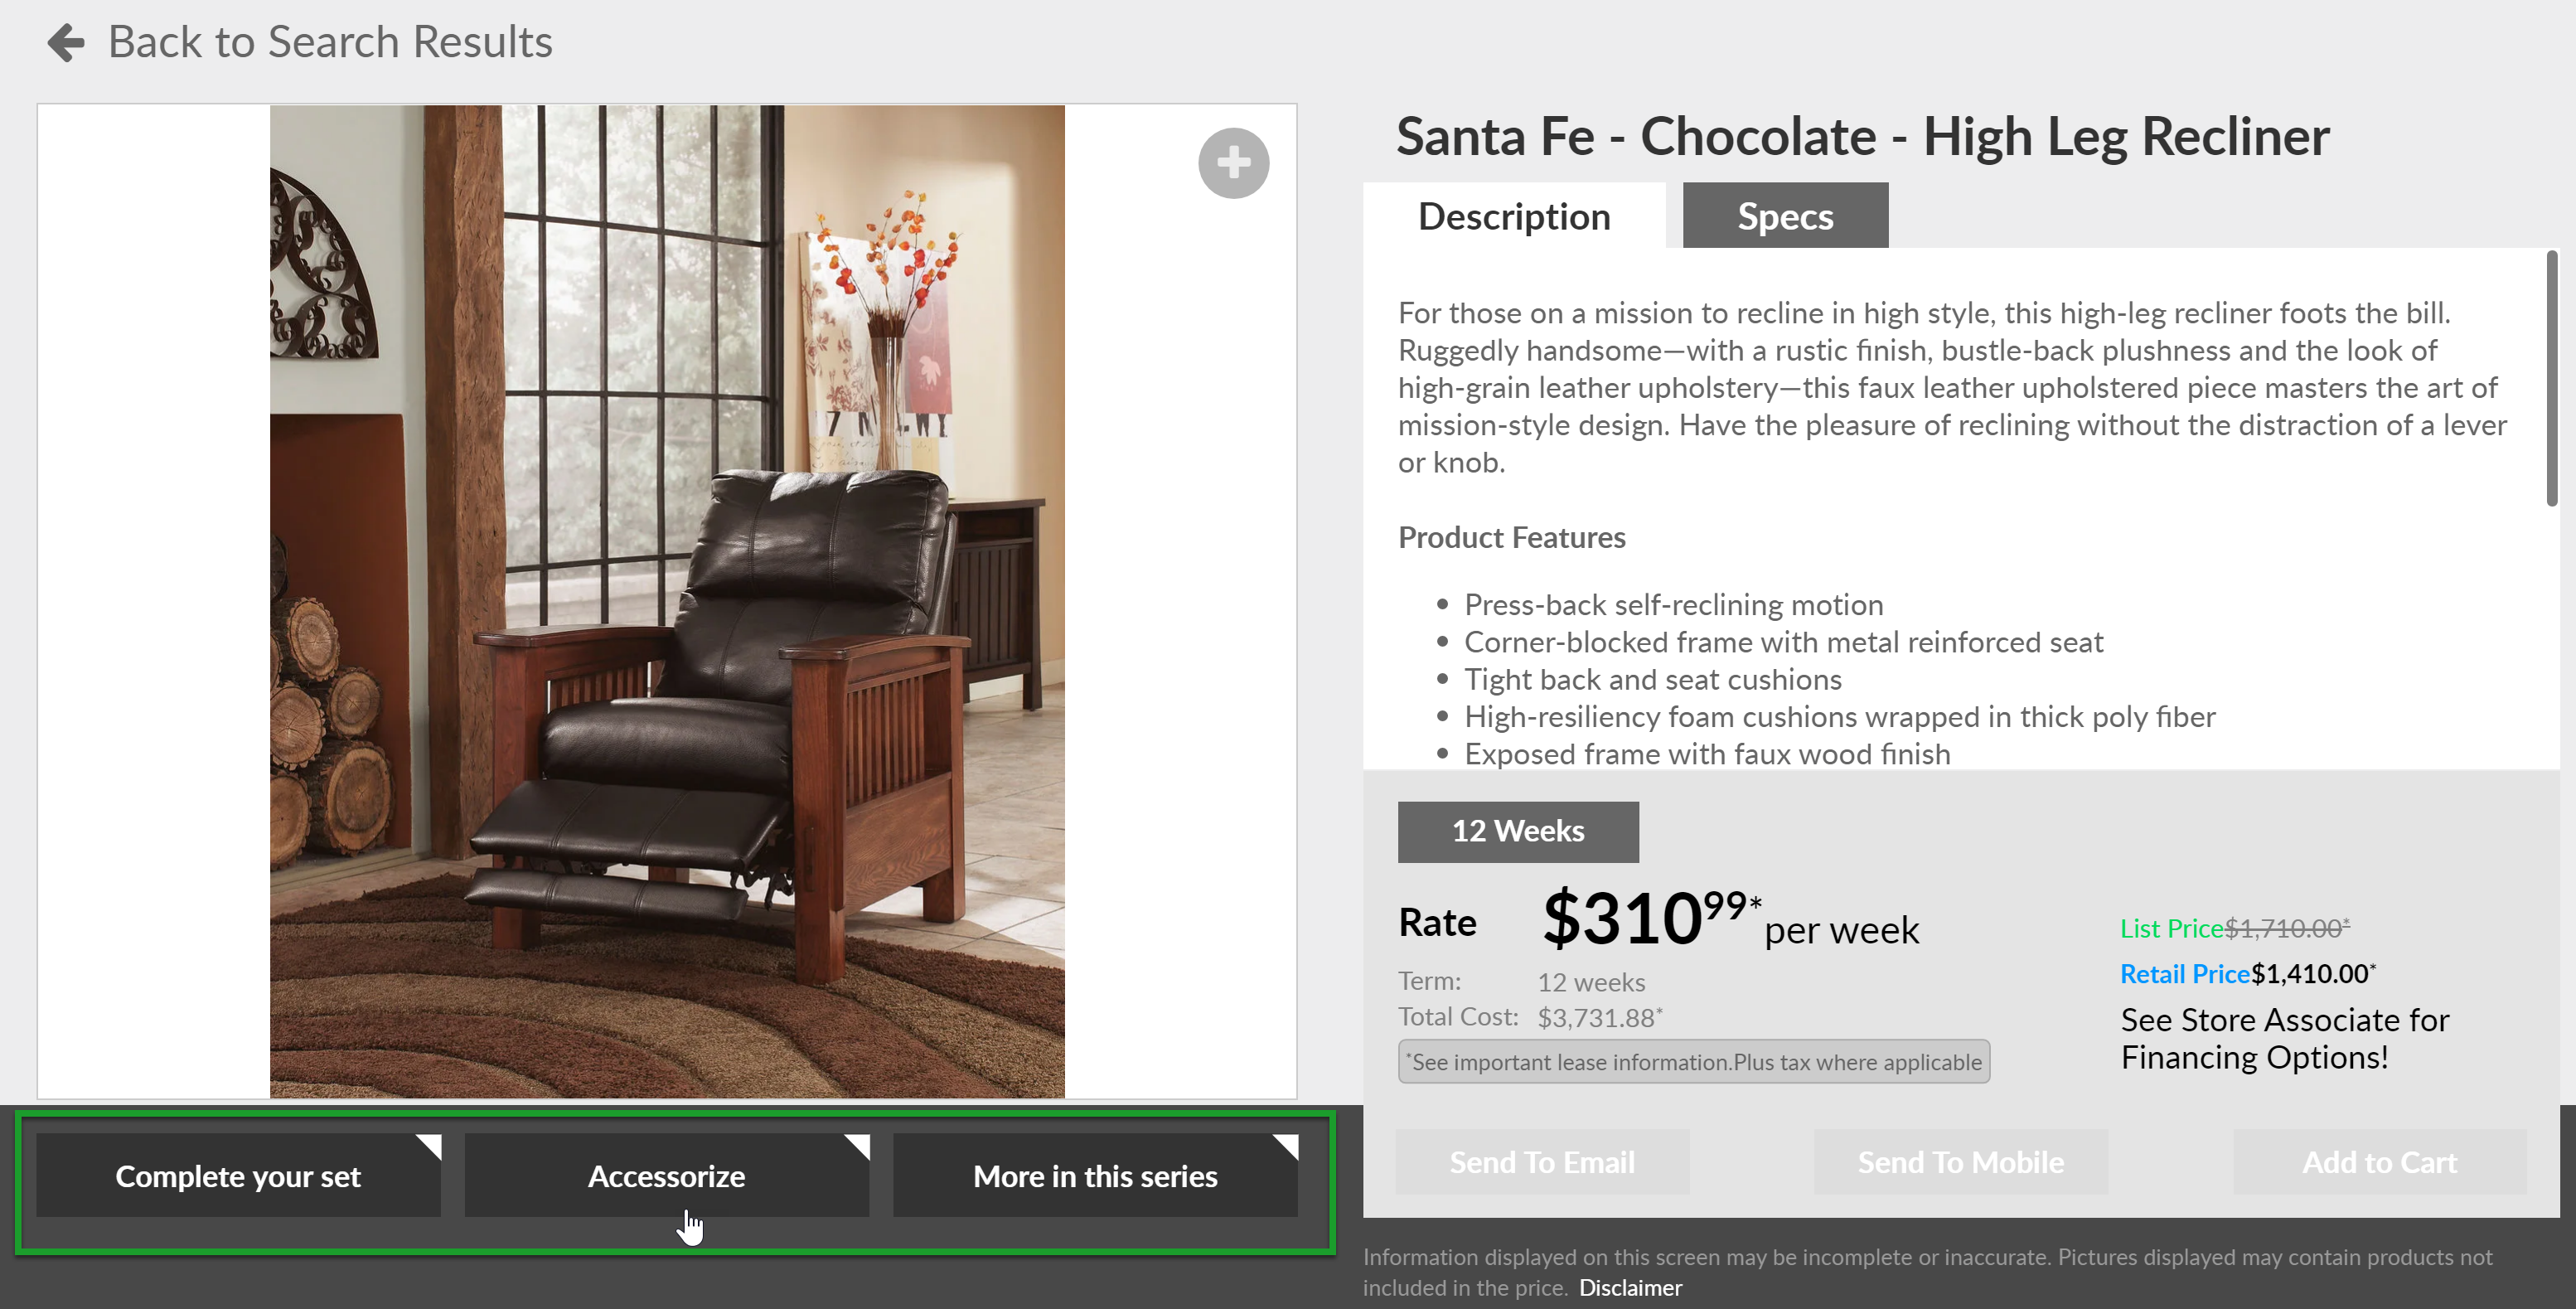
To associate related items to a product, click Related Products in the left navigation menu.
- Select the Accessories, Complete Your Set, or Series tab to assign products to these buttons.
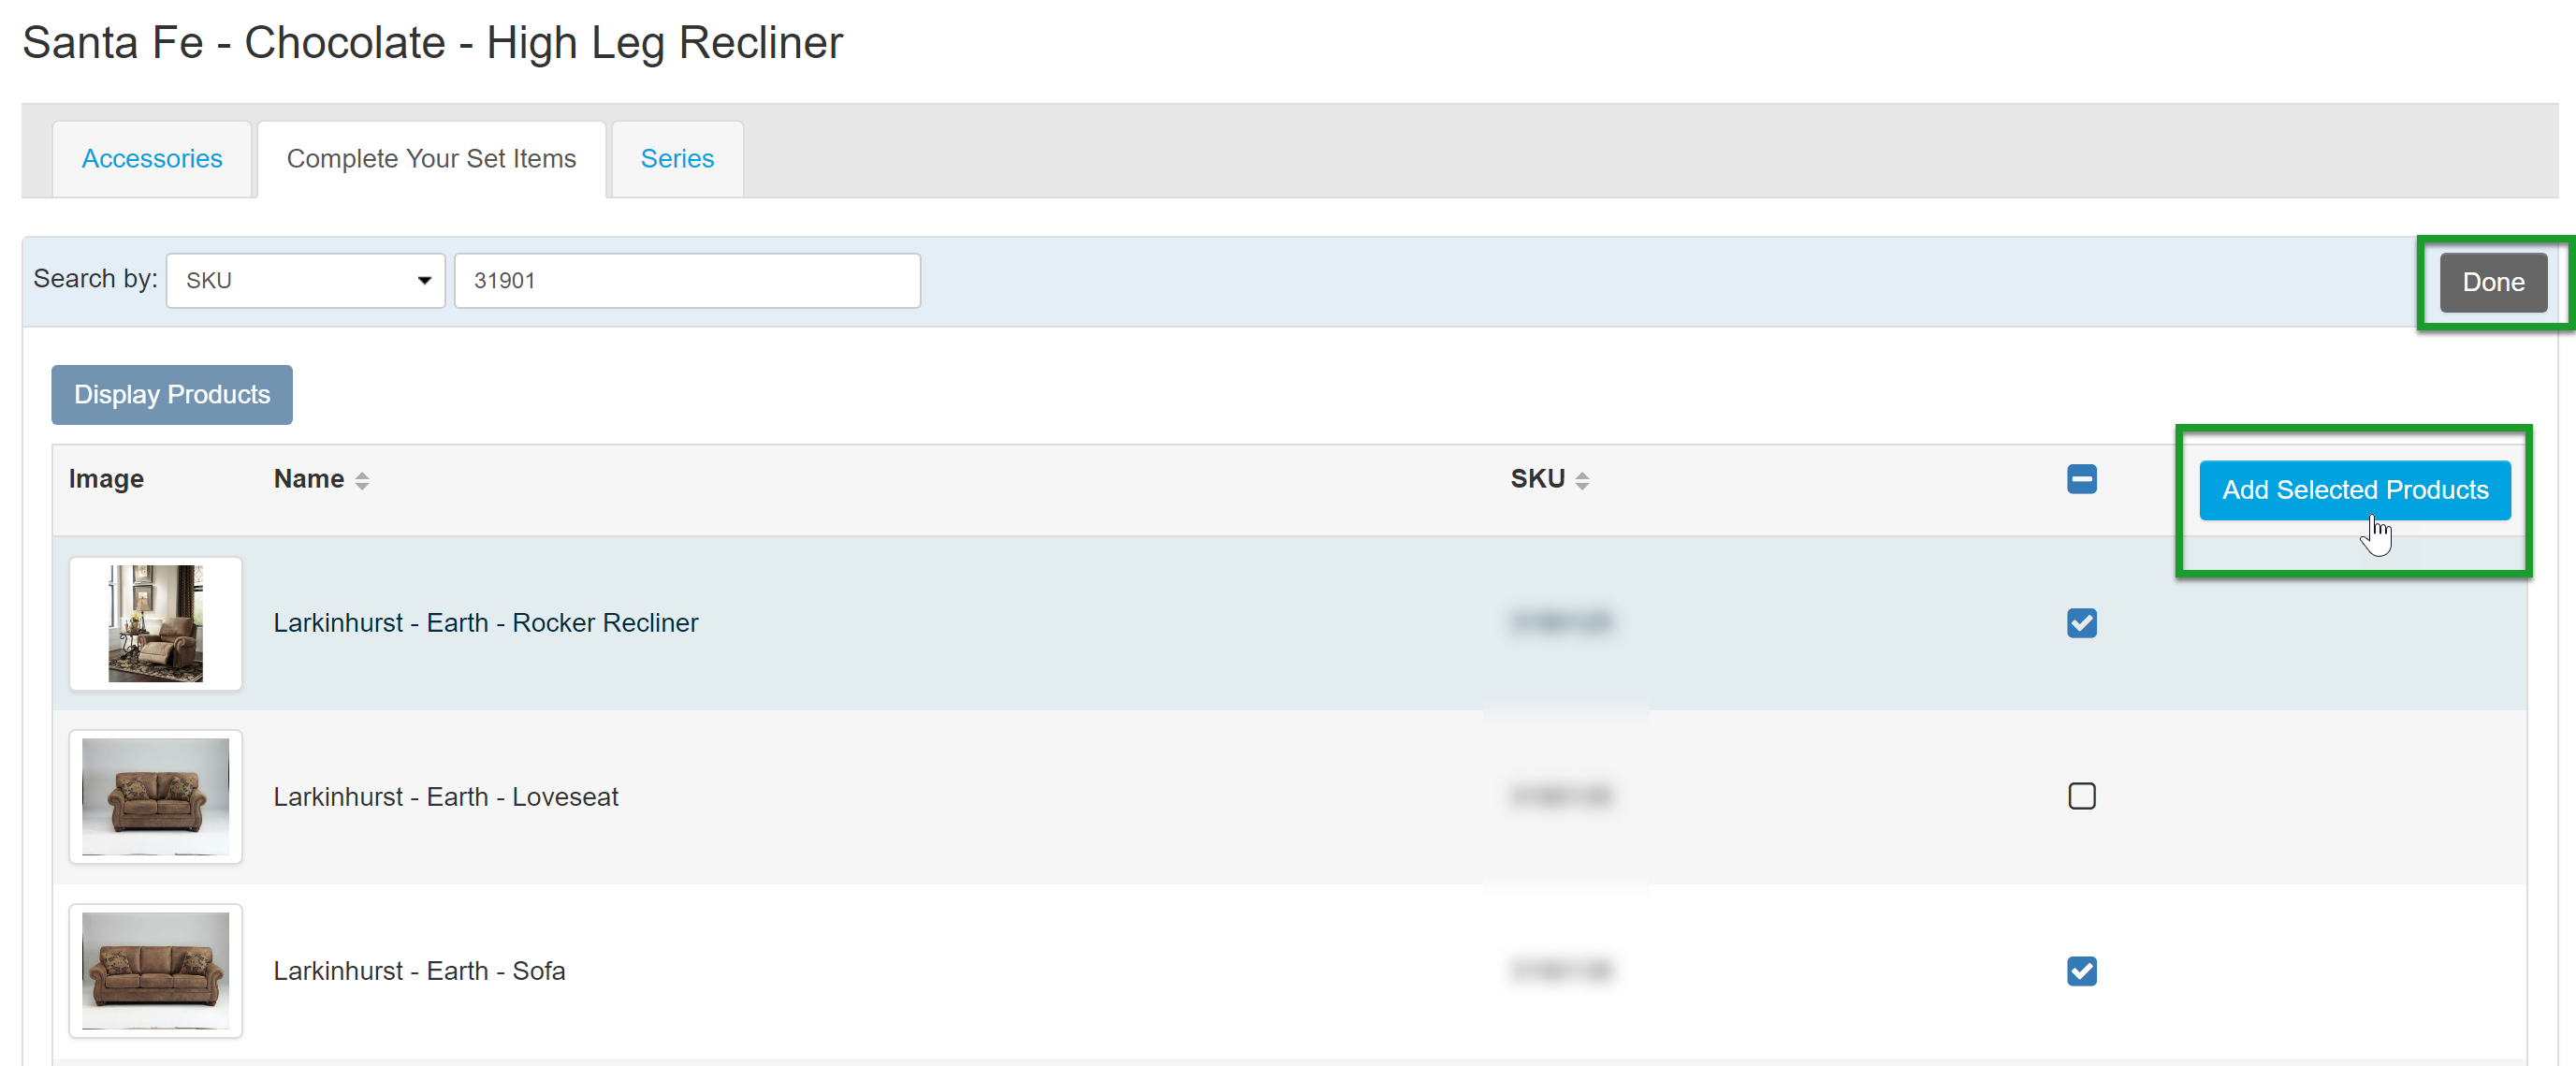
- Click Choose Products.
- Search for products by SKU, Catalog, or Product Name.
- Select products, and click Add Selected Products.
- Click Done.


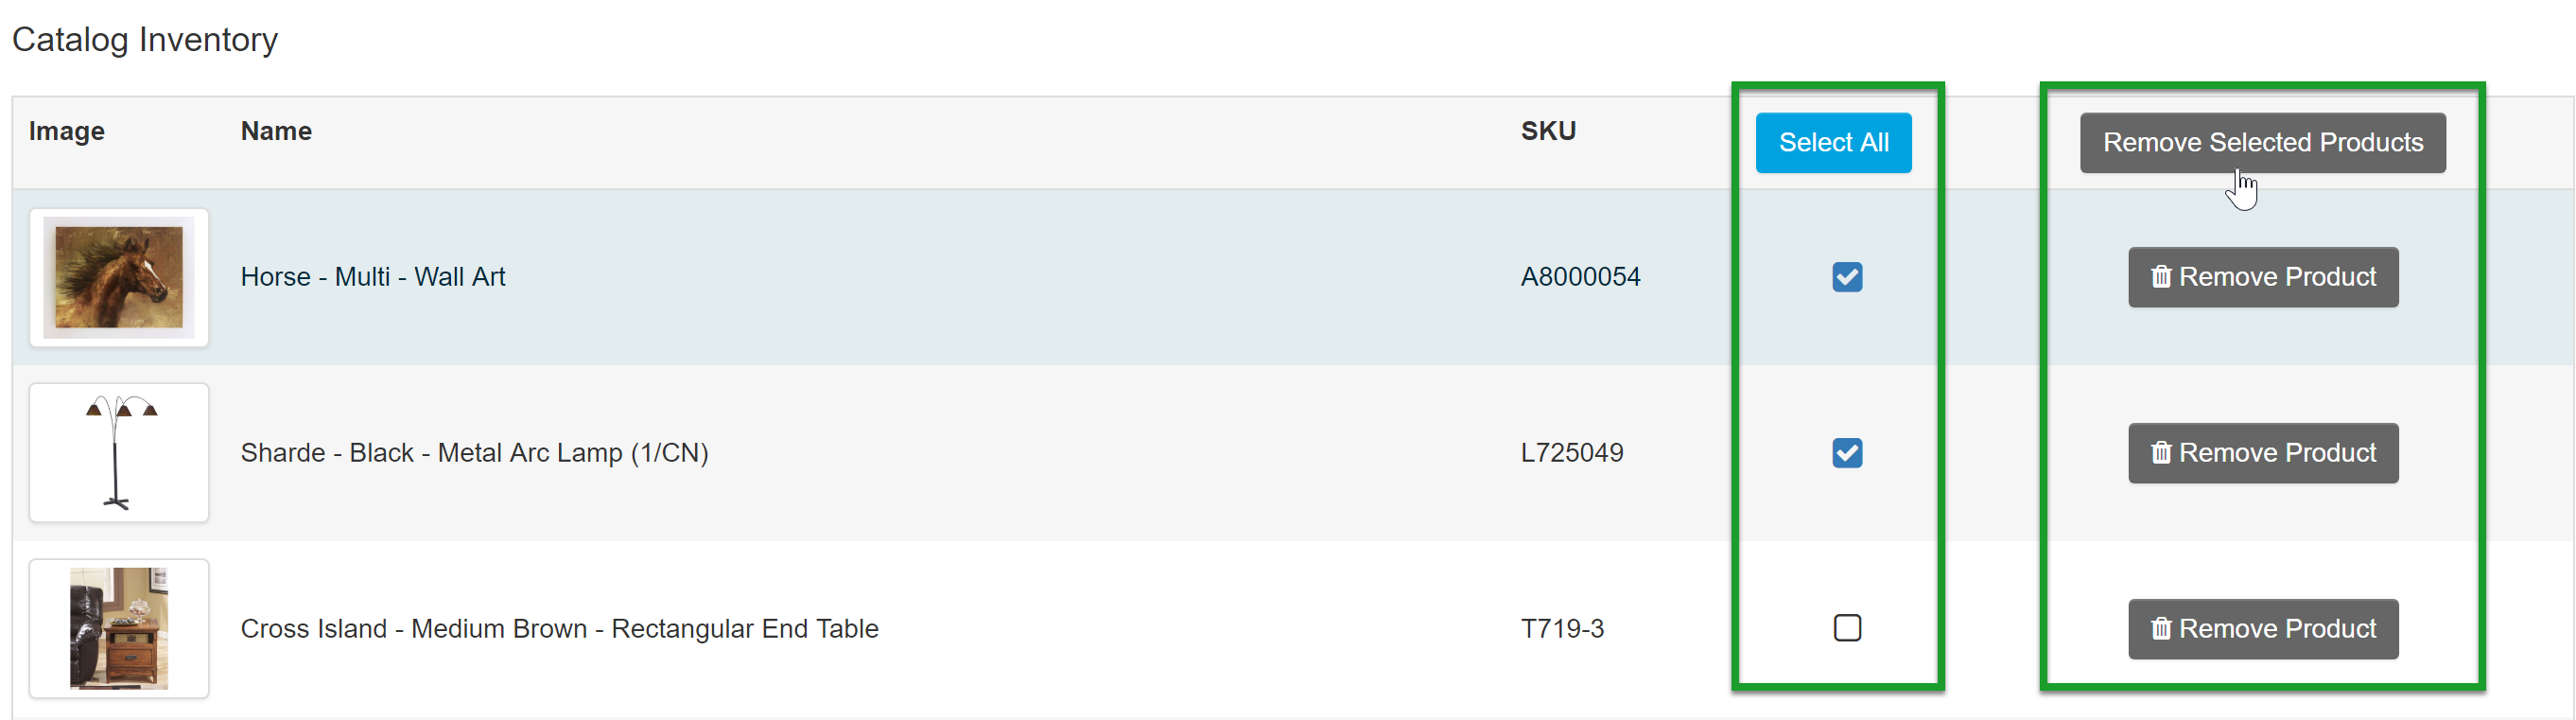
To remove related products, select multiple products to remove and click Remove Selected Products. To remove a single product, click the Remove Product button associated with that product row.
Upload a List of Related Products
To upload a list of related products:
- Click Import CSV of Products to Select.

- Map any column headers that are not automatically assigned by selecting the correct column name from the drop-down menu. Select "ignore" for any columns that you do not want to import.
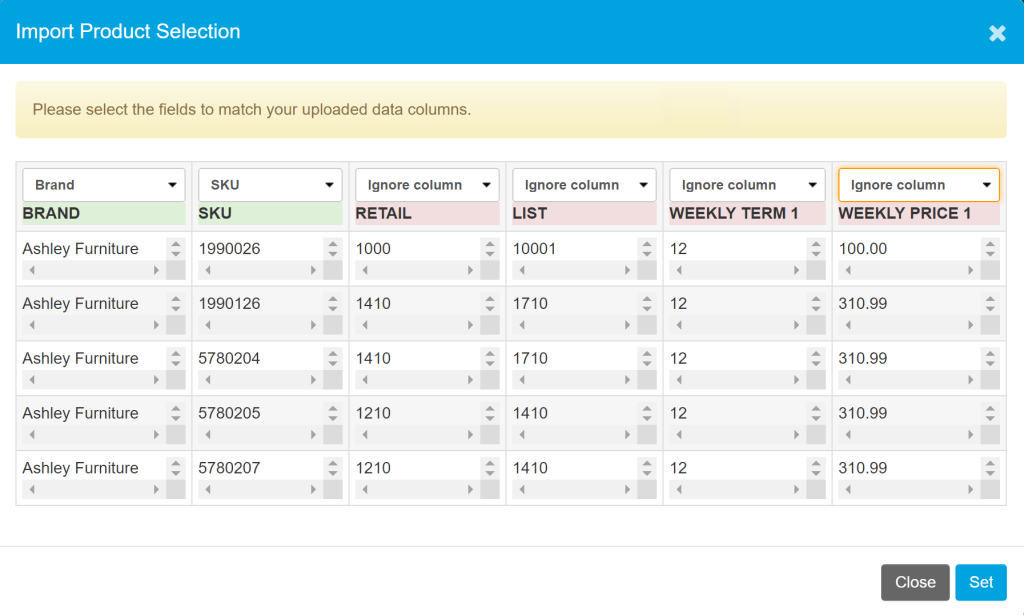
- Click Set.
- Select products from the imported list to include in the selected tab, and click Save Changes.


View Product History
Click History in the left navigation menu. This page displays historical data regarding changes to this product. Adjustments to the product's name, category, material, etc. are logged by date, time, and user.

- Enter text int the User field to search historical records by user.
- Click Show Changes to review the changes in a particular change log.
- Click Restore this version to open a change log you'd like to restore.

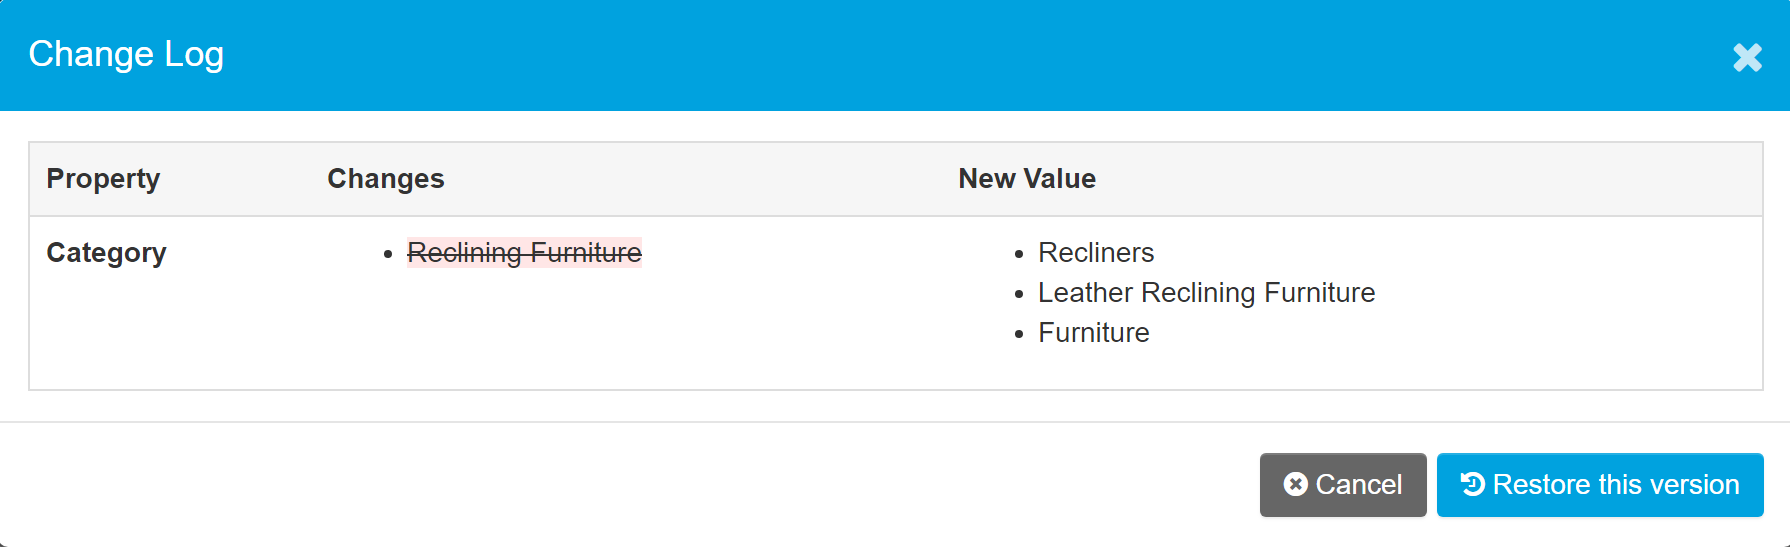
- Click Restore this version to restore the product details back to this version.
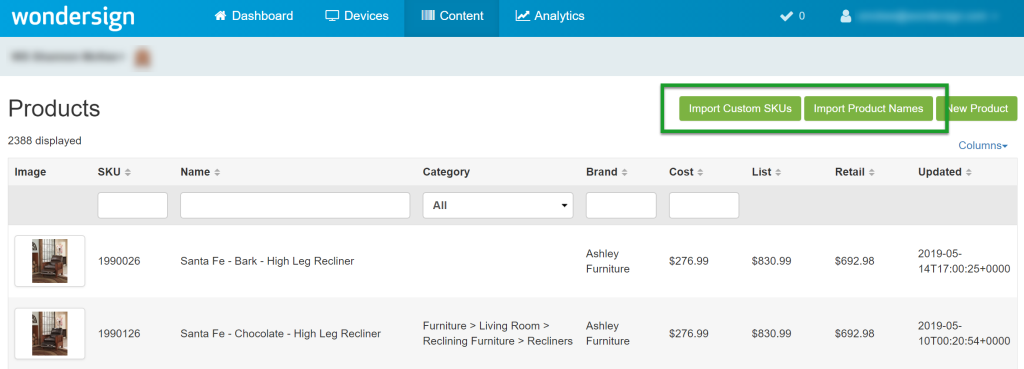
Import Custom SKUs or Product Names
Importing custom SKUs and product names can help tailor your line of products and prevent cross-shopping.
To import a file of custom SKUs or product names:
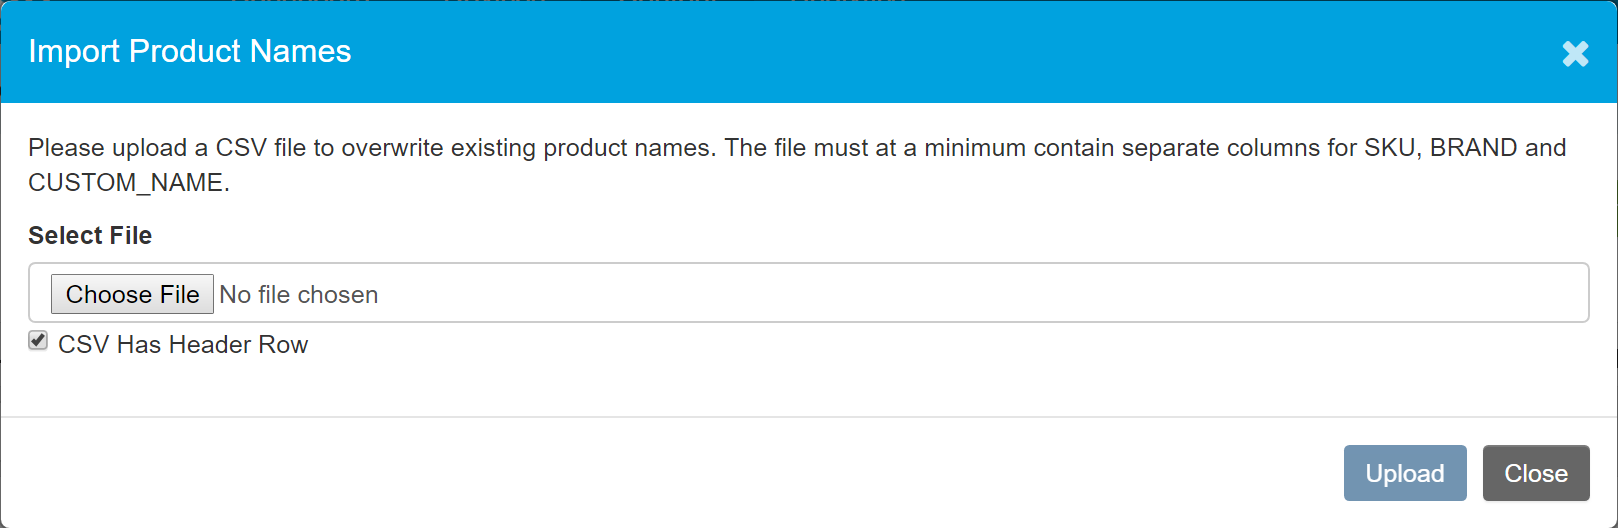
- Click either Import Custom SKUs or Import Product Names.
- Click Choose File and select your CSV, XLS, or XLSX file. The uploaded file must have at least three columns: SKU, BRAND, and either CUSTOM_SKU or CUSTOM_NAME.

Delete a Product
To delete a product:
- Click Delete in the left navigation menu.
- Enter the exact name of the product in the text field.
- Click Delete Product.
 Deleting a product not only deletes it from display on the Catalog App, but from your account entirely. Only delete products that are sure you want to erase entirely.
To hide a product from customer display, use the Catalog > Exclude Products option.
