Quick Start Guide
Use this Quick Start Guide to get up and running with your Catalog App in seven easy steps.
Download a PDF version of this Guide.
1. Install the App and Pair Your Devices
To launch your software, load the Catalog App onto your customer-facing device (tablet or kiosk), and then pair the App with your online Catalog App Manager at my.catalogkiosk.com.
1. Load the Catalog App onto your device. ![]() Installation instructions.
Installation instructions.
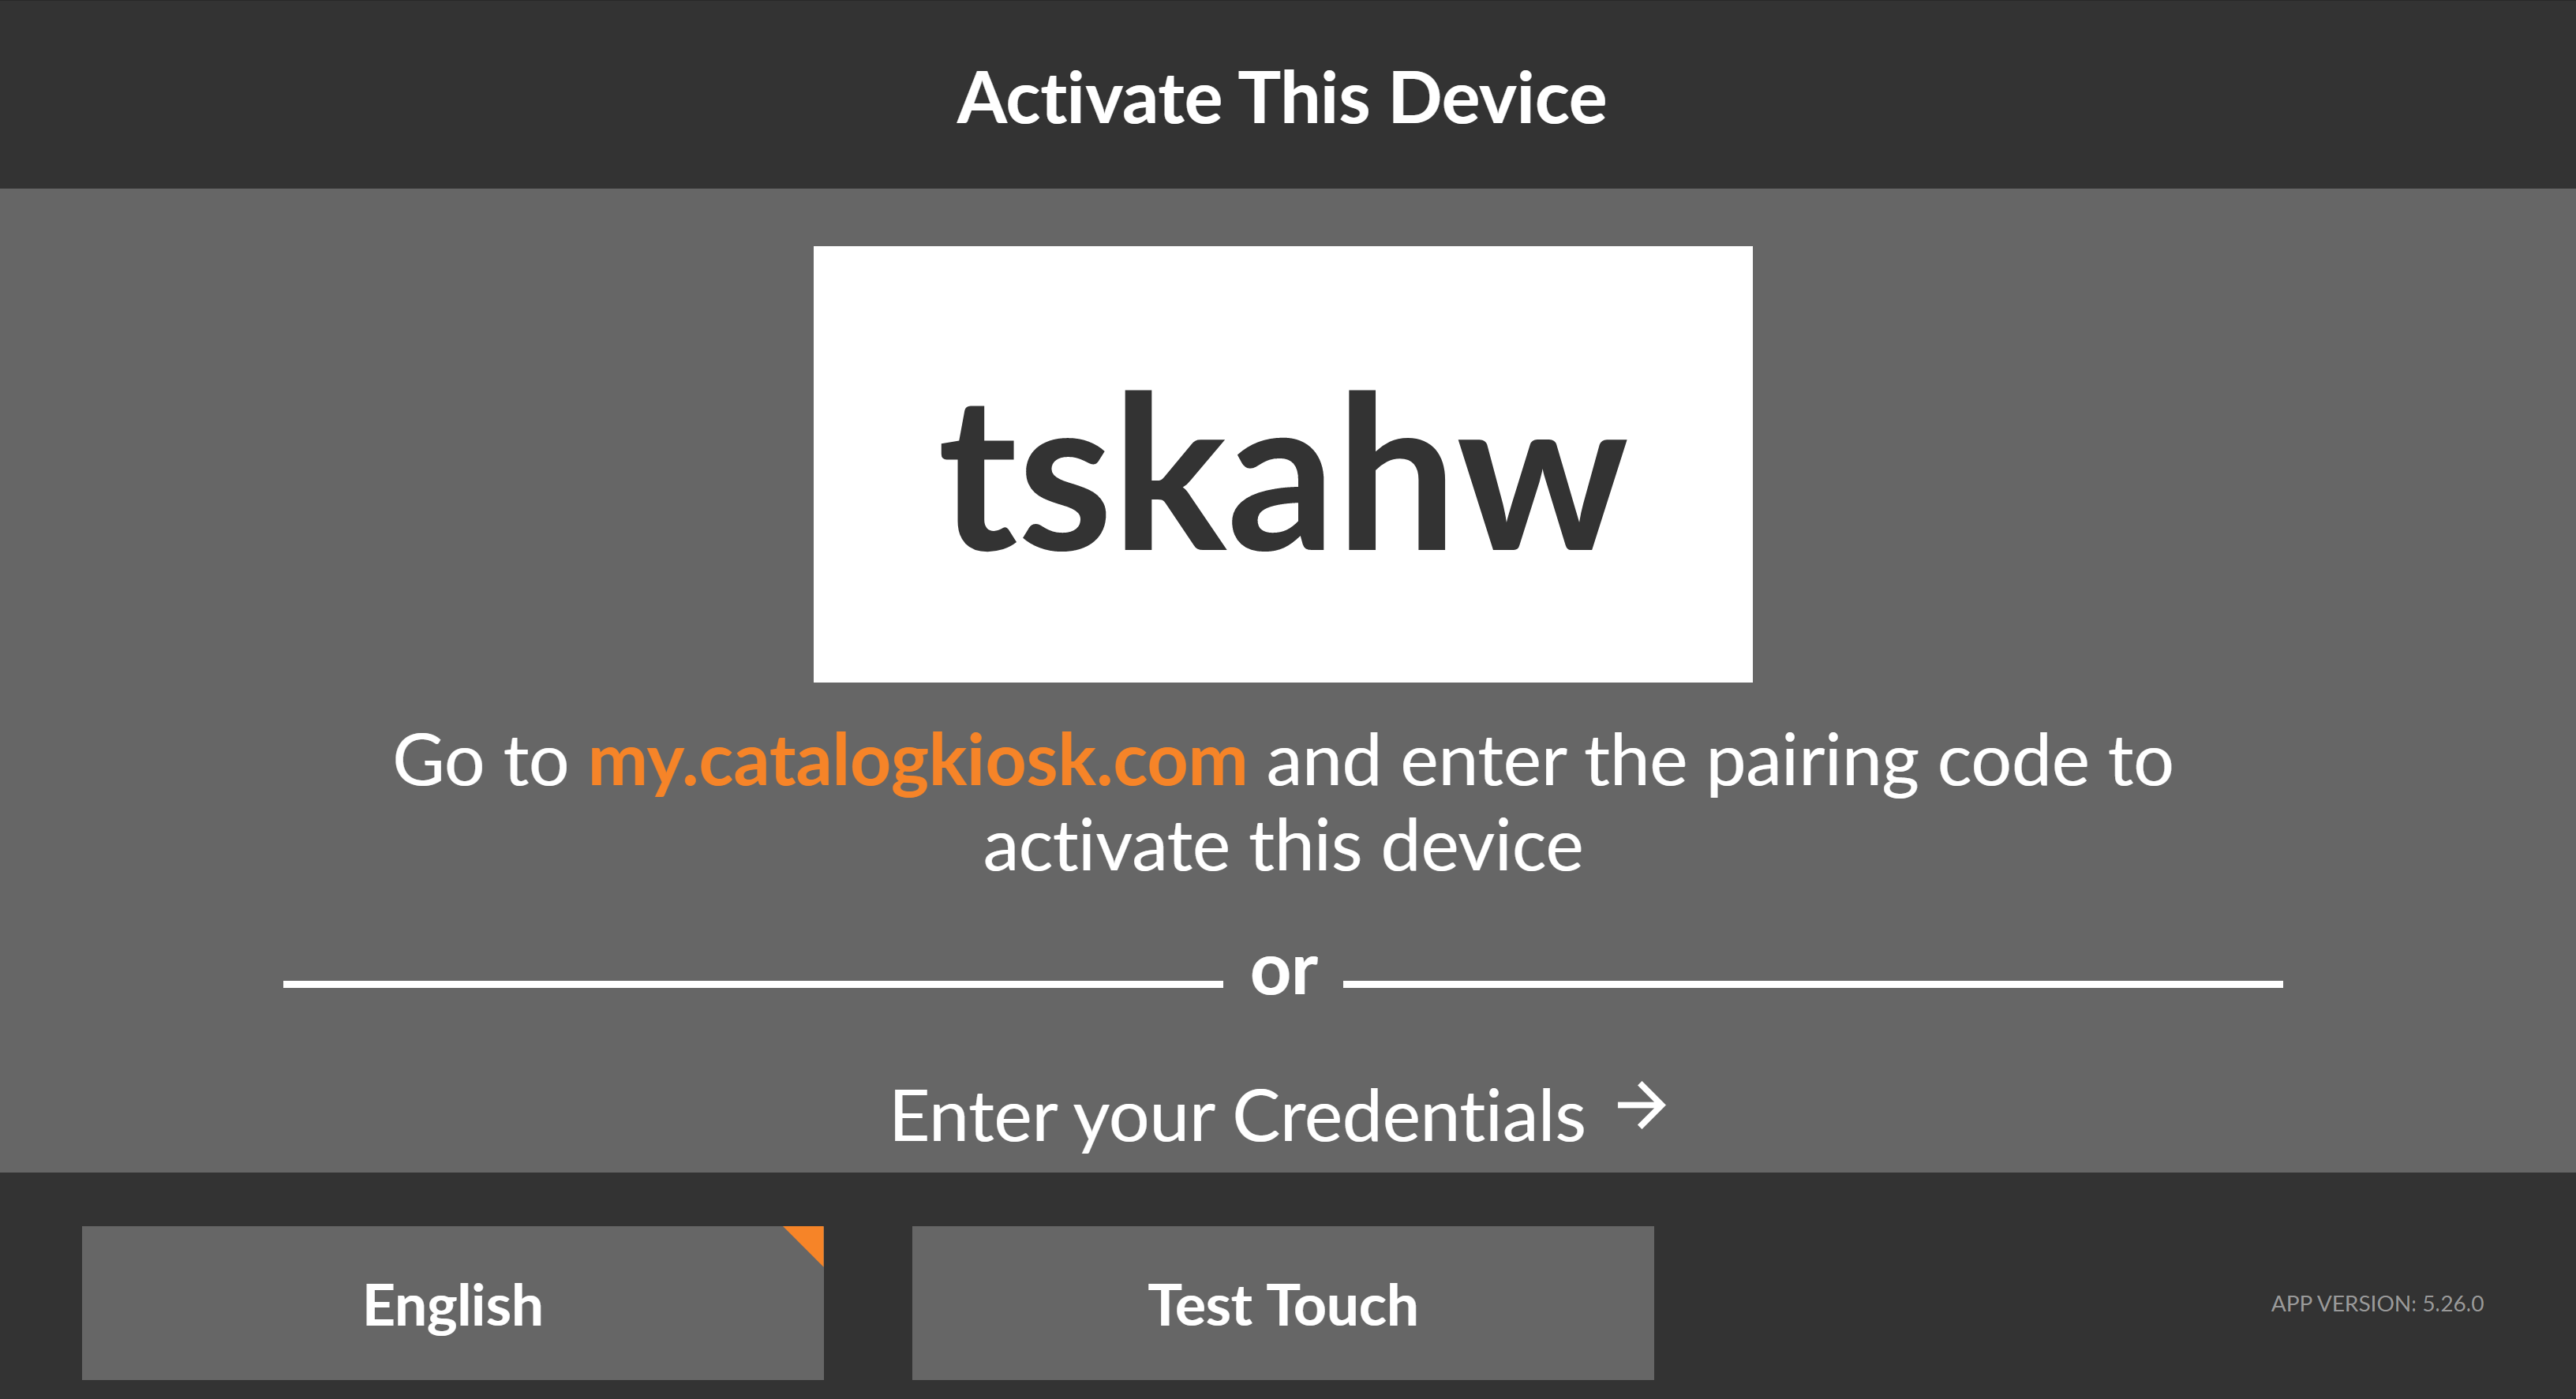
2. Pair your device.
![]() Pairing instructions.
Pairing instructions.
This process can take up to 20 minutes.
2. Set up the Attractor Screen
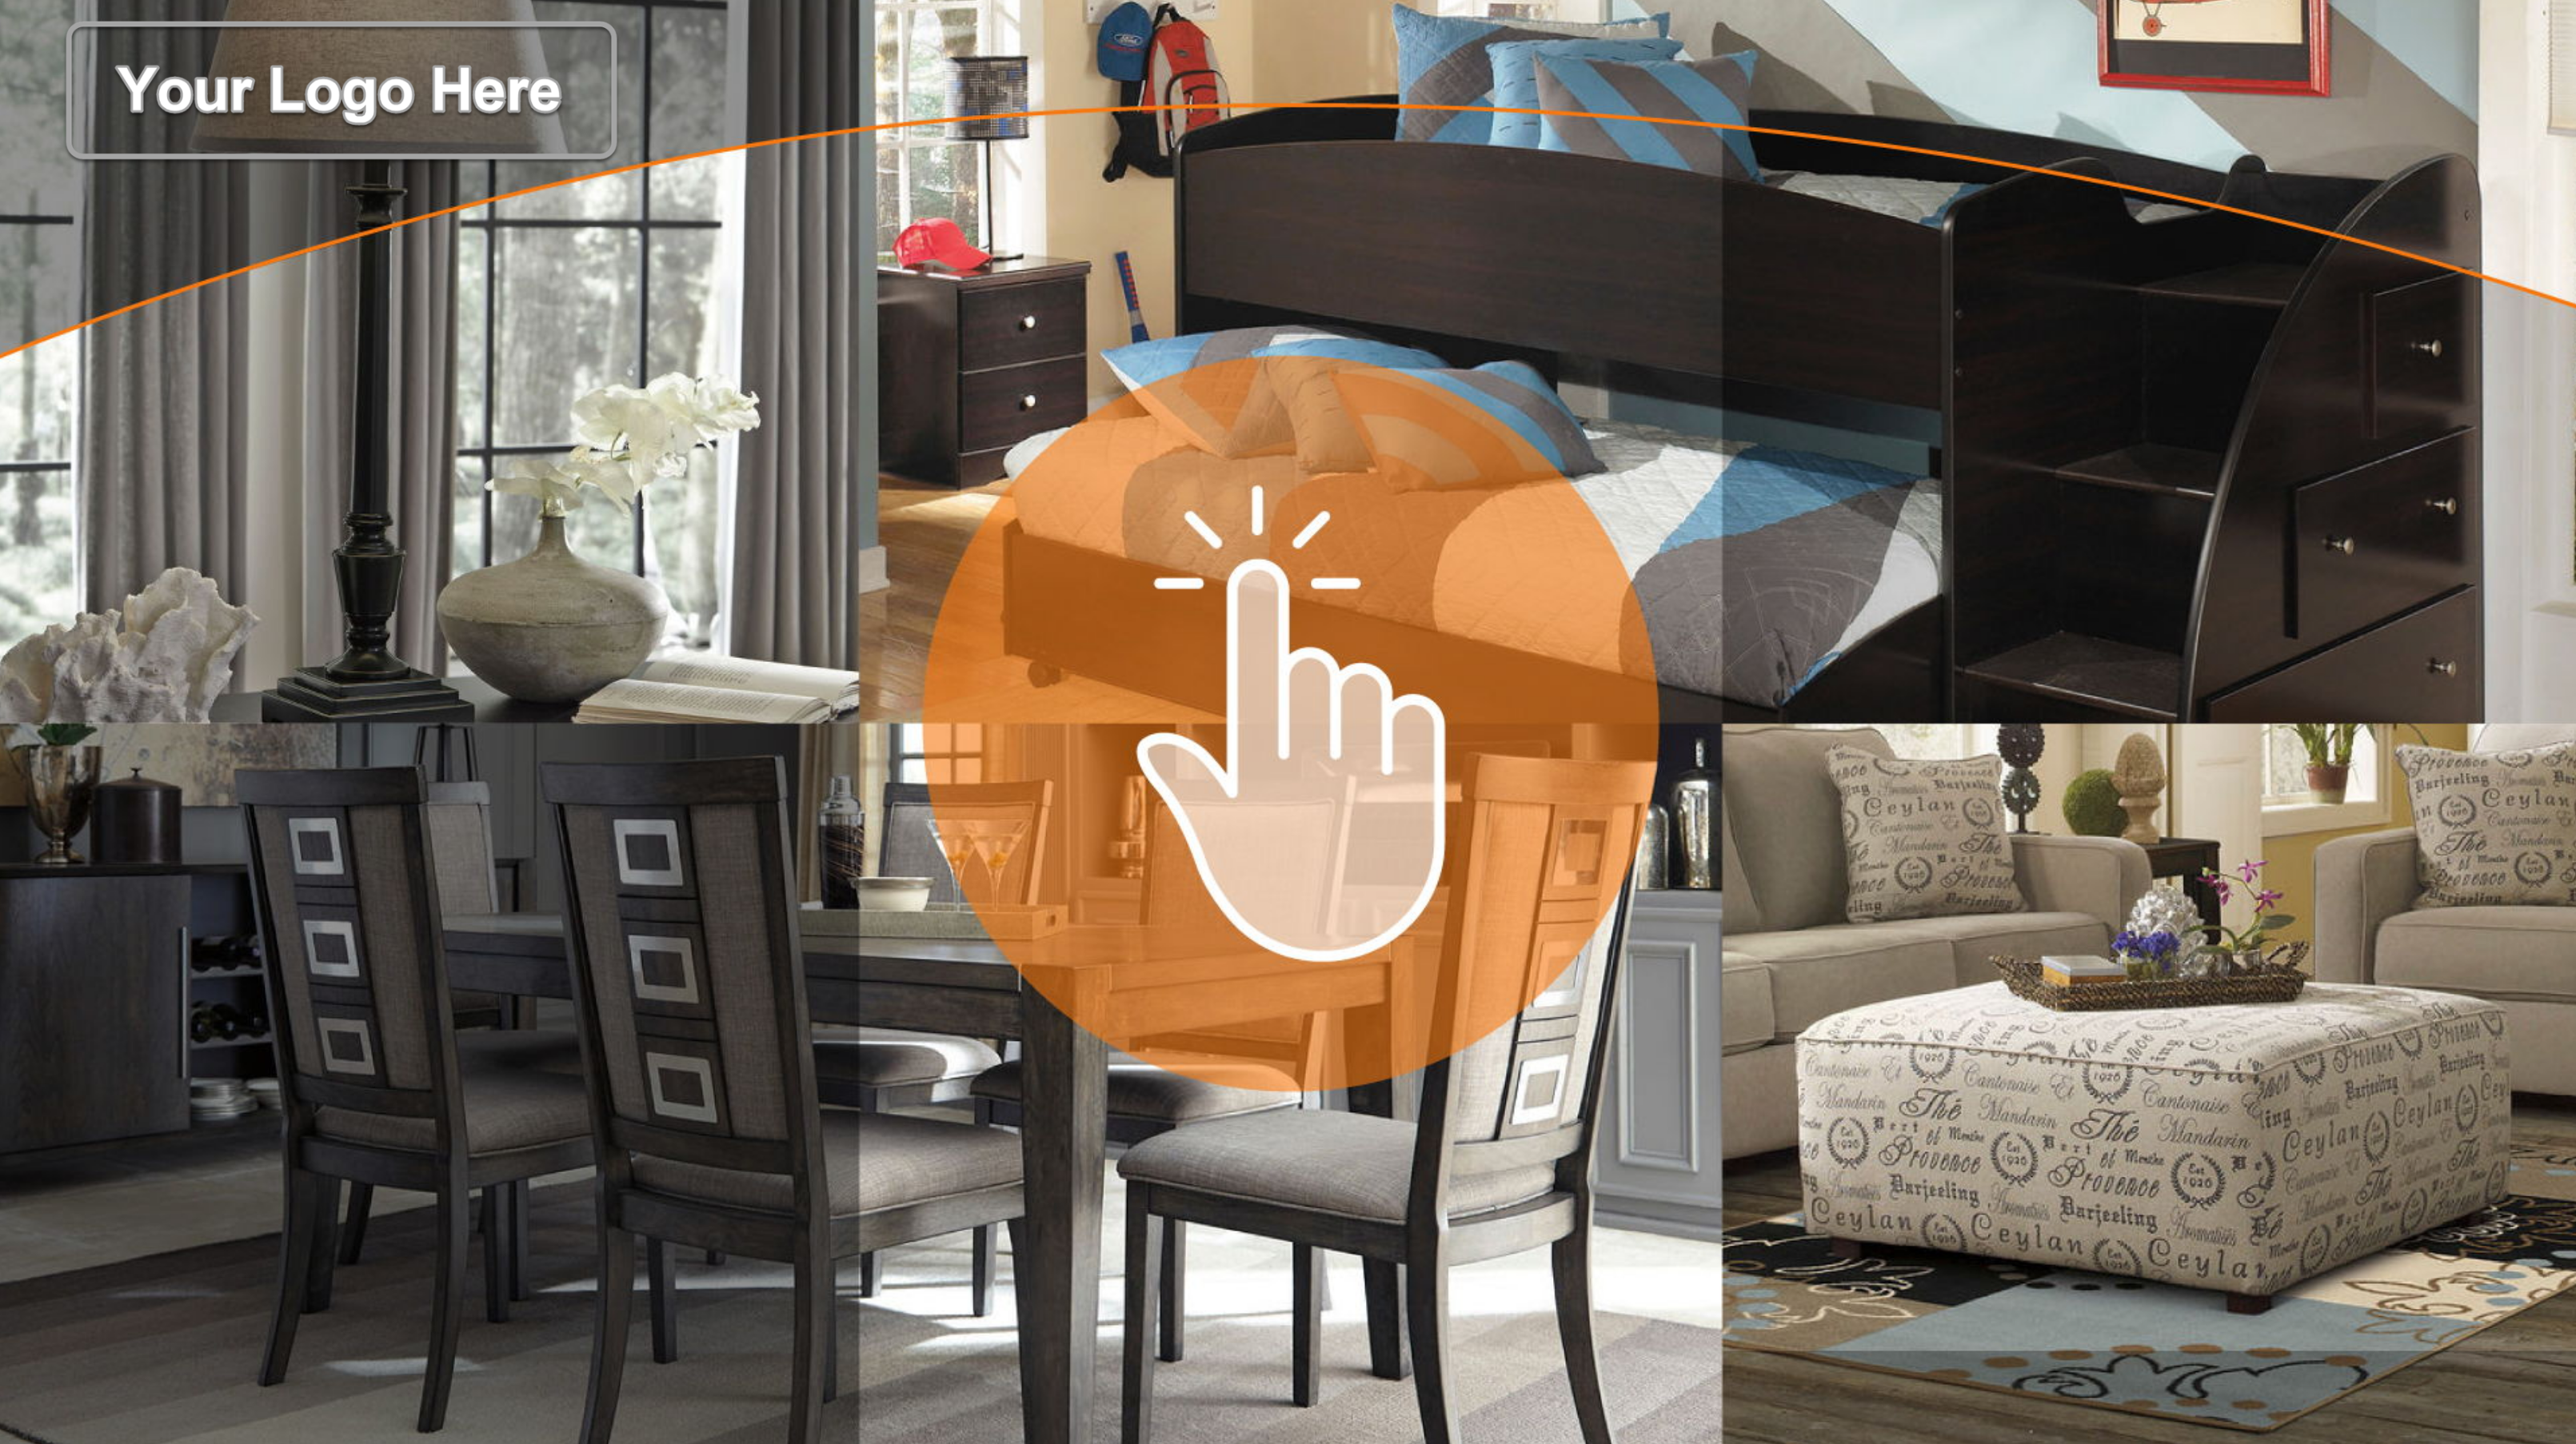
The Attractor screen invites customers to tap on your device and explore your product catalog.![]() Add your store logo and select your Attractor screen.
Add your store logo and select your Attractor screen.
3. Set up Product Navigation
After tapping on the Attractor screen, customers can browse by:
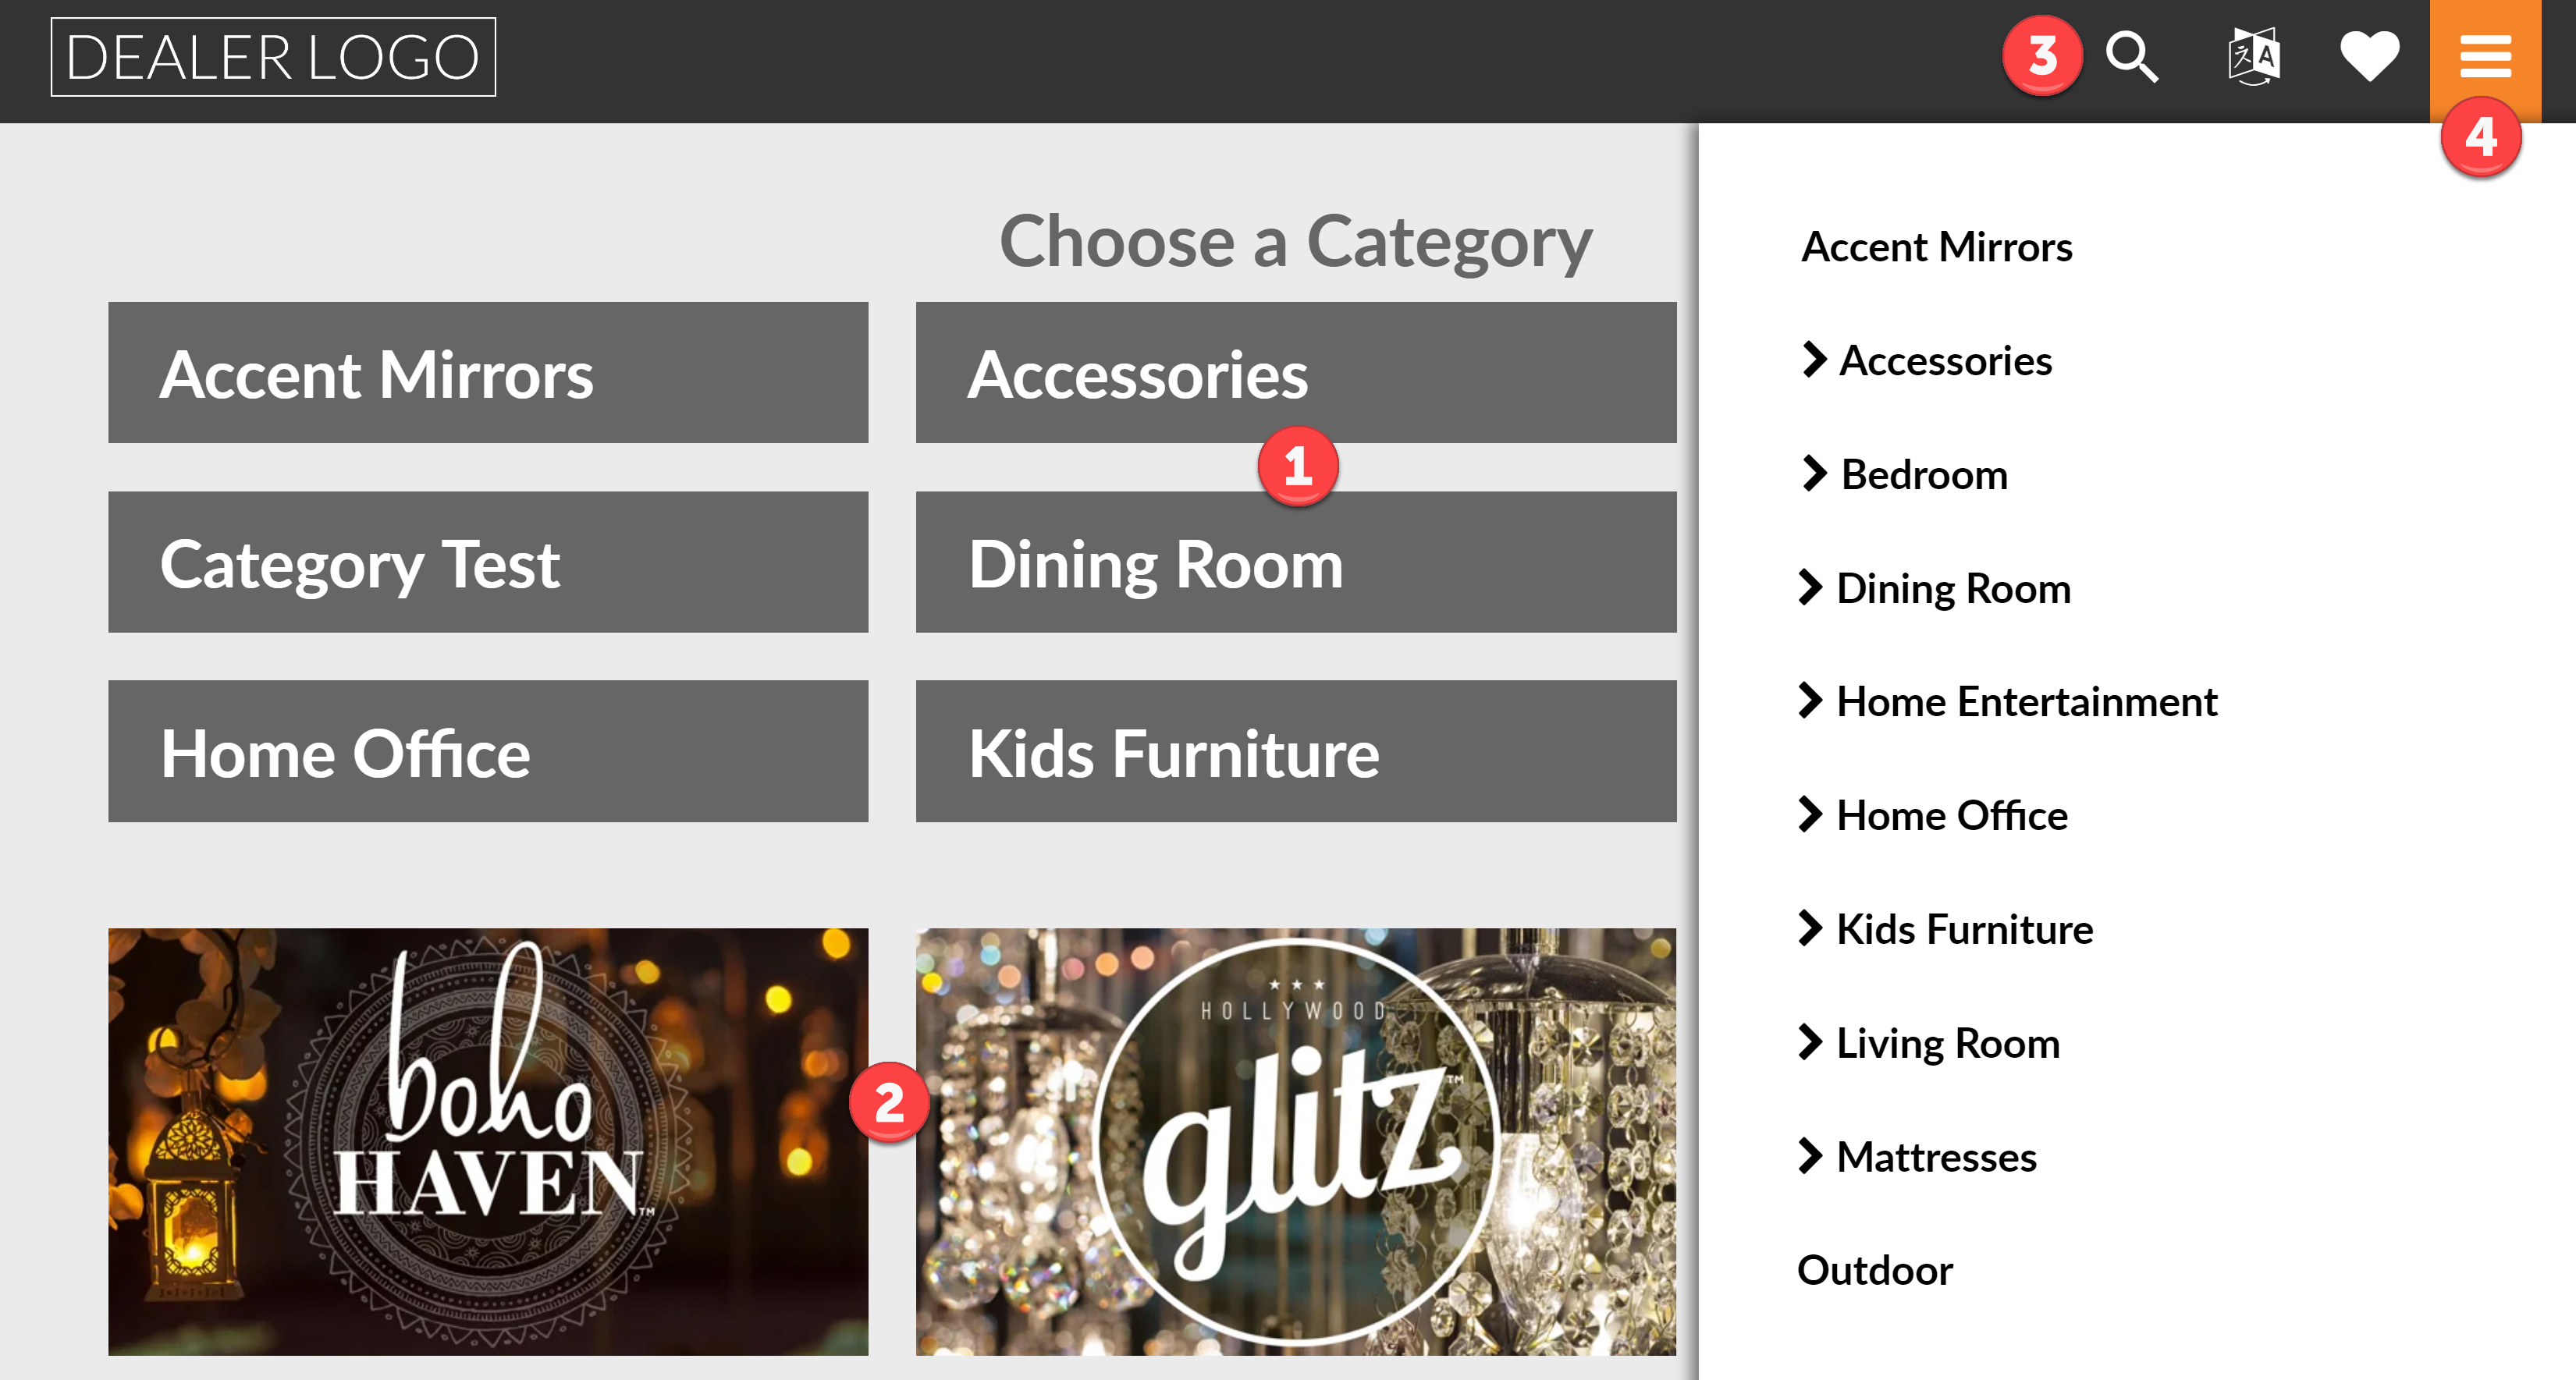
- Product Category/Subcategory.
 Edit categories and product assignments.
 - Scene Collections. Assign and Create Scene Collections.
- Search bar. Learn about Extended Search.
- Hamburger menu. Learn more about this menu.
Once a customer has tapped on a category, they can explore subcategories. The first subcategory your customers encounter on every page is the Groups subcategory. 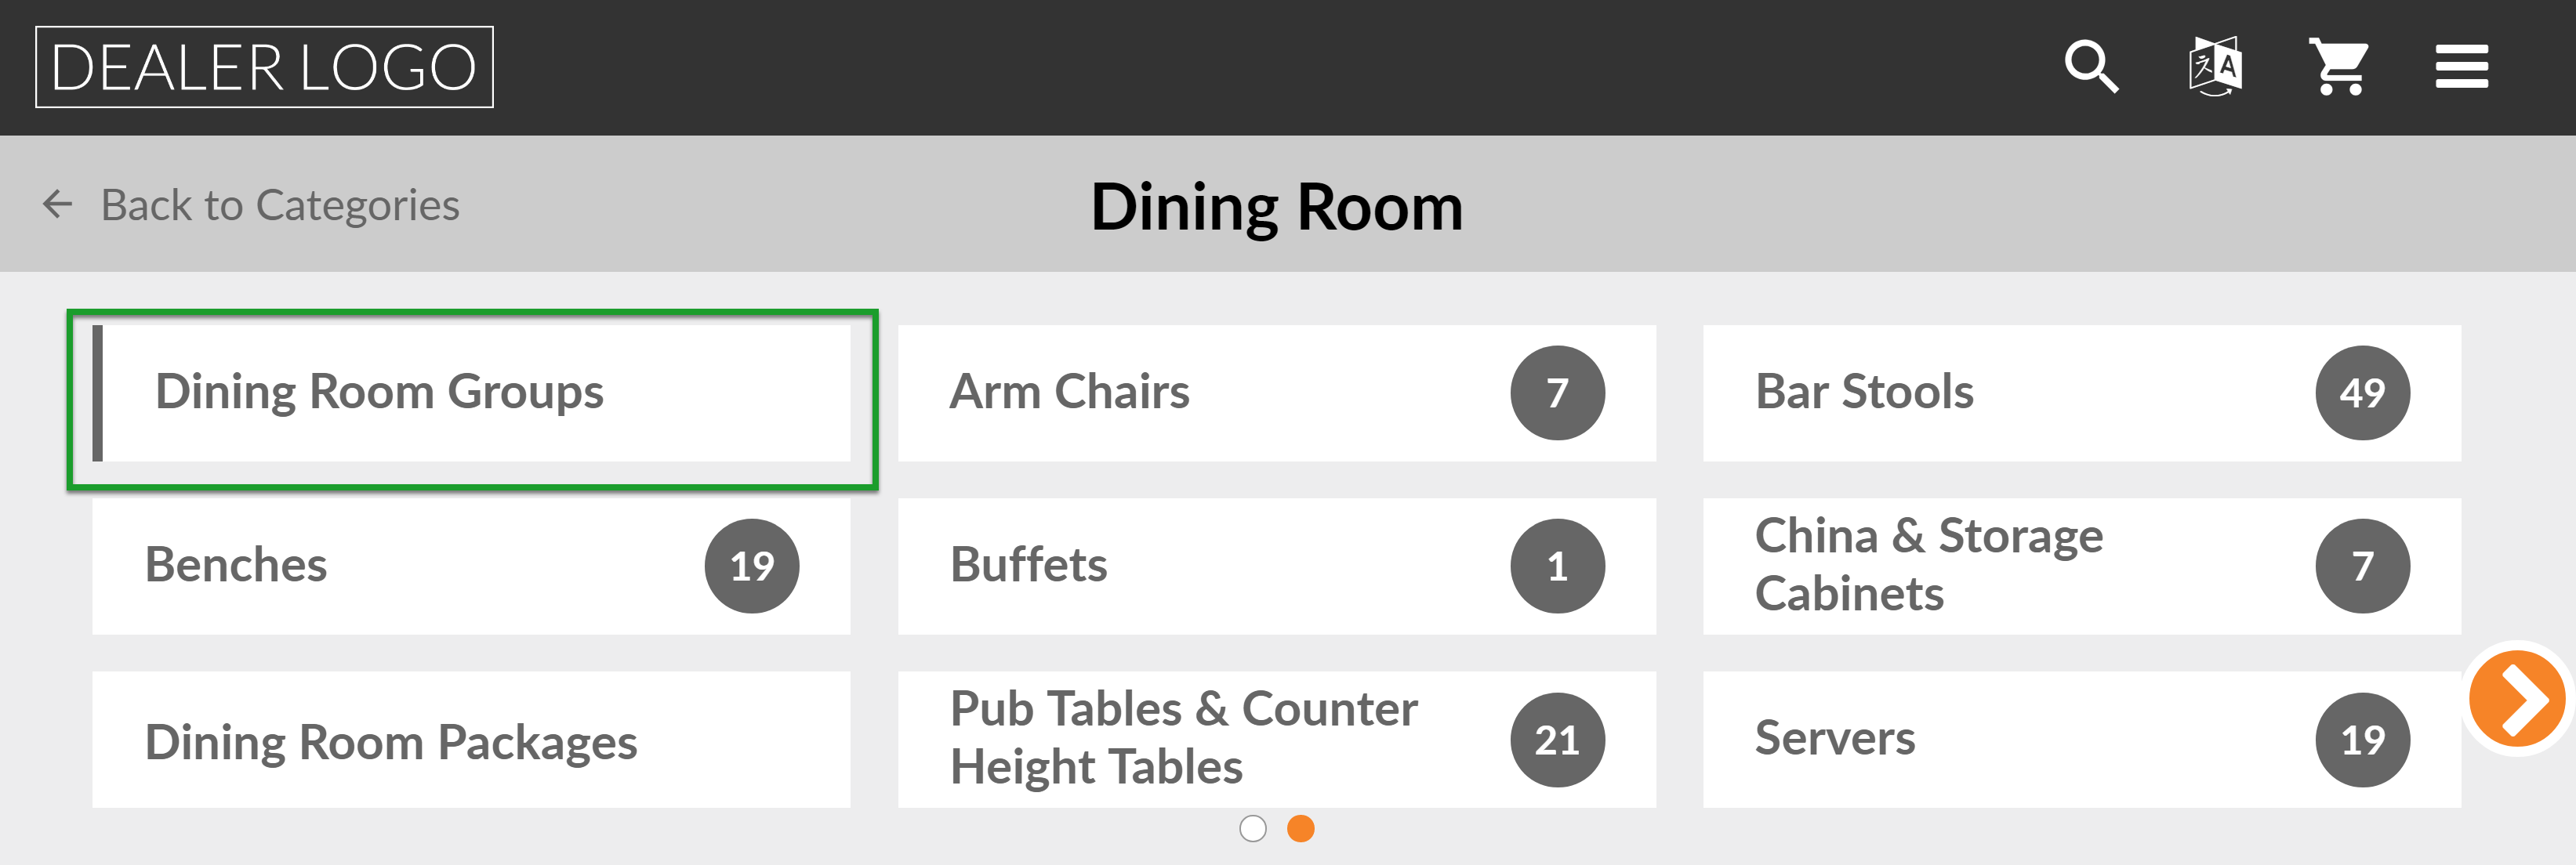
![]() Learn more about category groups.
Learn more about category groups.
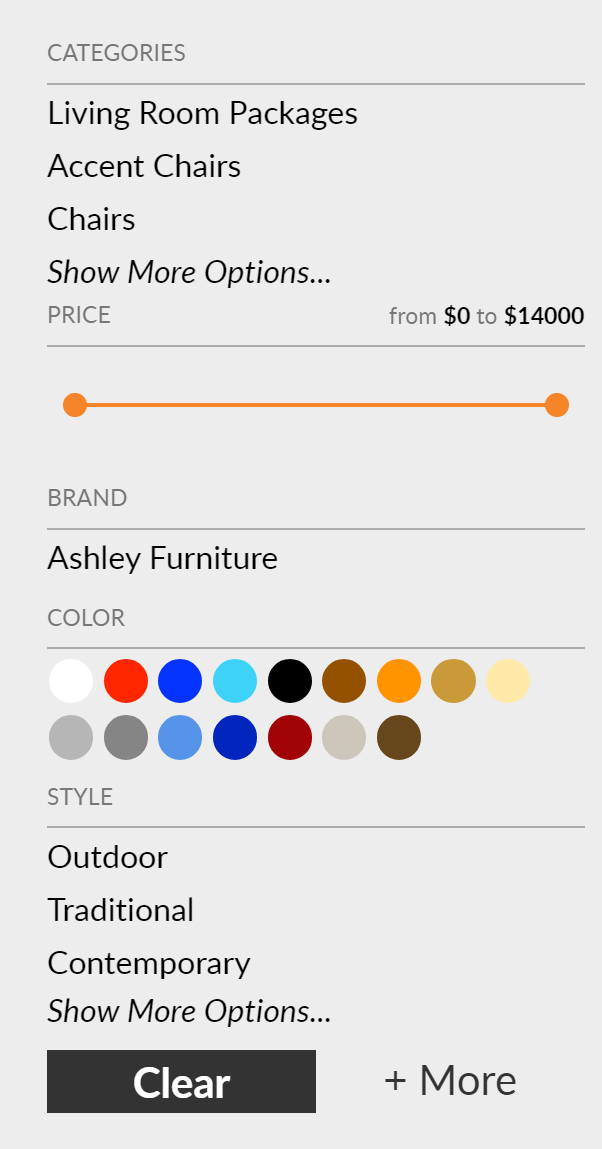
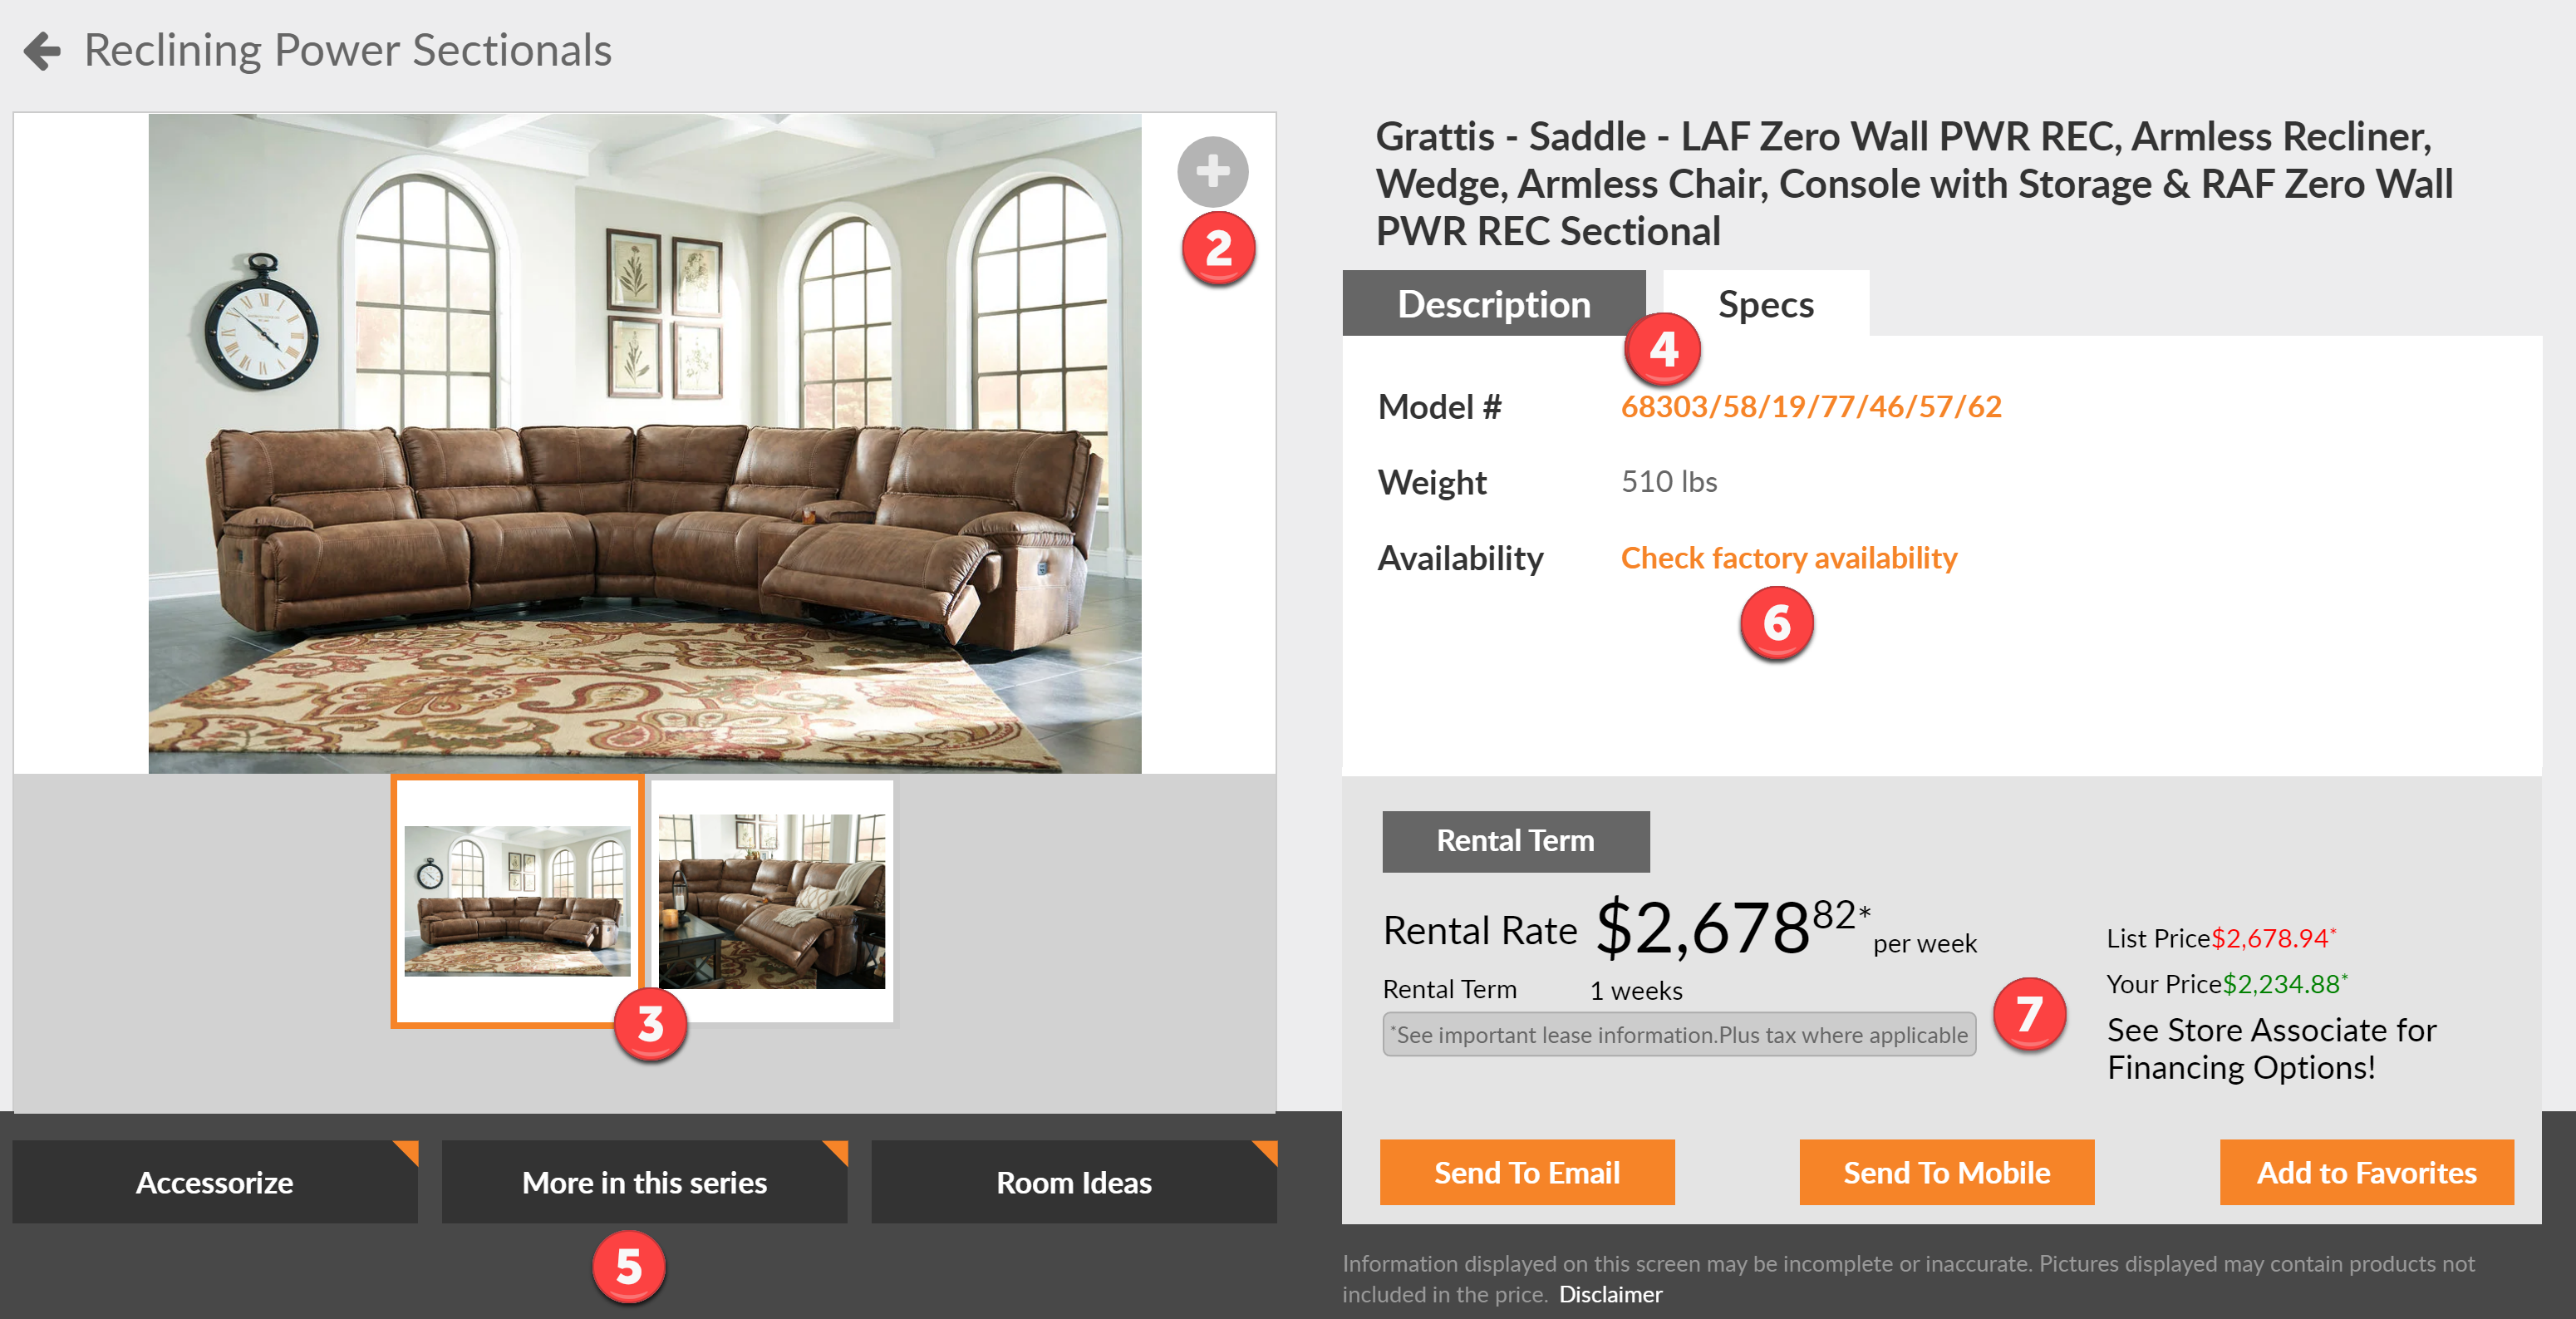
4. Edit Product Display
After tapping on a category, customers can: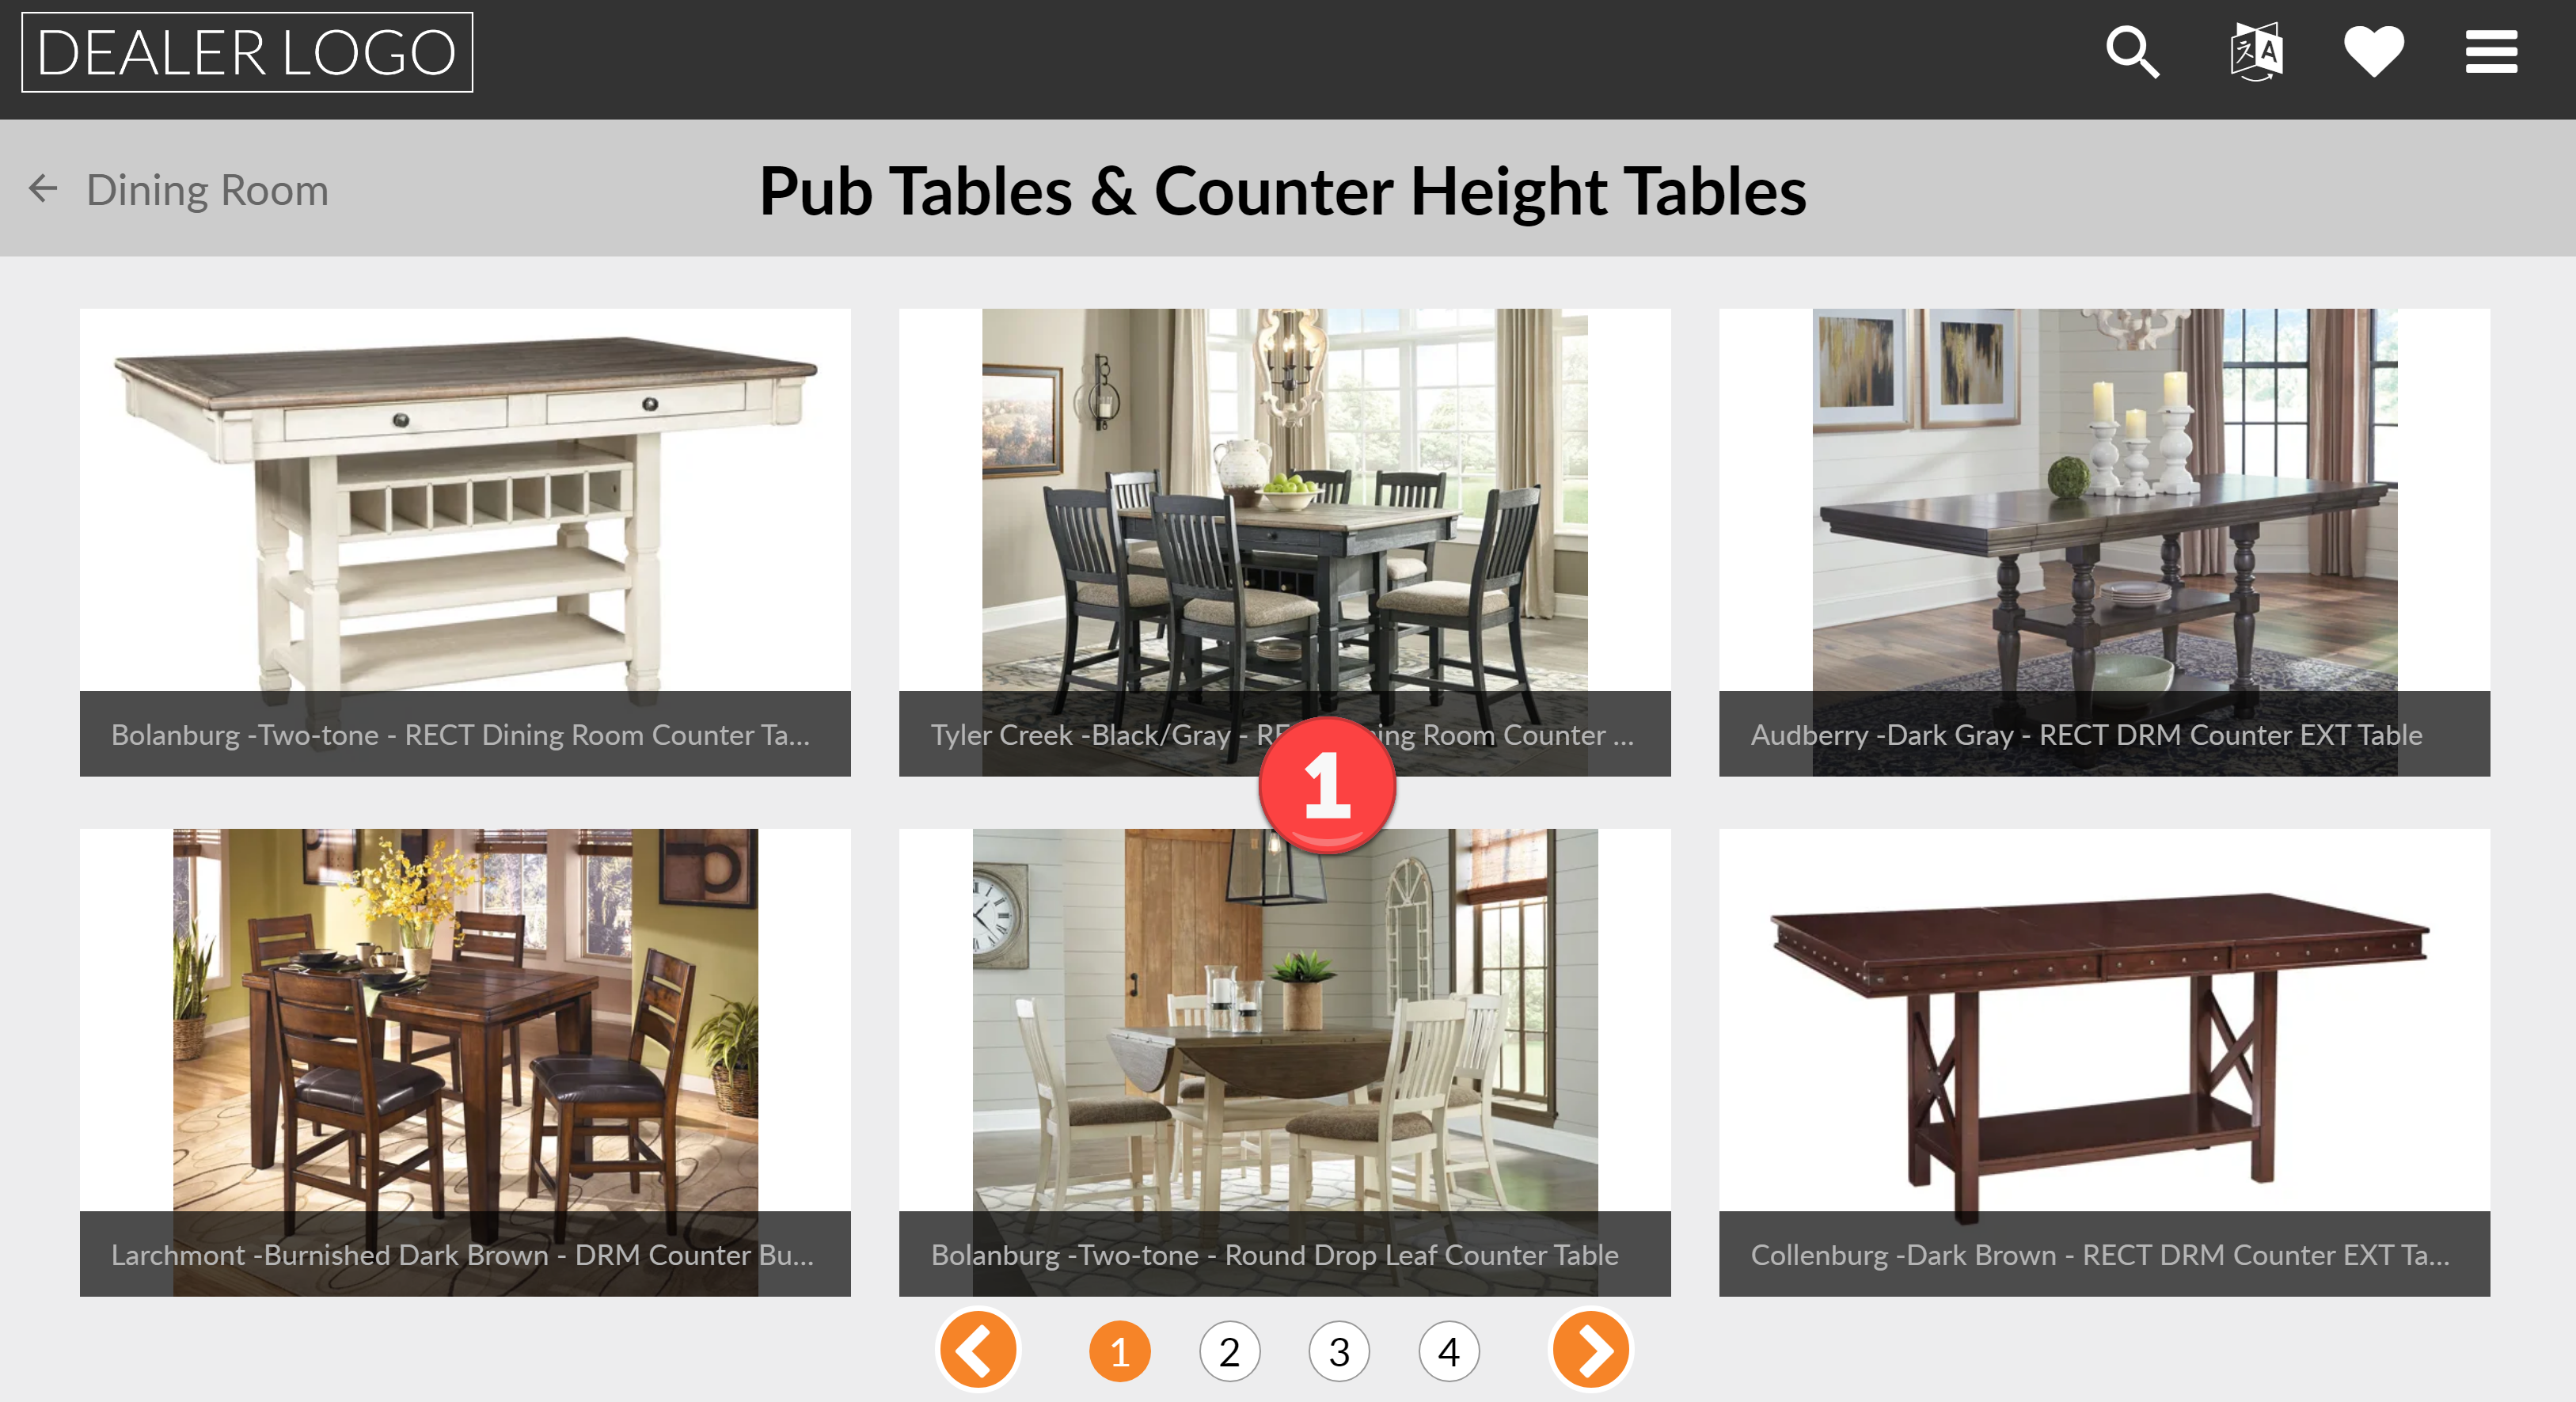
- Search available products. Edit or create additional product catalogs.In order to display products on your Catalog App, you must have at least one active catalog. An initial catalog including all products for your brand is set up and assigned to your device group by default.
- Zoom in/out to see further product details.
- View additional product images. Add additional images to a product.
- See the description and additional specs. Update a product's description and specs.
- Click the buttons below product images to see associated products. Edit product associations.
- View real-time warehouse inventory availability. Activate warehouse inventory availability.
- Review the price label for List, Retail, and Custom product pricing. Learn more about setting up Catalog App pricing.
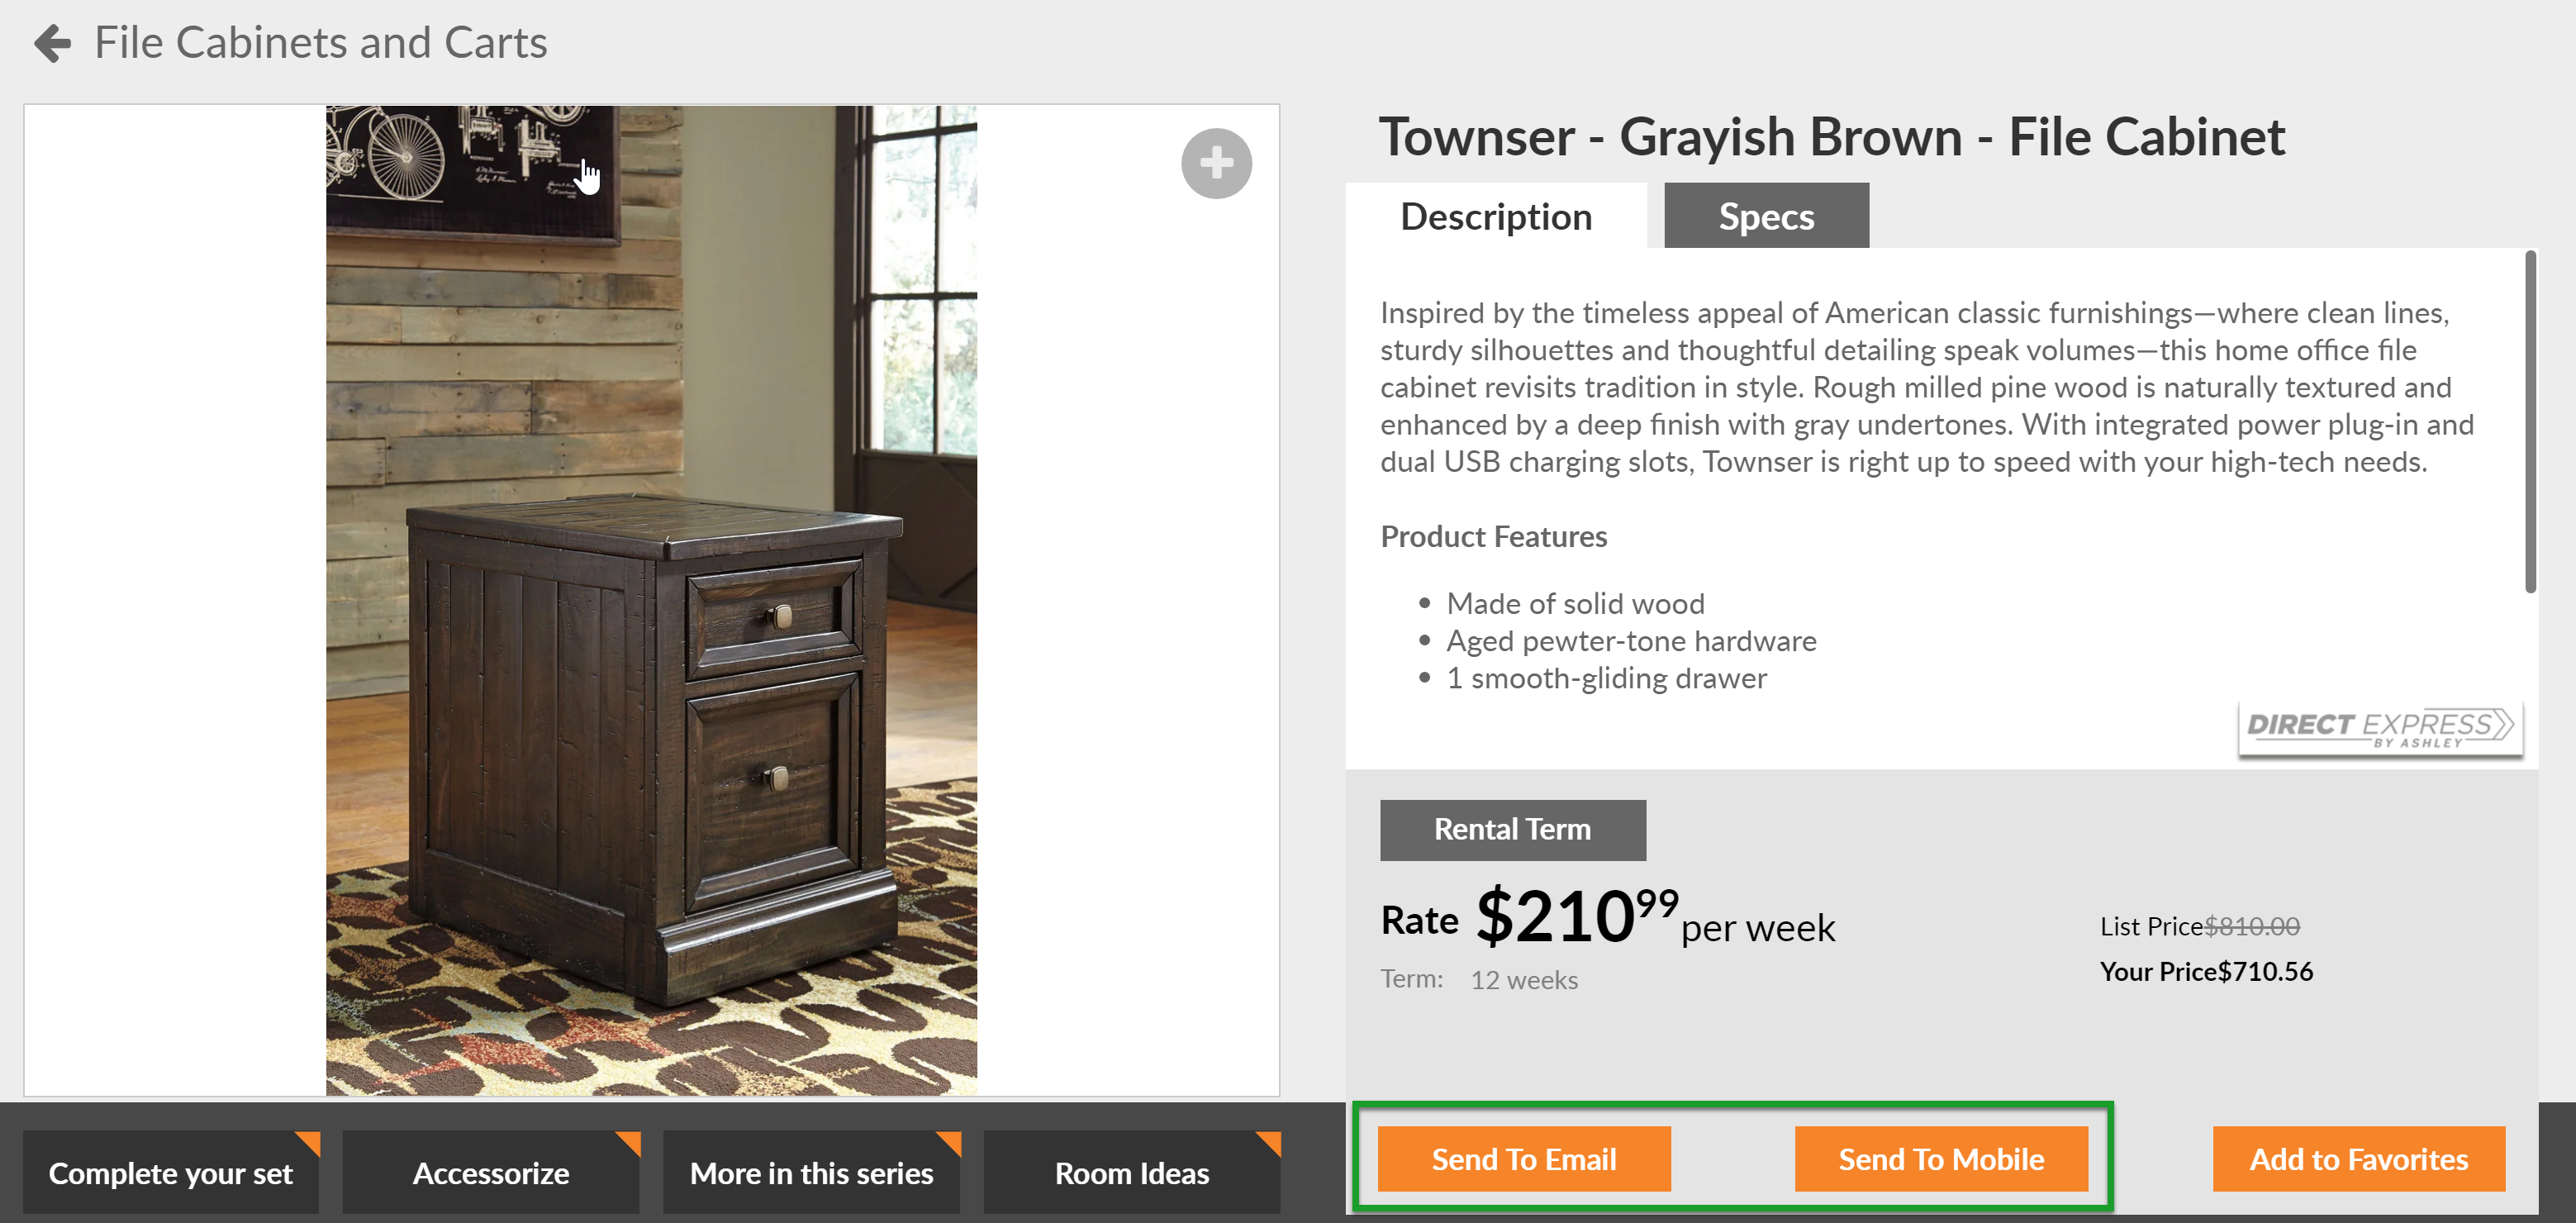
5. Configure Text, Email, and Customer Data Collection
Customers can send products via text message or email to friends and family by using the Send to Email or Send to Mobile buttons located under the product price label. Emails and texts sent omit SKUs and prices to prevent cross-shopping.
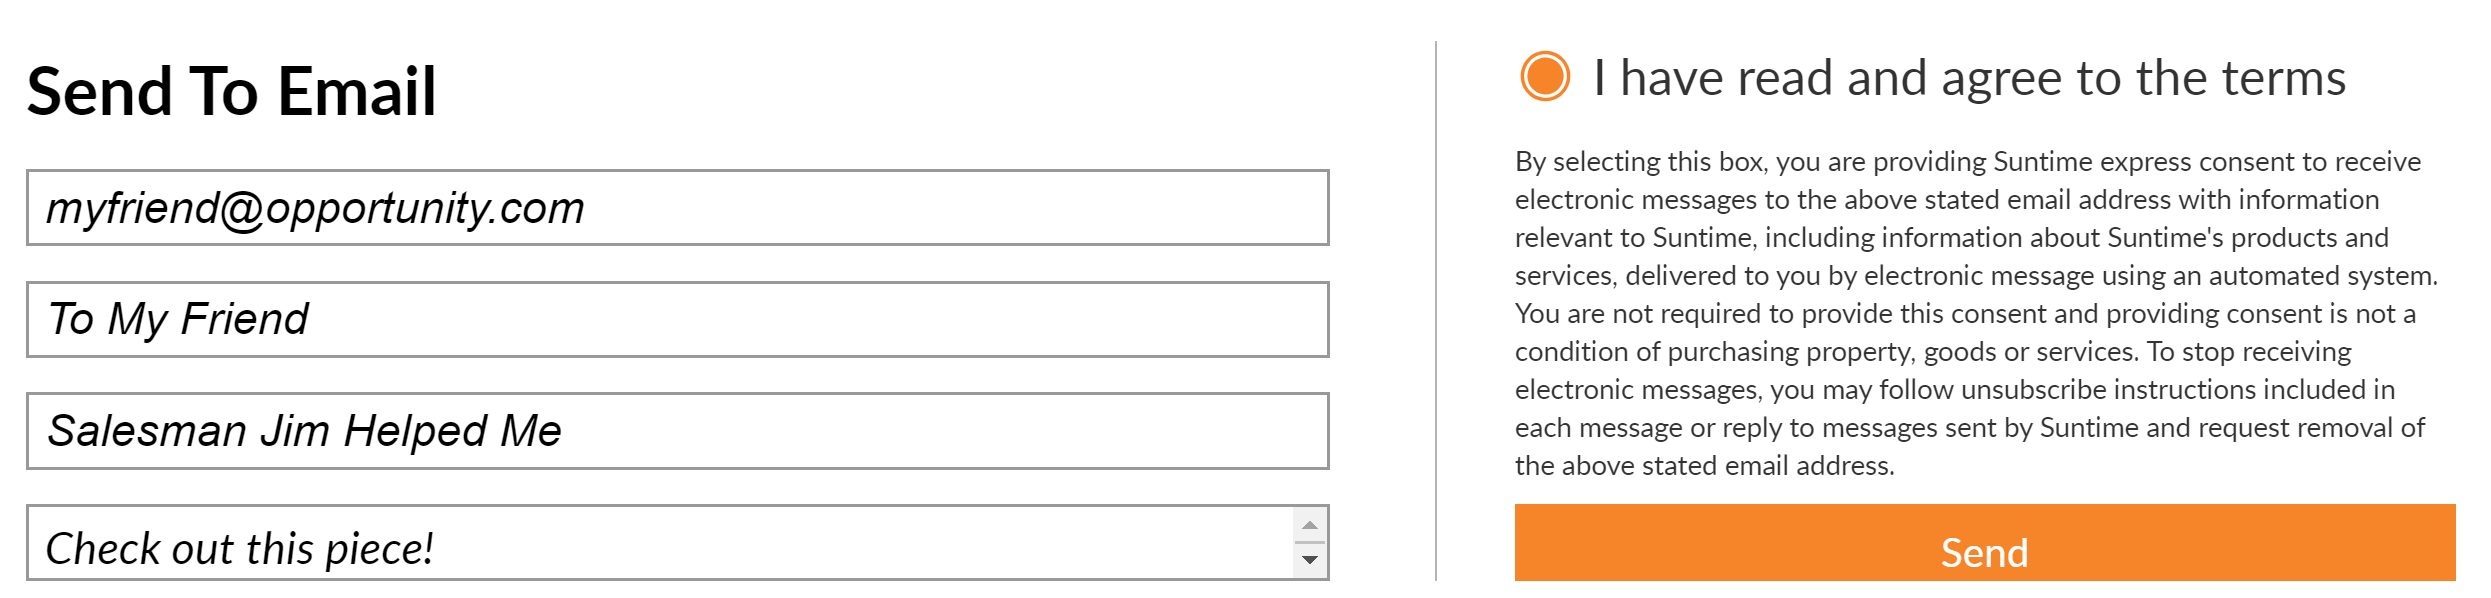
![]() Set up your store's contact information for outgoing emails/text messages.
Set up your store's contact information for outgoing emails/text messages.
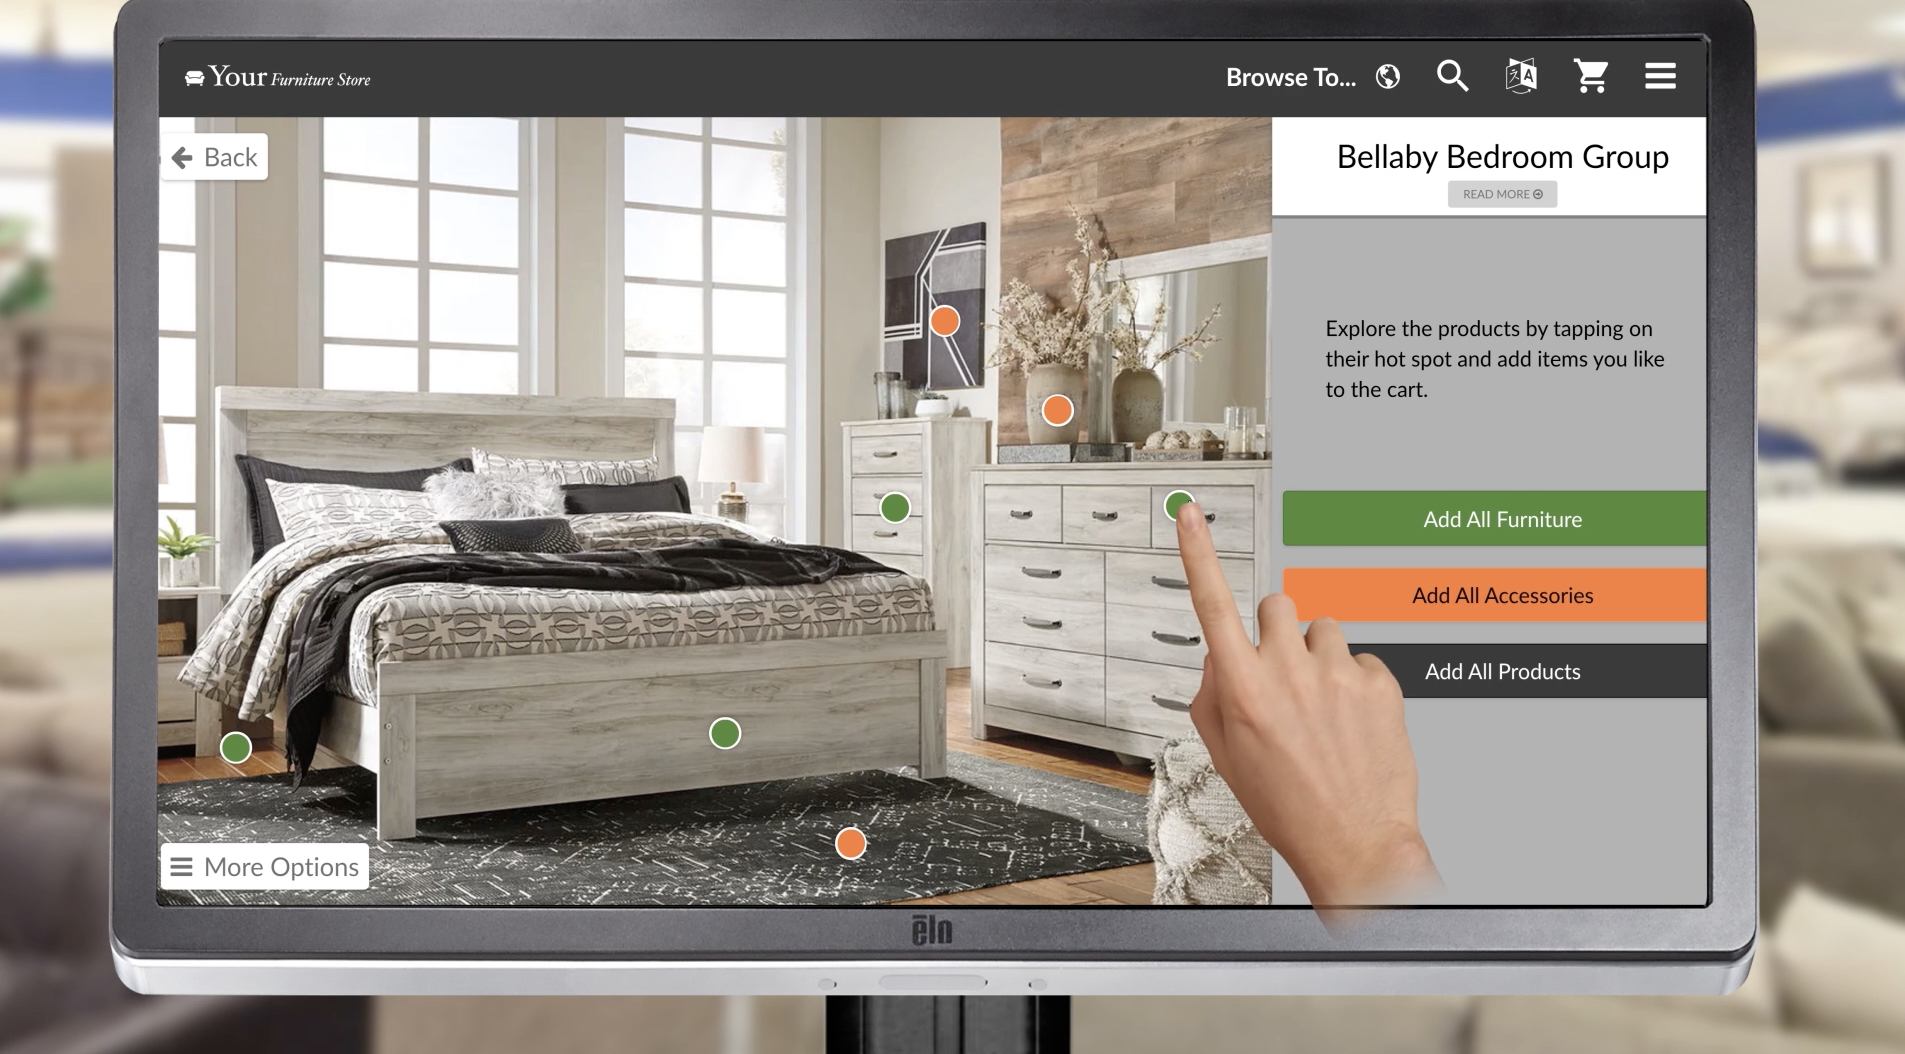
6. Configure Shopping Carts
With a single tap, customers can add products to their cart. If you would like to create specific product presentations, create and save multiple shopping carts to display to customers.
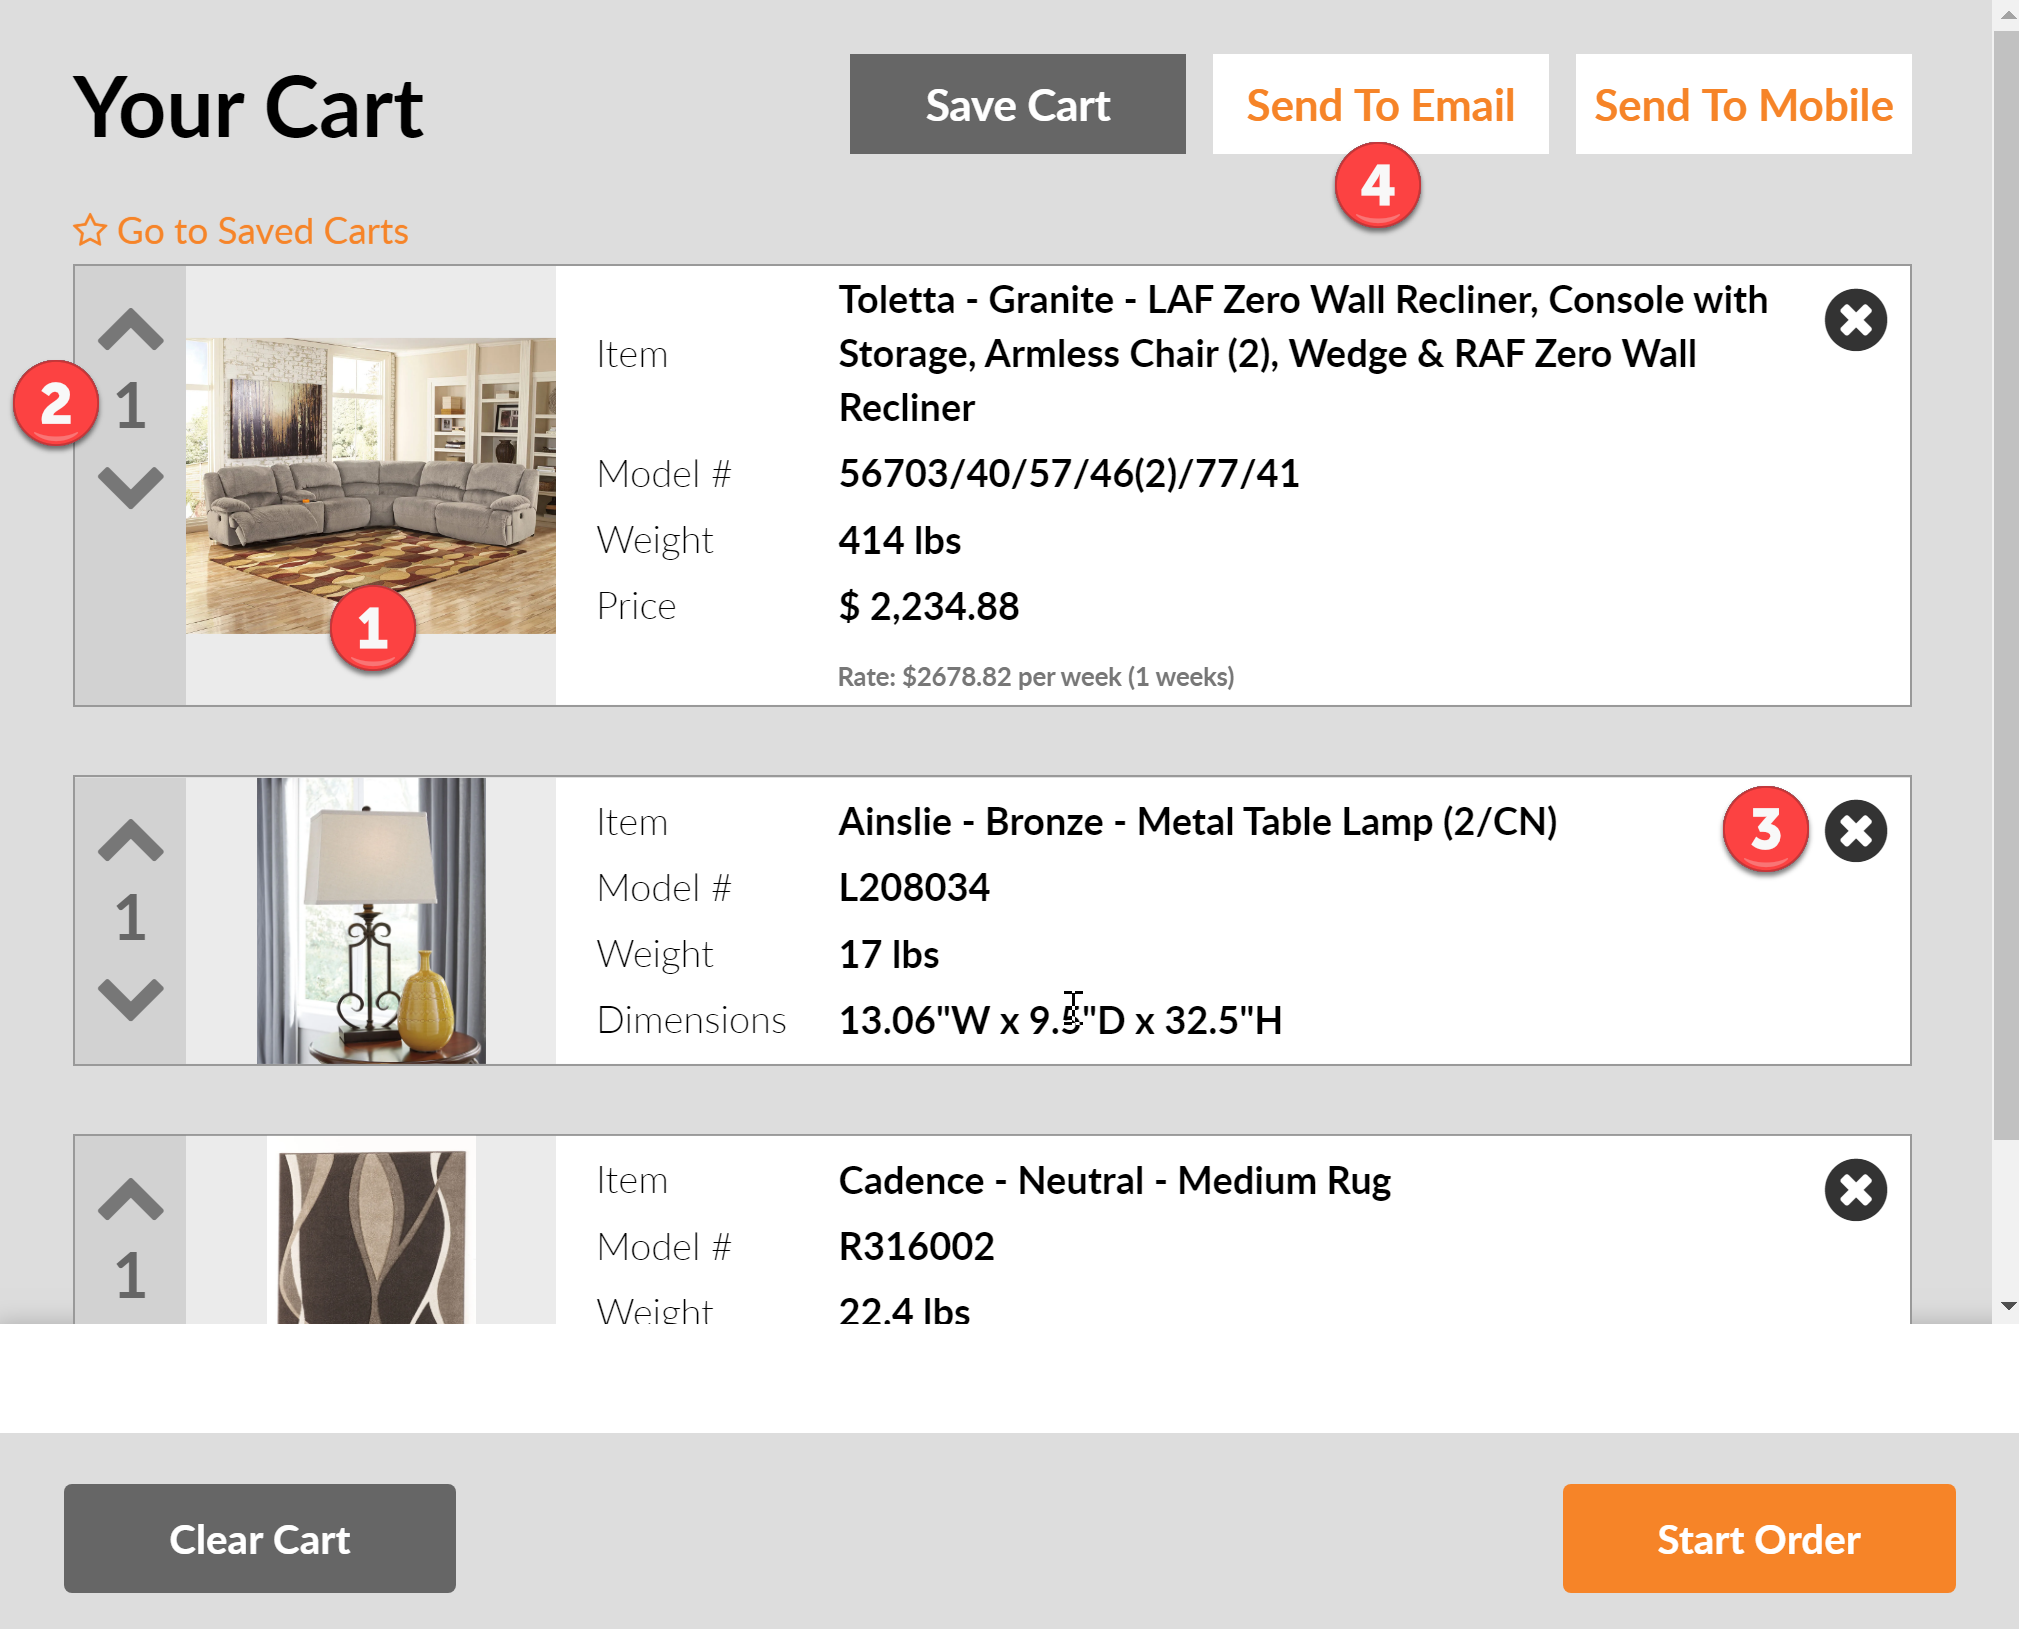
- Tap on an image in the cart to review product details. Configure your cart appearance.
- Change product amounts.
- Remove products from the cart.
- Share the cart via email or mobile.
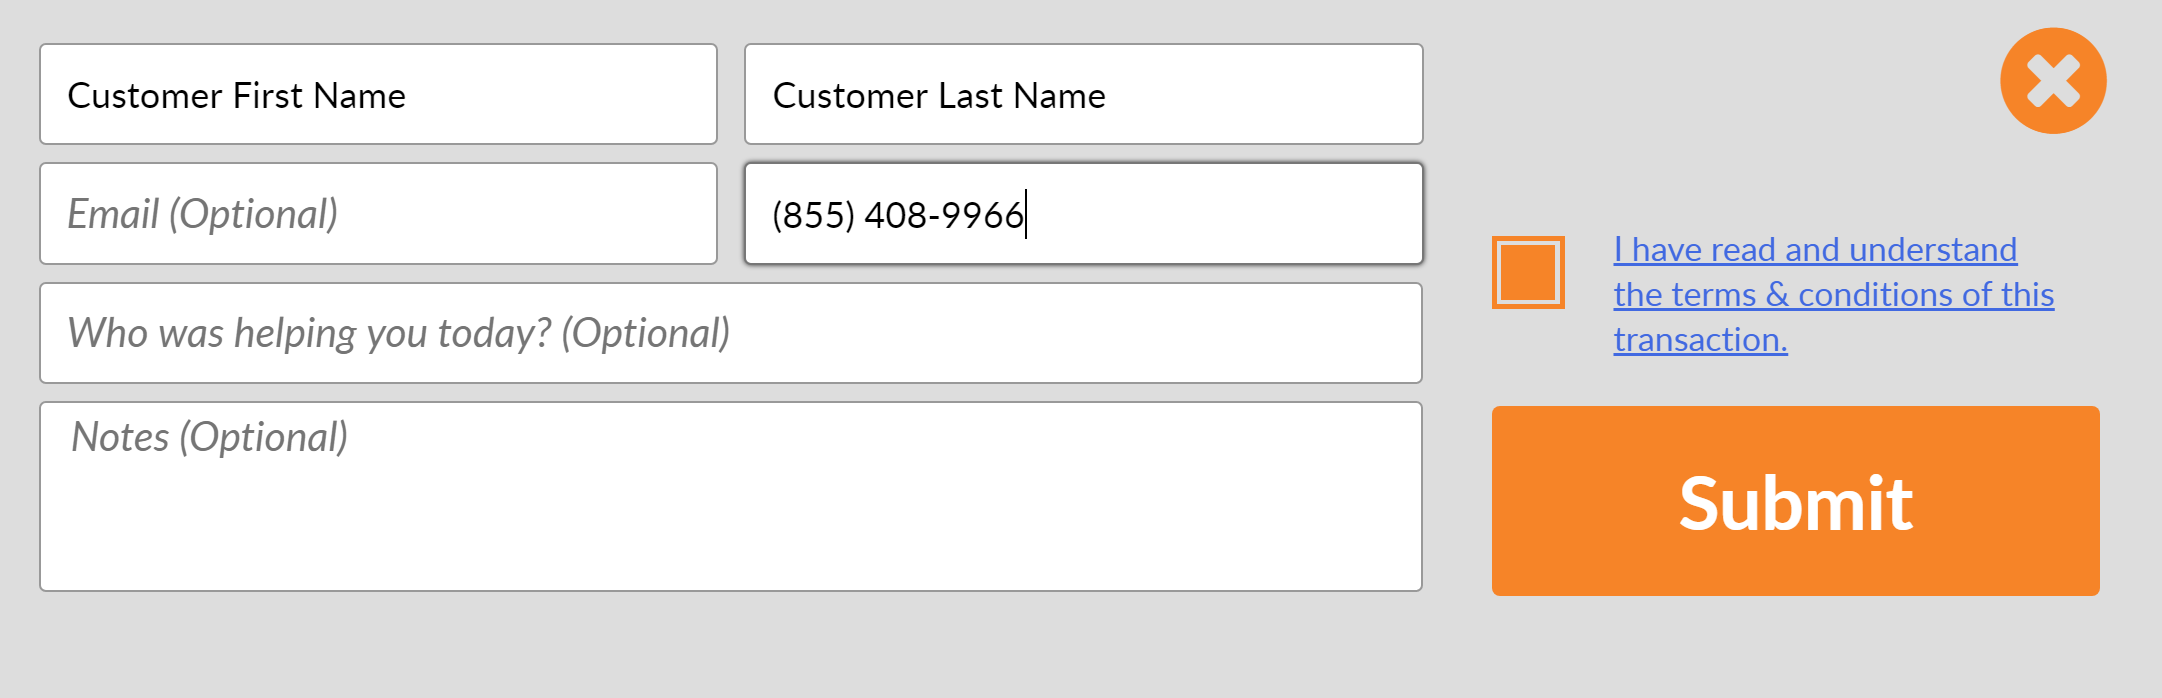
7. Check Out Customers
Click the Start Order button to send cart information to your checkout counter or service desk.
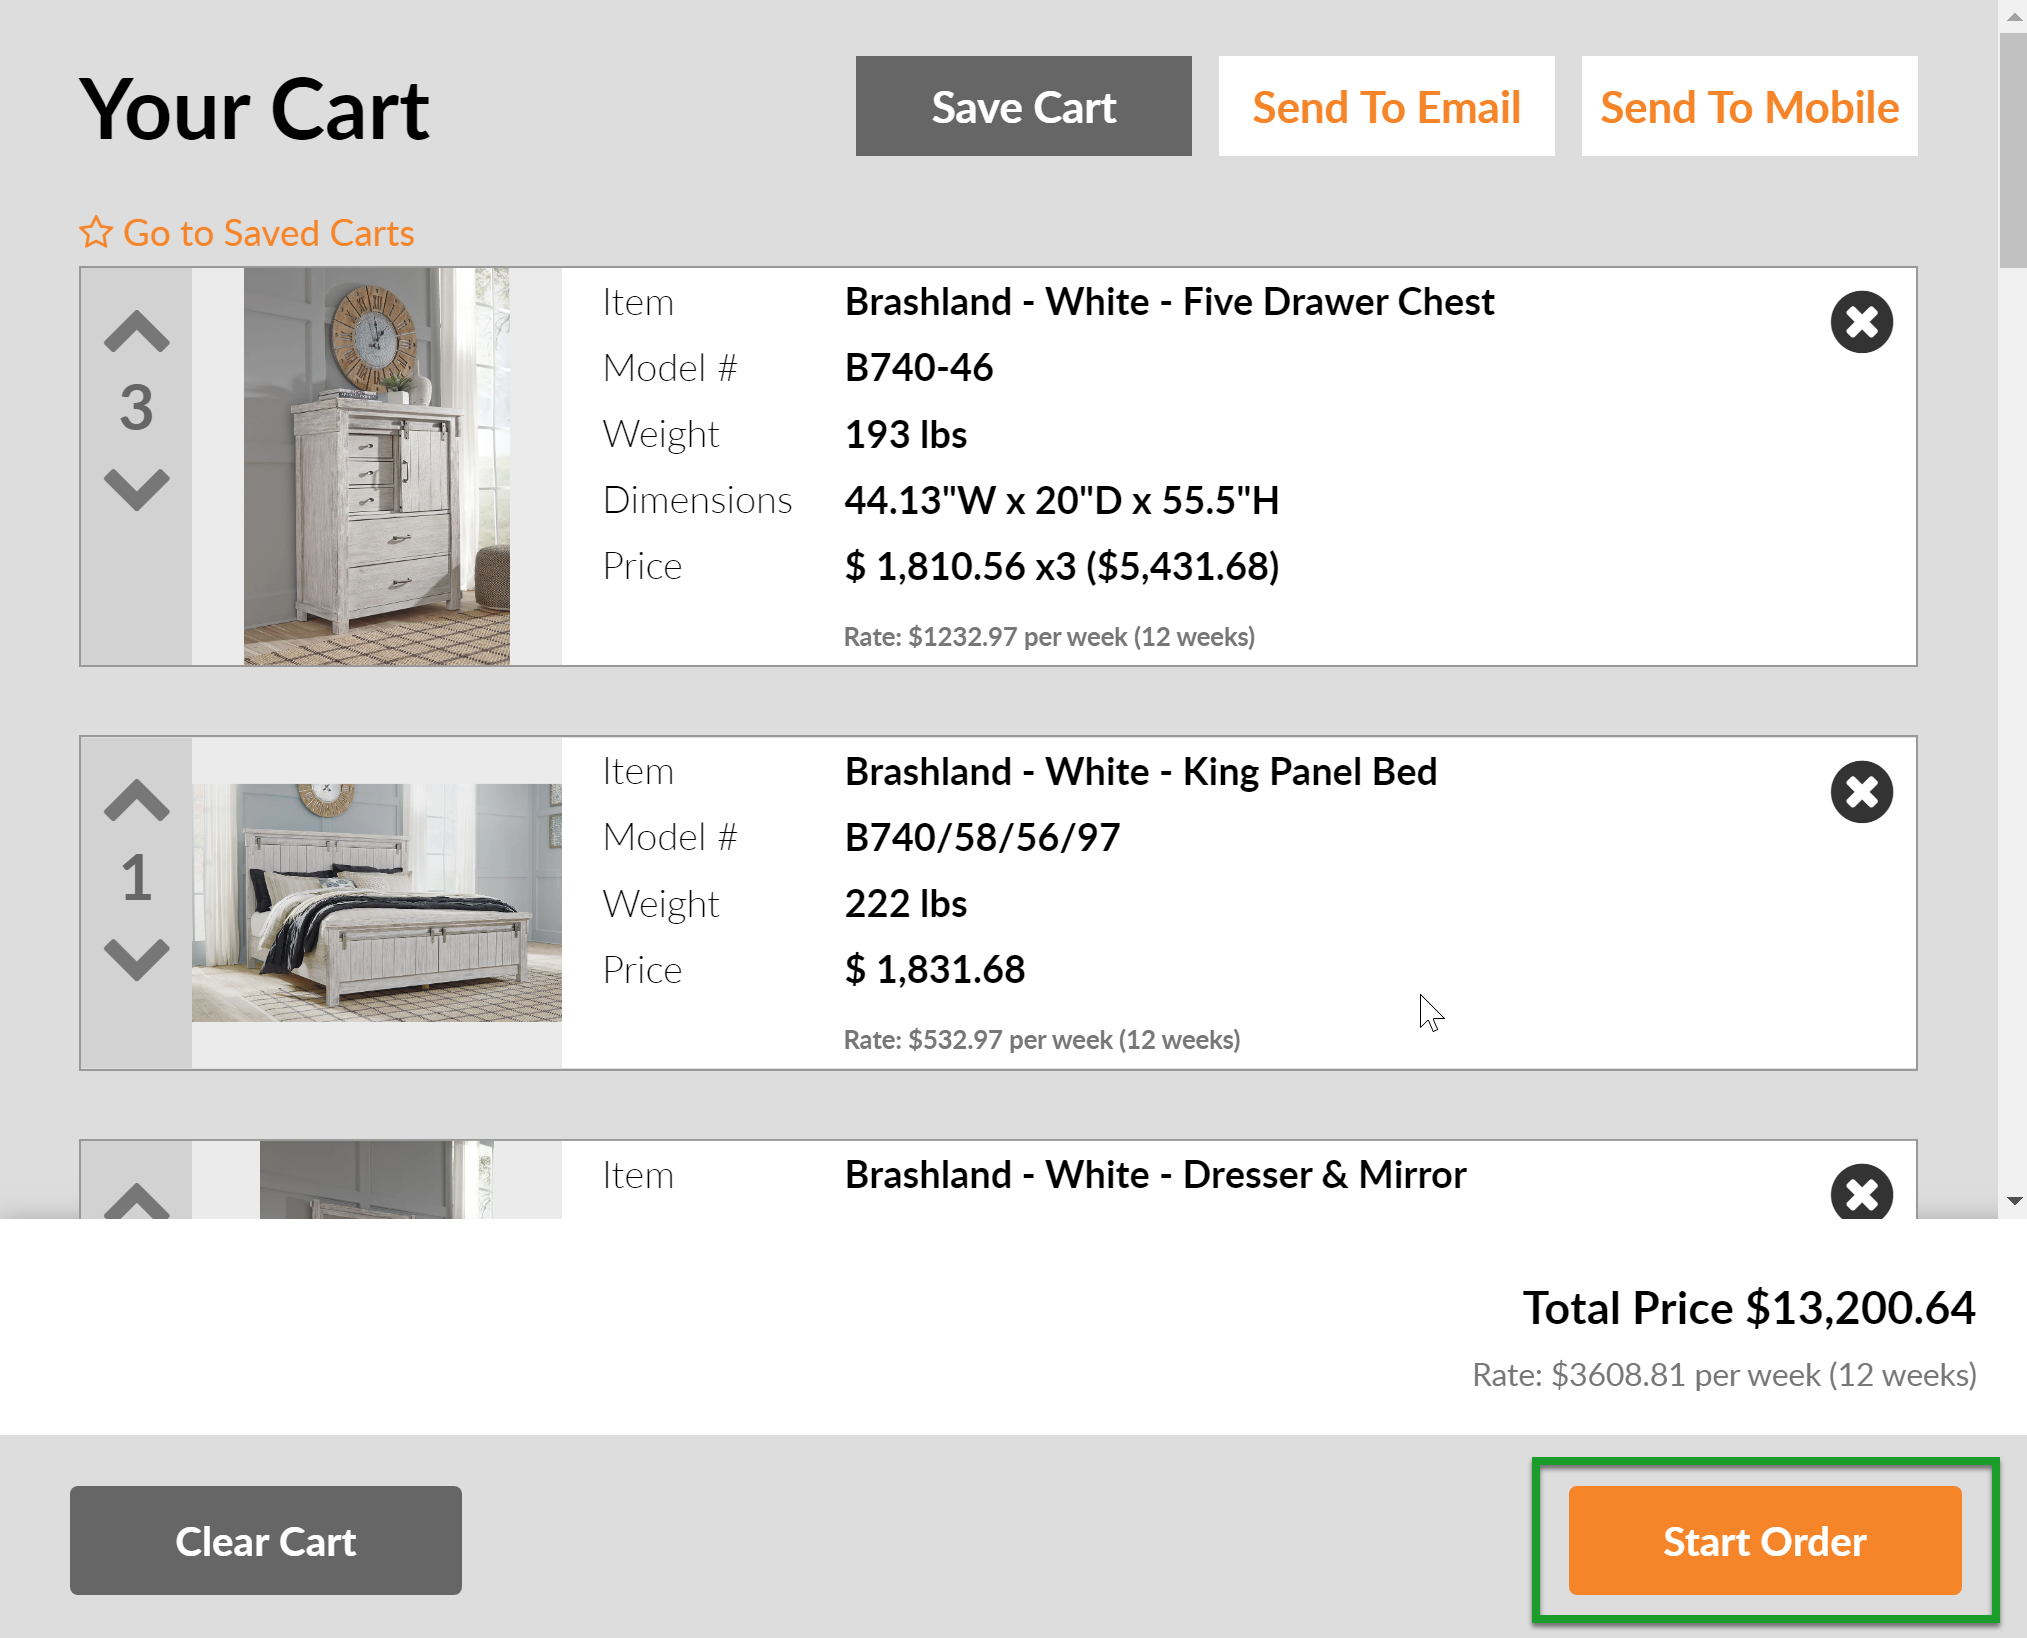
The information sent displays which customer picked which items, and on which device.
Extra Customization
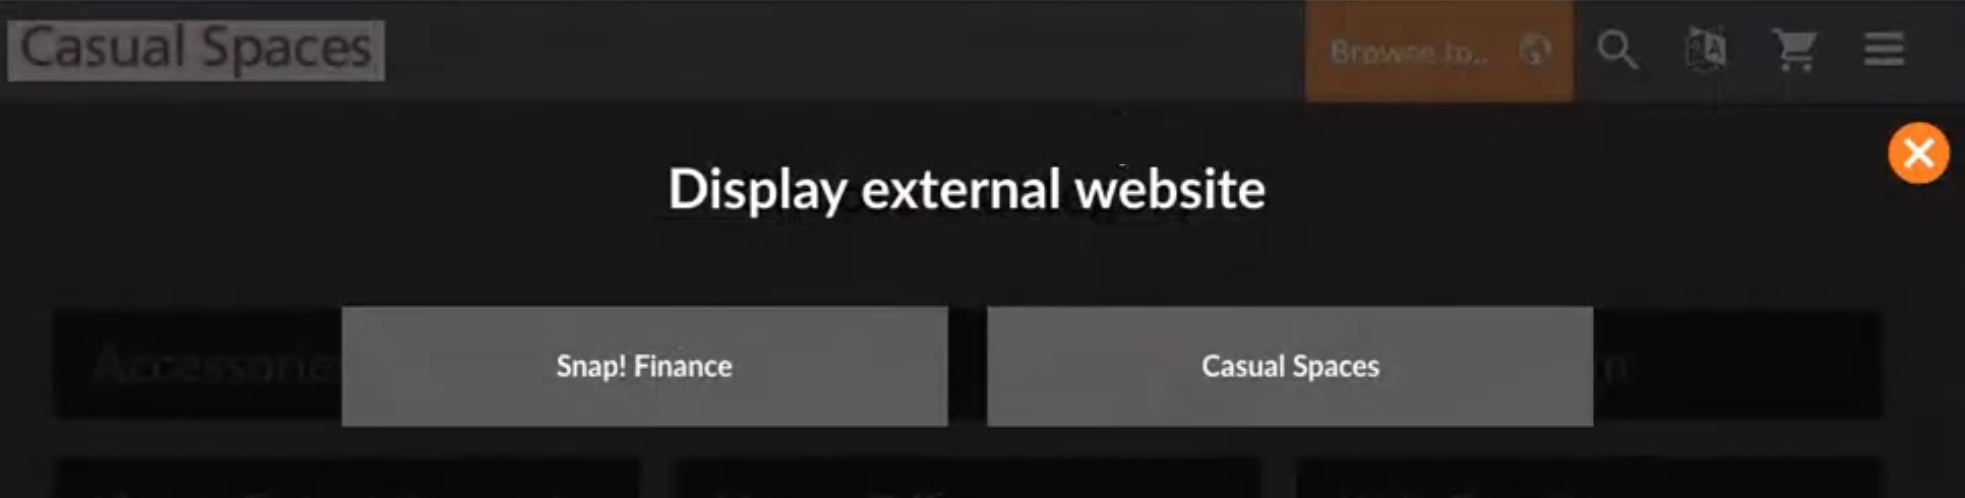
Link to External Websites
Display links to customer financing plans, your social media pages, or furniture protection plans right from your Catalog App. ![]() Add links to other websites.
Add links to other websites.
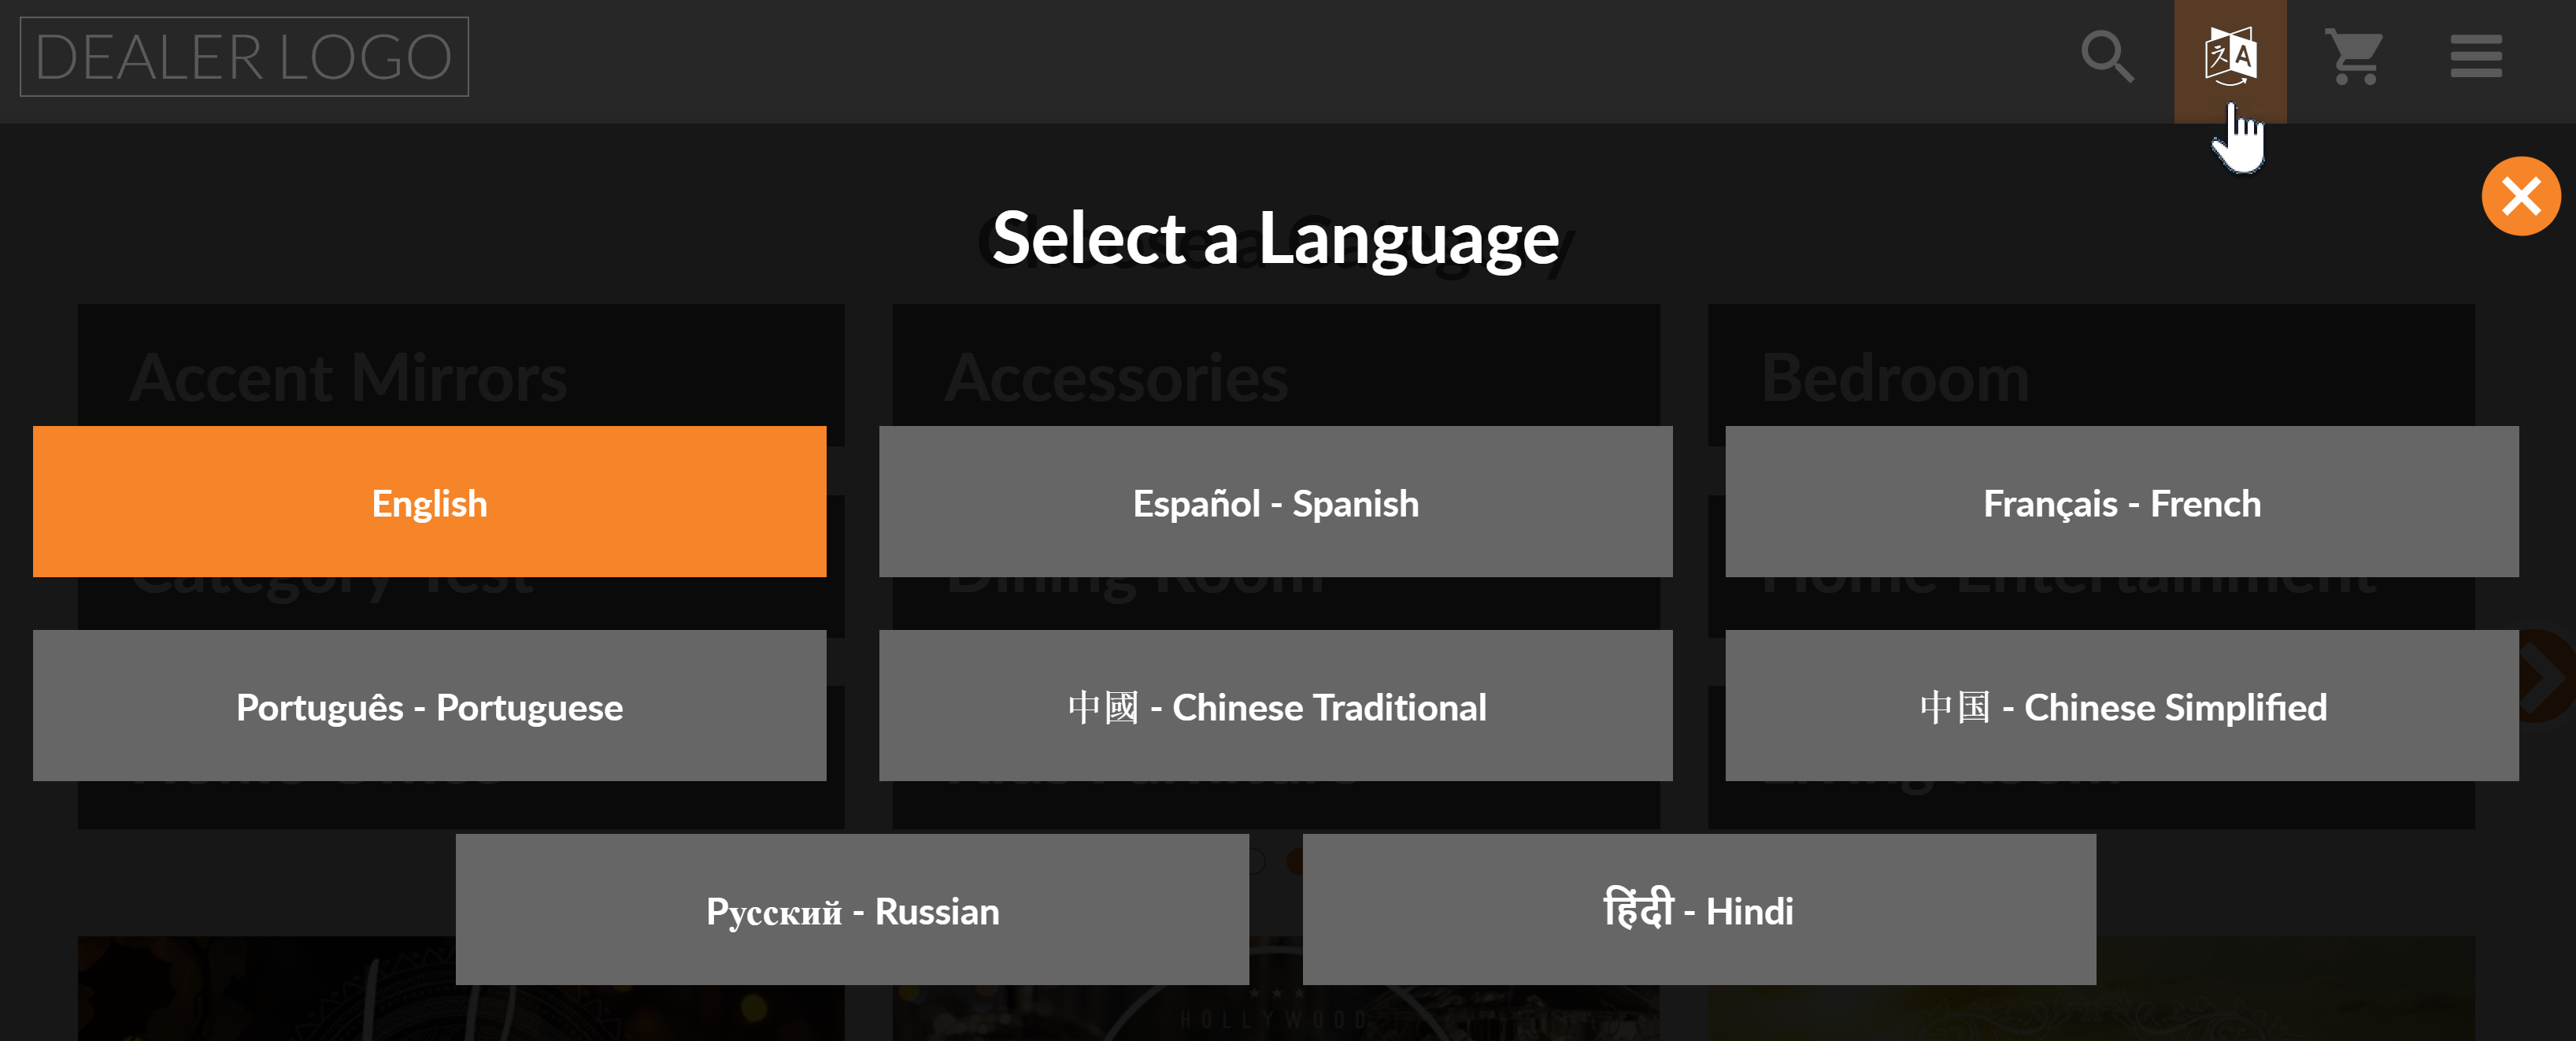
Change the Language
Customers can change the language in a pinch by clicking the language icon at the top of the screen. After a period of idleness, the Catalog App automatically returns to its default language.
![]() Set the default language.
Set the default language.